


Page 100 CPV350
19.4.2 Setting up the Individual/Group Call Ringer
When an Individual Call or Group Call is received the radio will produce a ringing tone for
3 minutes. This selection allows ringer time to be changed.
1. Press [MENU] two times. Move the ShuttlePoint knob to highlight
RADIO SETUP and
press [ENT] or move the ShuttlePoint knob to the right.
2. Move the ShuttlePoint knob to highlight
DSC SETTINGS and press [ENT] or move the
ShuttlePoint knob to the right.
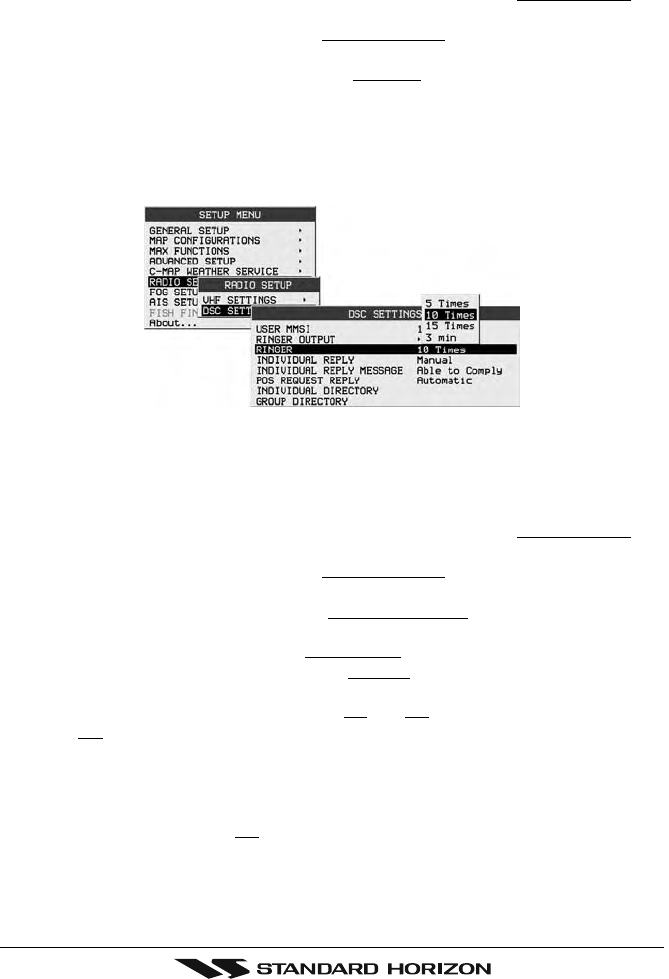
3. Move the ShuttlePoint knob to highlight
RINGER and press [ENT] or move the
ShuttlePoint knob to the right.
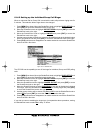
4. Another popup window will be shown, move the ShuttlePoint knob to the desired ringing
time of a Individual Call and press [ENT] or move the ShuttlePoint knob to the right.
5. Press [CLR] until the menu disappears or an easier method is to move the ShuttlePoint
knob to the left a few times.
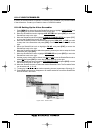
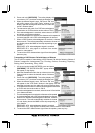
Figure 19.4.2 - RINGER menu
The CPV350 has the capability to turn off the ringer for Individual, Group and DSC polling
calls.
1. Press [MENU] two times. Move the ShuttlePoint knob to highlight
RADIO SETUP and
press [ENT] or move the ShuttlePoint knob to the right.
2. Move the ShuttlePoint knob to highlight
DSC SETTINGS and press [ENT] or move the
ShuttlePoint knob to the right.
3. Move the ShuttlePoint knob to highlight
RINGER OUTPUT and press [ENT] or move
the ShuttlePoint knob to the right.
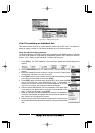
4. Move the ShuttlePoint knob to select
INDIVIDUAL if you wish to disable the Individual
Call ringer, move the ShuttlePoint knob to
GROUP or Polling ringer and press [ENT]
or move the ShuttlePoint knob to the right.
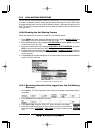
5. Another popup window will be shown with
On and Off, move the ShuttlePoint knob to
select
Off and press [ENT] or move the ShuttlePoint knob to the right
6. Press [CLR] until the menu disappears or an easier method is to move the ShuttlePoint
knob to the left a few time.
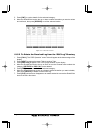
If you wish to return to enabling the ringer tone, just repeat the above procedure, moving
the ShuttlePoint knob to select On in step “5” above.