


9
English
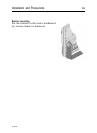
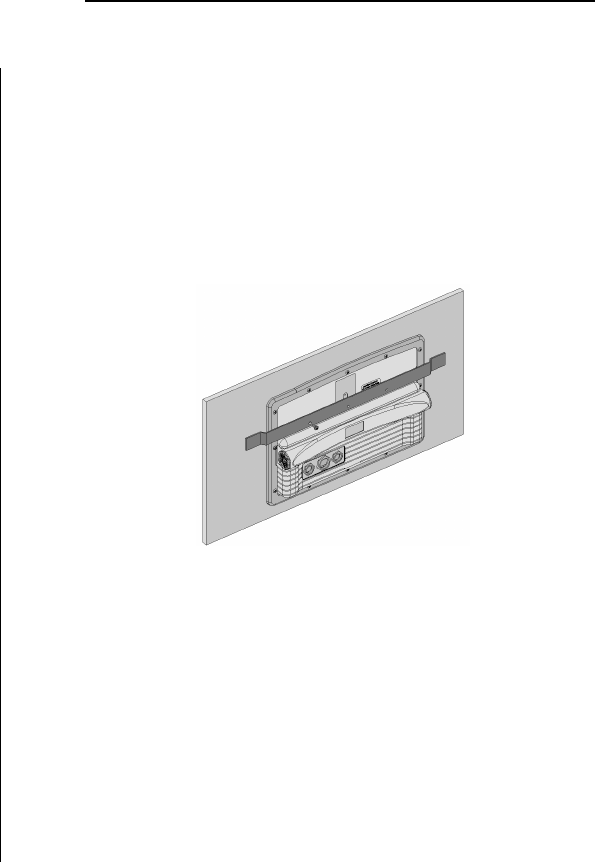
Flush mounting
Locate the area where the GEONAV is to be installed, then
use the cutting template supplied with the plotter to cut the
panel.
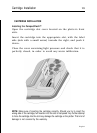
Apply a layer of silicone glue (the use of black colored glue is
recommended, in order to prevent the area from going yellow
when exposed to sunlight) to the plastic frame rear part; place
the frame into the socket cut out of the panel, so that the
frame edge leans against the panel.
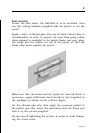
Make sure that the frame and the panel are correctly fixed; if
necessary, apply additional metal brackets (not supplied in
the package) as shown in the relevant figure.
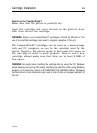
Let the silicone glue dry, then apply the neoprene gasket to
the plotter rear side, insert the instrument into the frame and
lock it by the screws supplied.
Do not exceed tightening the screws, in order to avoid damag-
ing the screw seats.