


TASCAM DR-100MKII
23
3 – Preparation for Use
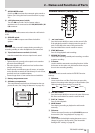
Turning the power on and off
CAUTION
Turn down the volume of the sound system connected
•
to the unit before starting up or shutting down the unit.
Do not use headphones when starting up or shutting
•
down the unit. Otherwise, a large noise would cause
damage to headphones or your ears.
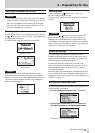
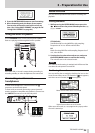
Starting up the unit
To start up the unit from the stopped state, press and hold
the
button until
TASCAM DR-100MKII
(start-up screen)
is displayed on the display.
The Home Screen appears when the unit starts up.
Start-up screen
Home screen
CAUTION
When the unit is started up for the rst time (or when
the built-in clock is reset after being left unused without
batteries), the
DATE/TIME
screen appears before the start-
up screen to adjust the date and time. (See “Setting the
date and time” on page 23.)
Shutting down
Press and hold the
button until
LINEAR PCM
RECORDER
appears on the display.
The power turns o after the unit completes its shutdown
process.
CAUTION
Always use the
button to turn the unit power OFF.
When the power is ON, do not remove the battery (or
batteries) set as the MAIN battery or disconnect the PS-
P520 adaptor (sold separately) if no batteries are installed.
Doing so will cause all recordings, settings and other data
to be lost. Lost data cannot be restored.
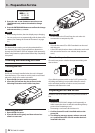
Battery settings
You can set either the lithium ion battery or the AA
batteries as the main power source and the other as the
backup source when both are installed. (See “Setting the
main battery source (MAIN)” on page 50.)
By doing this, when the amount of power left in the
main source becomes insucient for operation, the unit
automatically switches to the backup source, allowing
continued operation.
Moreover, when using AA batteries, the battery type must
be set in order for the unit to display remaining time and
operate correctly. (See “Setting the type of AA batteries (AA
BATTERY)” on page 51.)
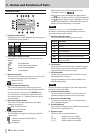
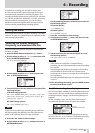
Setting the date and time
Using its internal clock, this unit remembers the date and
time when a le is recorded.
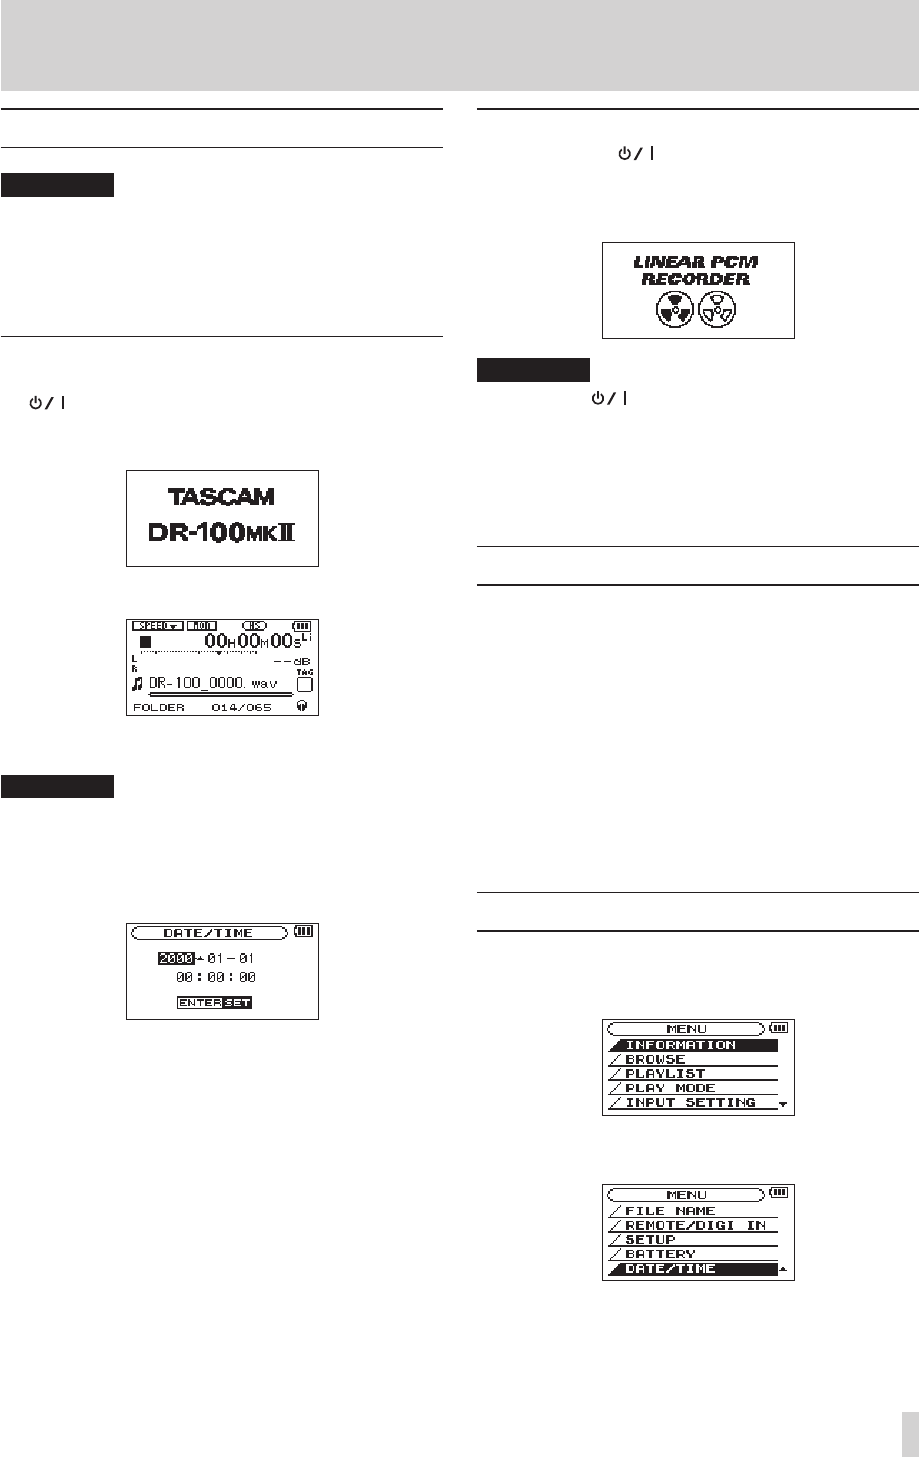
1 Press the MENU button to open the
MENU
screen.
2 Use the wheel to select the
DATE/TIME
menu item
(highlighted), and press the ENTER/MARK button.
The
DATE/TIME
screen is displayed.