


28
TASCAM DR-100MKII
4 – Recording
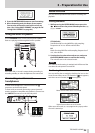
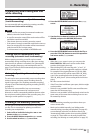
Possible recording time
Setting where files are saved
Set the folder where recorded les are saved. For details,
see the
SELECT
popup menu items in “Folder operations”
on page 40. If no setting is made, new recording les are
placed in the MUSIC folder.
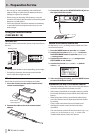
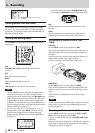
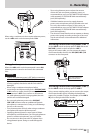
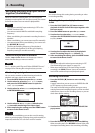
Setting the analog input
Use the INPUT switch on the top panel to set the analog
input source.
XLR
XLR (MIC/LINE 1) IN connectors on the front of the
recorder
UNI
Built-in directional stereo mics
OMNI
Built-in omnidirectional stereo mics
LINE 2
LINE 2 IN jack on the left side of the recorder
NOTE
The DR-100MKII has been designed with high gain to
•
enable it to record even very quiet sounds. For this
reason, if using an AC adaptor when the MIC GAIN is set
to H (HIGH), touching the mics could cause noise (hum
or modulation) to be heard depending on placement
conditions. To avoid this, do not touch the built-in mics
when recording with them. (See “Manually adjusting the
analog input level” on page 31.)
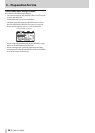
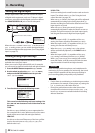
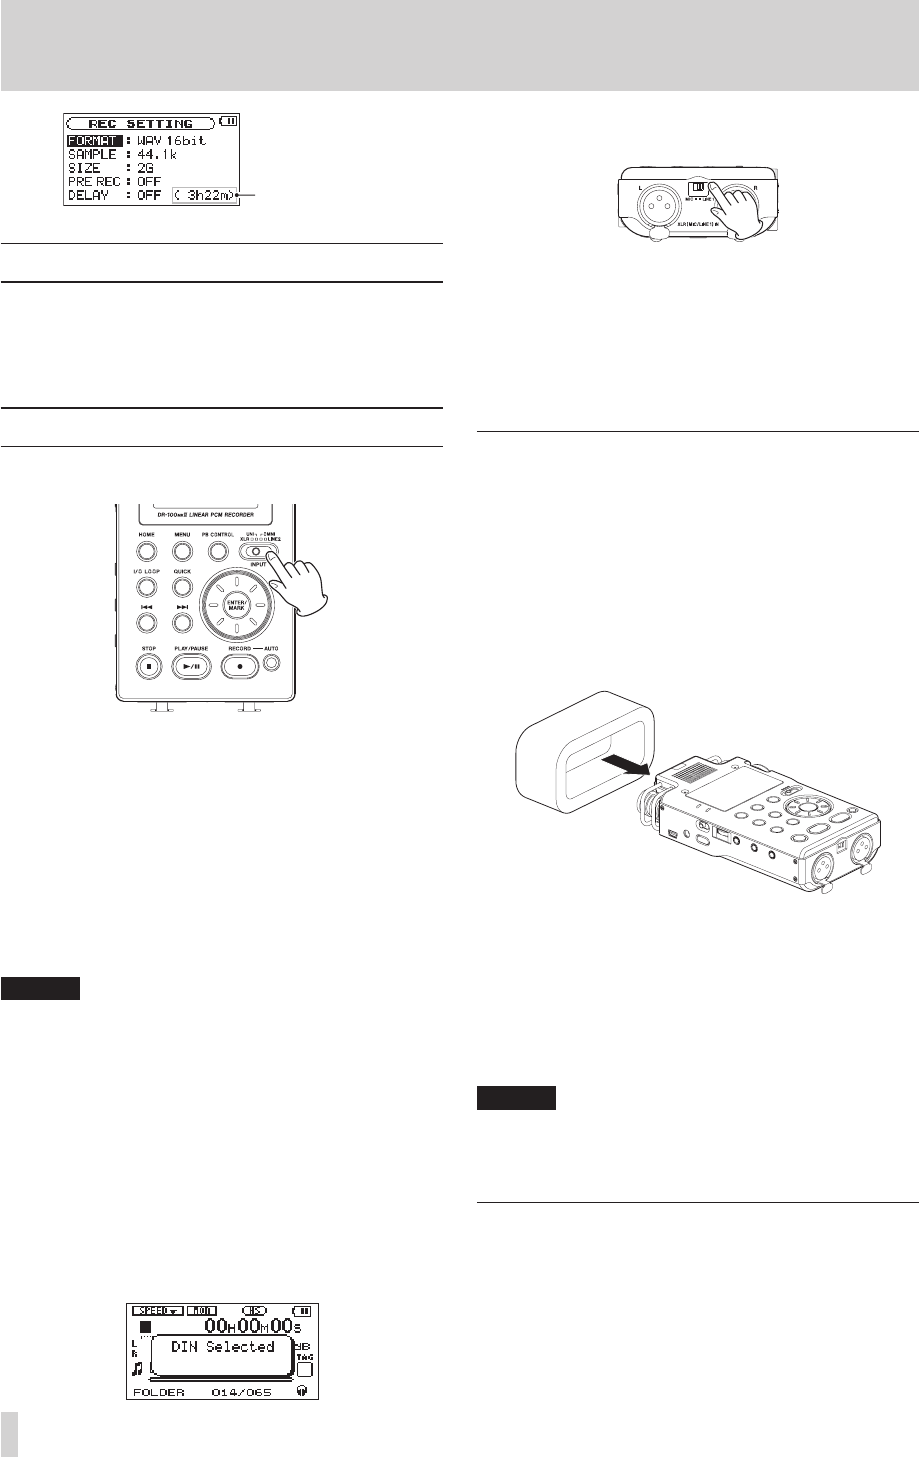
If
•
FUNCTION
is set to
DIGI IN
on the
REMOTE/DIGI IN
setting screen, moving the INPUT switch on the top
panel will not change the input, and the following
popup message will appear. (See “Using digital input”
on page 52.)
You can also select the input of XLR (MIC/LINE 1) jack
by changing the MIC/LINE 1 switch on the front panel.
MIC
Use this setting when connecting external mics to the
recorder.
LINE 1
Use this setting when connecting line output jacks of
external devices to the analog inputs of this recorder.
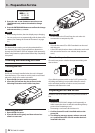
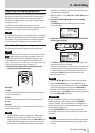
Recording with the built-in mics (UNI/
OMNI)
UNI MICS
Set the INPUT switch on the top panel to UNI.
These mics are suitable for recording live performances of
instrumentalists and bands, as well as eld recording, for
example.
Point the mics at the sound source and place the unit in a
stable location where there is little vibration.
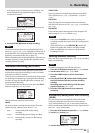
If noise is caused by wind, attach the windscreen.
OMNI MICS
Set the INPUT switch on the top panel to OMNI.
These mics are suitable for recording meetings and other
situations where you want to record everything in a wide
space.
Place the unit in a stable location where there is little
vibration.
NOTE
If noise is caused by air-conditioning or a draft, for example,
use the unit’s low-cut lter. (See “Making analog inpuut
setting” on page 30.)
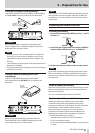
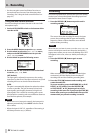
Recording with external mics (XLR)
Set the INPUT switch on the top panel to XLR, and MIC/
LINE 1 switch on the front panel to MIC.
Connect an external XLR mic to the XLR (MIC/LINE 1) IN
connector.
When only one mic is connected, it is possible to record the
same signal on both left and right channels. (See “Making
analog input settings” on page 30.)