


TASCAM DR-100MKII
35
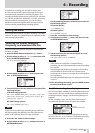
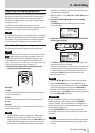
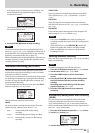
time appear on the recording screen. In addition, the
name of the file being played back appears at the
bottom of the screen.
The following popup message appears if the selected
file cannot be played back.
4 Press the STOP [8] button to stop recording.
NOTE
You cannot overdub when the recording format is MP3.
Select
WAV 16bit
or
WAV 24bit
regardless of the format of
the playback le. (See “Selecting the le format, sampling
frequency, and maximum le size” on page 27.)
When overdubbing the sampling frequency will match the
sampling frequency of the playback le regardless of the
sampling frequency setting.
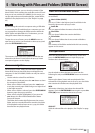
Automatic recording (AUTO REC)
This function allows the unit to respond to input sound
levels and start and pause recording, as well as set marks
and create new les, for example.
This function is convenient for recording only when people
are speaking during meetings, creating marks for nding
the starts of songs and dividing les after recording, and
automatically dividing les.
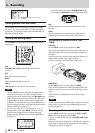
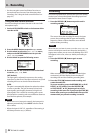
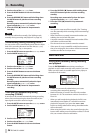
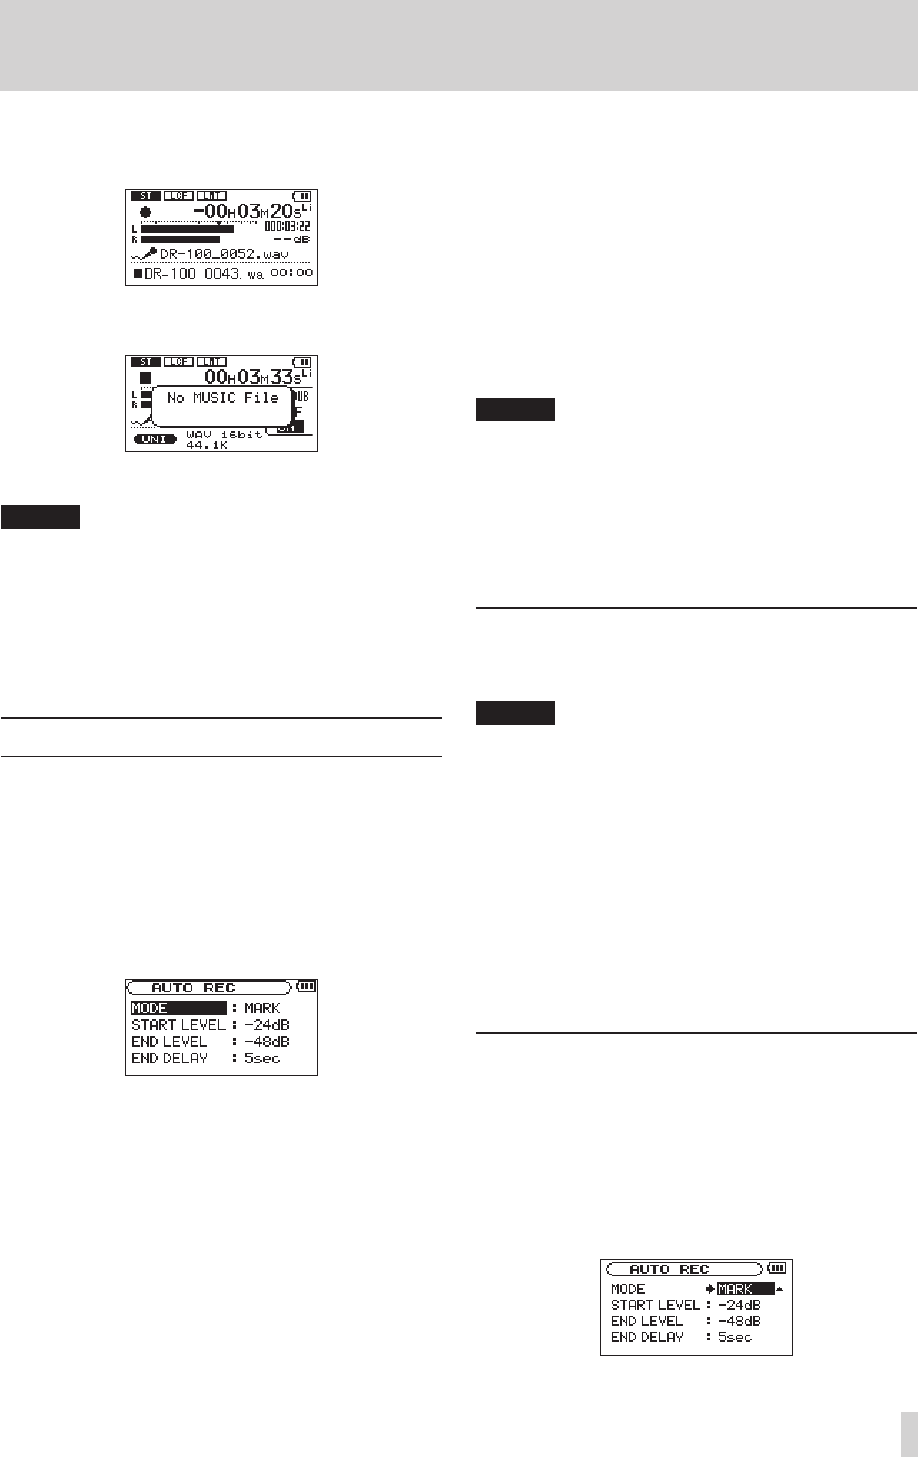
To set the automatic recording function, press the AUTO
button to open the
AUTO REC
screen.
Make the following settings on this screen.
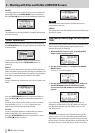
MODE
Set the automatic recording function mode. The mode
options are
MARK
(default),
PAUSE
and
TRK INC
.
MARK
: Automatically adds marks during
recording
PAUSE
: Automatically pauses during recording
TRK INC
: Automatically creates new les during
recording
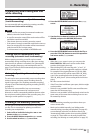
START LEVEL
Signal is judged to have been input when it exceeds this
level. Options are
OFF
,
–6dB
,
–12dB
(default),
–24dB
and
–48dB
.
END LEVEL
Signal is judged to have stopped when it becomes less
than this level. Options are
OFF
,
–6dB
,
–12dB
,
–24dB
(default)
and
–48dB
.
END DELAY
Time until the signal is determined to have stopped. The
setting range is
1sec
–
5sec
(default:
5sec
).
NOTE
If you press the
•
AUTO button when recording or in
recording standby, the current AUTO REC setting can be
checked.
When AUTO REC is on, the
•
RECORD [0] button will
blink more rapidly than usual In recording standby.
When overdubbing, you cannot use the automatic
•
recording function.
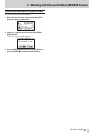
Enabling automatic recording
When the input signal exceeds the
START LEVEL
recording
begins automatically.
NOTE
The MODE setting does not aect this function.
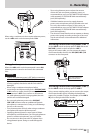
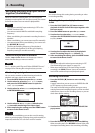
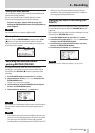
1 Press the AUTO button to open the
AUTO REC
screen.
2 Set the value of the
START LEVEL
item.
3 Press the HOME button to return to the Home
Screen.
4 Press the RECORD [0] button while holding down
the AUTO button to put the unit into recording
standby.
Recording starts automatically when the input
signal exceeds the
START LEVEL
.
5 Press the STOP [8] button to stop automatic
recording.
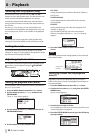
Automatically adding marks when recording
(MARK)
The unit can be set to automatically add marks to les
during recording after they become less than the
END
LEVEL
setting and the
END DELAY
time passes. Marks can
also be automatically added when the input signal exceeds
the
START LEVEL
setting again.
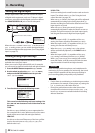
1 Press the AUTO button to open the
AUTO REC
screen.
2 Set the
MODE
item to
MARK
.
3 Set the value of the
START LEVEL
item.
4 – Recording