4 – Recording
In addition to recording with the built-in stereo mics,
this unit can also record signals from external mics and
connected audio equipment, including CD players. The
recording audio le format can be set to MP3 (32–320 kbps,
44.1/48 kHz) or WAV (44.1/48/96 kHz, 16/24-bit). Moreover,
when an audio le is playing back, you can record the
playback sound mixed together with the input sound to
create a new le (overdubbing, excluding 96 kHz).
Setting the mode
Set the operation mode to use when recording. (See “Mode
selection” on page 25.) Depending on the operation mode,
other setting options dier.
Selecting file format, sampling
frequency, and maximum file size
Select the audio le type that you want to record before
you start recording.
1 Press the MENU button to open the
MENU
Screen.
2 Use the wheel to select
REC SETTING
menu item, and
press the ENTER/MARK button.
REC
SETTING
screen appears.
3 Use the wheel to select
FORMAT
item, and press the
/ or ENTER/MARK button.
4 Set the file format. Use the wheel to select one of the
following formats.
STD mode setting options:
WAV 16bit
(default value),
WAV 24bit
,
MP3 32kbps
,
MP3
64kbps
,
MP3 96kbps
,
MP3 128kbps
,
MP3 192kbps
,
MP3
256kbps
,
MP3 320kbps
HS mode setting options:
WAV 16bit
(default),
WAV 24bit
NOTE
Higher values provide better recording quality. WAV les
are higher quality than MP3 les, but they take up more
space, so MP3 formats allow for longer recordings.
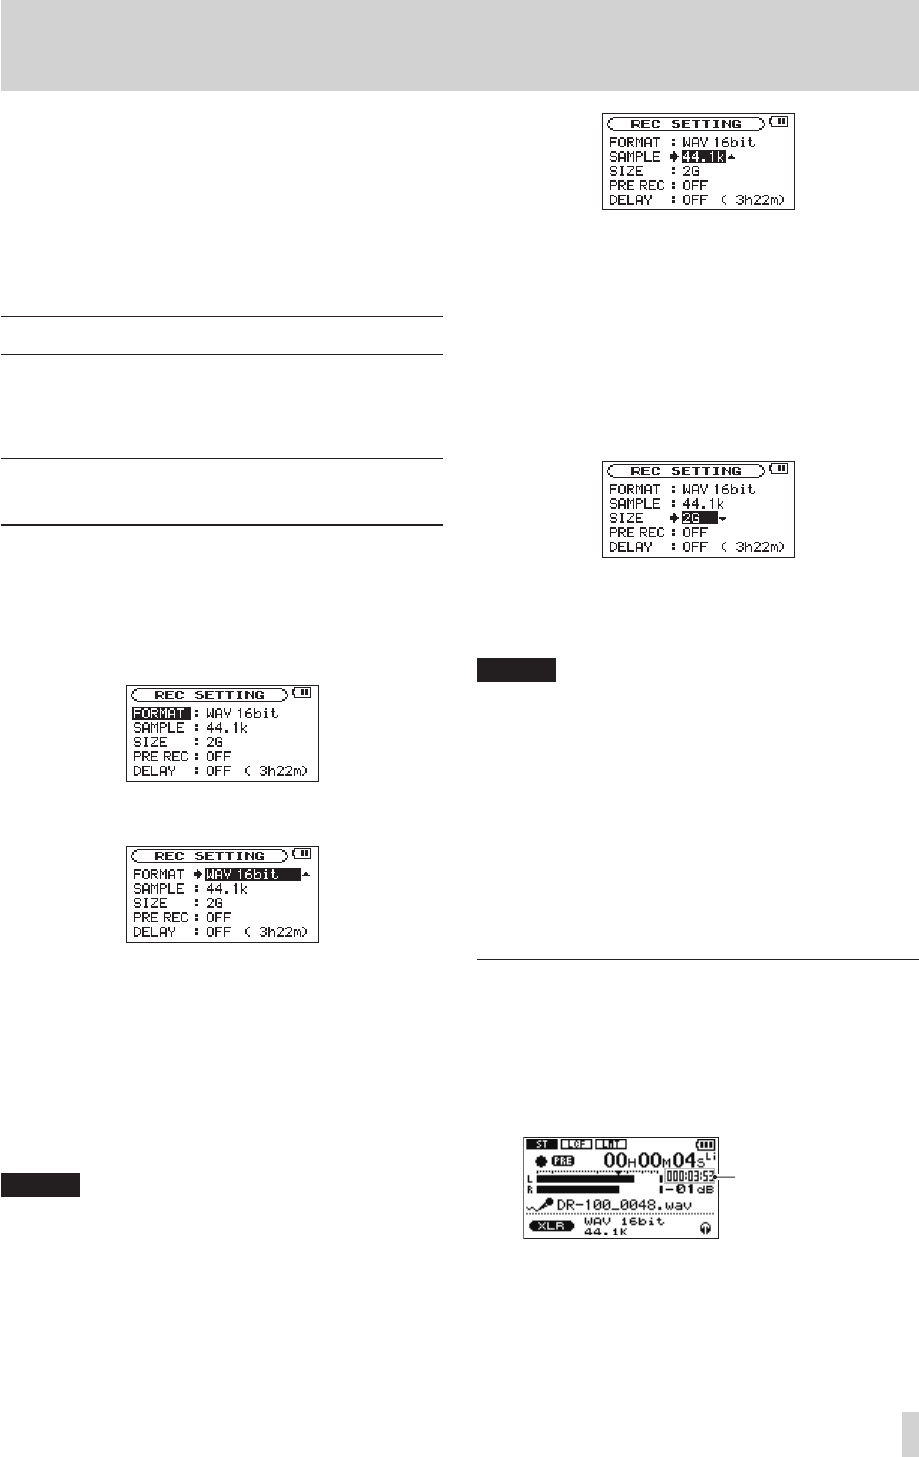
5 Press the . button to show settings.
6 Use the wheel to select
SAMPLE
, and press the / or
ENTER/MARK button.
Set the sampling frequency with the wheel to one of
the following options.
STD mode options:
44.1k
(default),
48k
HS mode options:
44.1k
(default),
48k
,
96k
7 Press the . button to show settings.
8 Use the wheel to select
SIZE
item, and press the /
or ENTER/MARK button.
9 Set the maximum file size with the wheel to one of
the following options.
64M
,
128M
,
256M
,
512M
,
1G
,
2G
(default)
NOTE
If the maximum set file size is exceeded during
•
recording, the unit will automatically continue recording
in a new file.
Depending on the file format, the amount of recording
•
time will differ for the same file size. The amount of
recording time is shown on the right of the setting value
(in parentheses)
Recording automatically stops if recording time exceeds
•
24 hours.
10 After completing the setting, press the HOME button
to return to the Home Screen.
Available recording time display
The amount of time available for recording depends on the
capacity of the SD card as well as the recording mode and
sampling frequency settings. (See “Recording duration” on
page 38.)
On the recording screen, you can check the amount of
recording time possible on the SD card in the recorder.
SD card
Possible recording time
You can also check the possible recording time for the set
le size on the
REC SETTING
screen. The possible recording
time depends on the
REC SETTING
screen settings.


