Chapter 3 Introducing the Web Configurator
P-2812HNU-51c User’s Guide
75
As illustrated above, the main screen is divided into these parts:
• A - title bar
• B - navigation panel
• C - main window
• D - status bar
3.2.1 Navigation Panel
Use the menu items on the navigation panel to open screens to configure P-
2812HNU-51c features. The following tables describe each menu item.
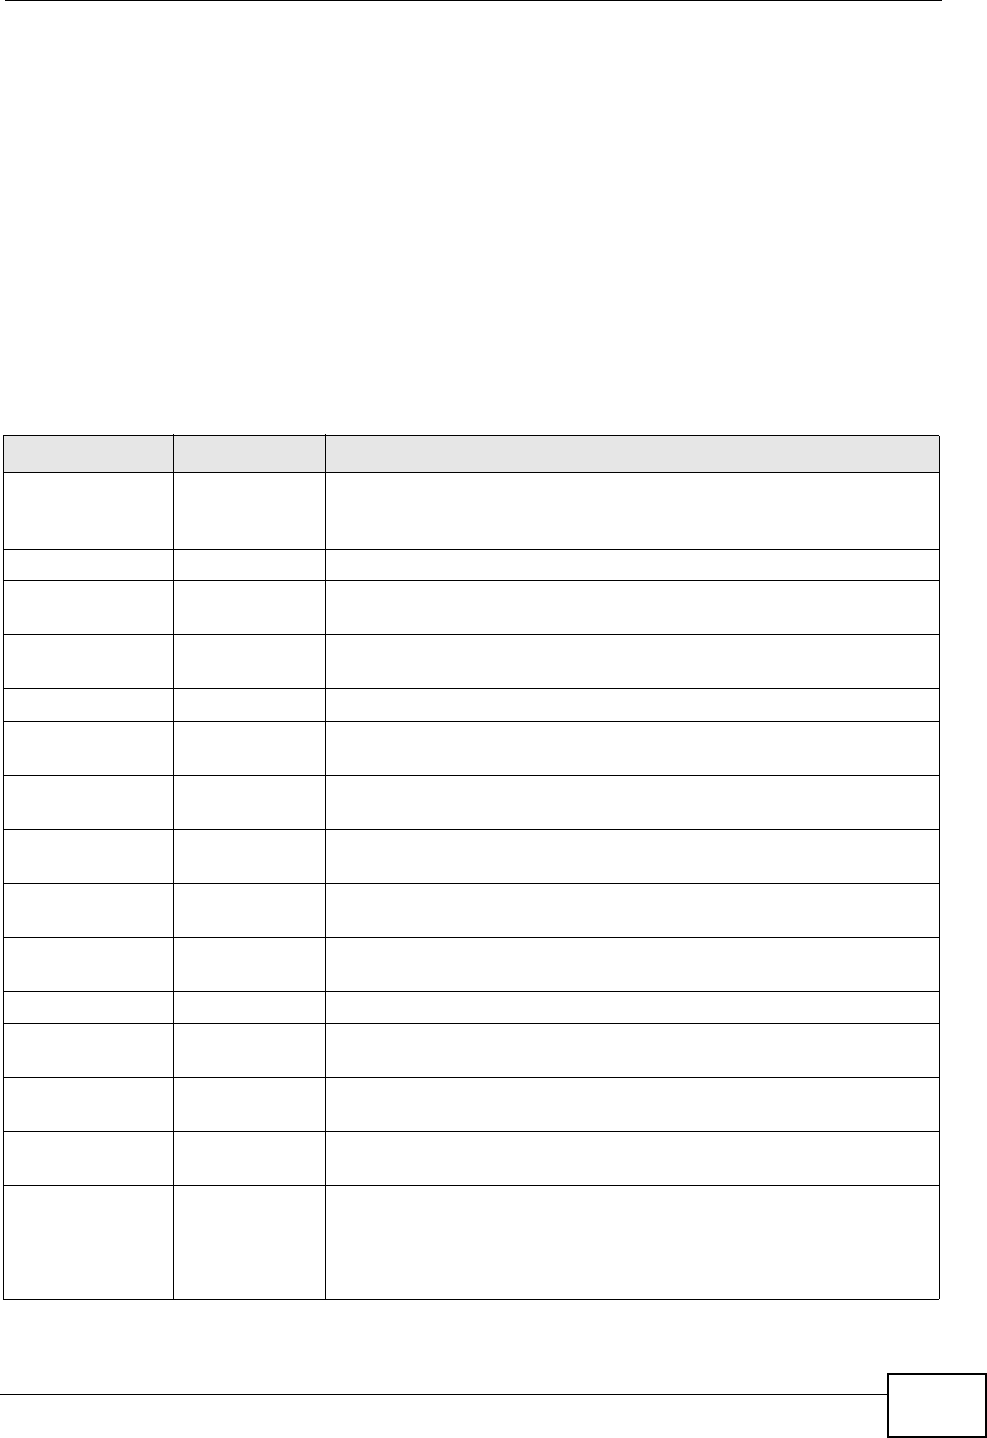
Table 6 Navigation Panel Summary
LINK TAB FUNCTION
Status This screen shows the P-2812HNU-51c’s general device and
network status information. Use this screen to access the
statistics and client list.
Network
WAN Layer 2
Interface
Use this screen to add or remove an ATM, PTM or Ethernet layer-2
interface.
Internet
Connection
Use this screen to configure ISP parameters, WAN IP address
assignment, and other advanced properties.
3G Backup Use this screen to configure the 3G WAN connection.
LAN IP Use this screen to configure LAN TCP/IP, DHCP and IP alias
settings.
IPv6 Use this screen to configure the IPv6 settings for your P-
2812HNU-51c LAN interface.
Wireless LAN General Use this screen to configure the wireless LAN settings, WLAN
authentication/security settings and MAC filtering rules.
More AP Use this screen to configure multiple BSSs on the P-2812HNU-
51c.
WPS Use this screen to enable WPS (Wi-Fi Protected Setup) and view
the WPS status.
WPS Station Use this screen to use WPS to set up your wireless network.
WDS Use this screen to set up Wireless Distribution System links to
other access points.
Scheduling Use this screen to configure the times your wireless LAN is turned
off.
Advanced
Setup
Use this screen to configure the advanced wireless LAN settings.
NAT Port
Forwarding
The NAT screens are available only when you enable NAT in a
WAN connection.
Use this screen to make your local servers visible to the outside
world.


