APPENDIX
AP-2
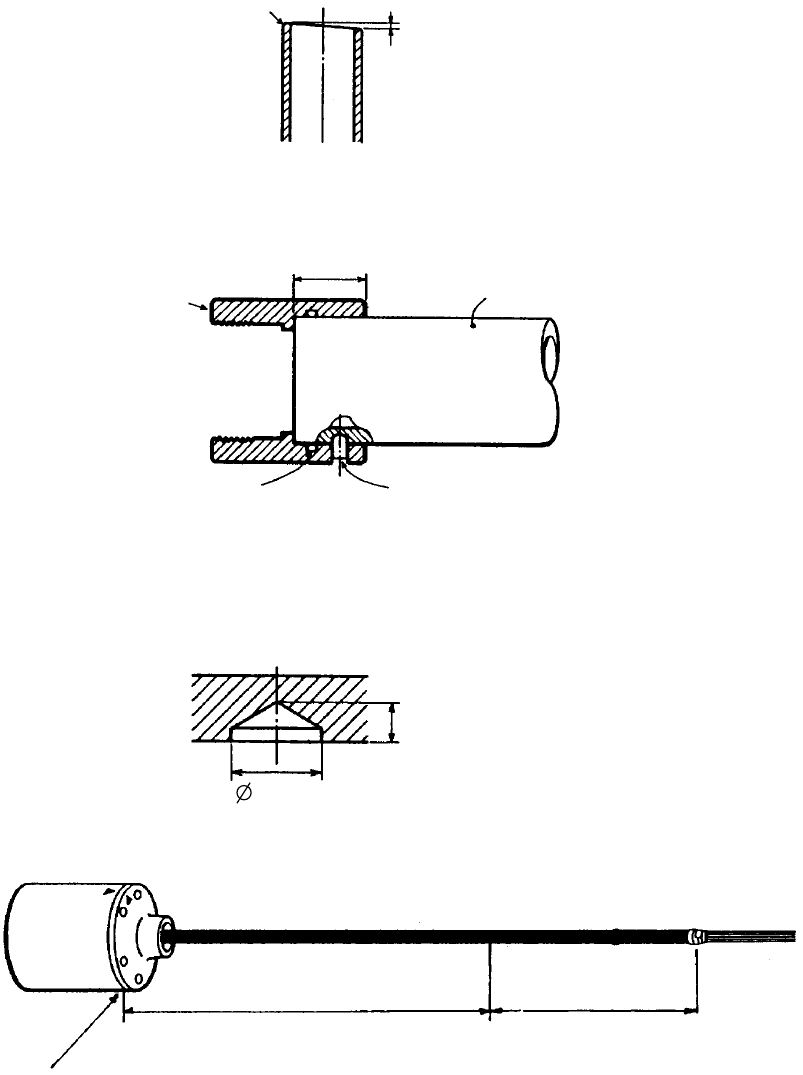
2. Cut the main shaft to the necessary length.
• It is recommended to use a machine lathe to shorten the shaft.
• Chamfer the top of the main shaft as shown below. (For chamfering with a file use a fine
file and finish the surface as smooth as possible.)
• When clamping the shaft with a clamp, be careful not to damage the shaft surface.
• When a metal saw is used to shorten the shaft, finish the top of the shaft so that it is level
within 3 mm.
Within 3 mm
C1
R1
3. Temporarily install the waterproofing attachment on the top of the main shaft and drill
holes for socket-set screws.
Shaft
Waterproofing
attachment
O-ring
M6 socket-set screw
30 mm
Push in fully (O-ring will resist.)
a) Mark drilling point on the shaft surface by tightening M6 socket-set screws (2 pcs.)
b) Remove the waterproofing attachment.
c) Drill holes les than 2 mm in depth. Use a drill with a Ø120 tip°. Do not drill holes through
the shaft. Use a stainless steel, low rpm drill with cutting oil.
Less than 2 mm
5 mm
Cut level.
4. Remove the sheath of the transducer cable and wrap the sheath end with vinyl tape.
Frange bottom
L
Remove sheath.
L = Main shaft length + 120 mm


