121
NET/USB—Continued
Note:
When modifying network settings, after modifying it is
necessary to execute “Save”.
This section explains how to configure the AV control-
ler’s network settings manually.
If your router’s DHCP server is enabled, you don’t need
to change any of these settings, as the AV controller is set
use DHCP to configure itself automatically by default
(i.e., DHCP is set to Enable). If, however, your router’s
DHCP server is disabled, for example, you’re using
static IP addresses, you’ll need to configure these set-
tings yourself, in which case, a knowledge of Ethernet
networking is essential.
What’s DHCP?
DHCP (Dynamic Host Configuration Protocol) is used
by routers, computers, the AV controller, and other
devices to automatically configure themselves on a net-
work.
What’s DNS?
The DNS (Domain Name System) translates domain
names into IP addresses. For example, when you enter a
domain name such as www.onkyousa.com in your Web
browser, before accessing the site, your browser uses
DNS to translate this into an IP address, in this case
63.148.251.142.
Note:
This procedure can also be performed on the AV control-
ler by using its [SETUP] button, arrow buttons, and
[ENTER] button.
Network Settings
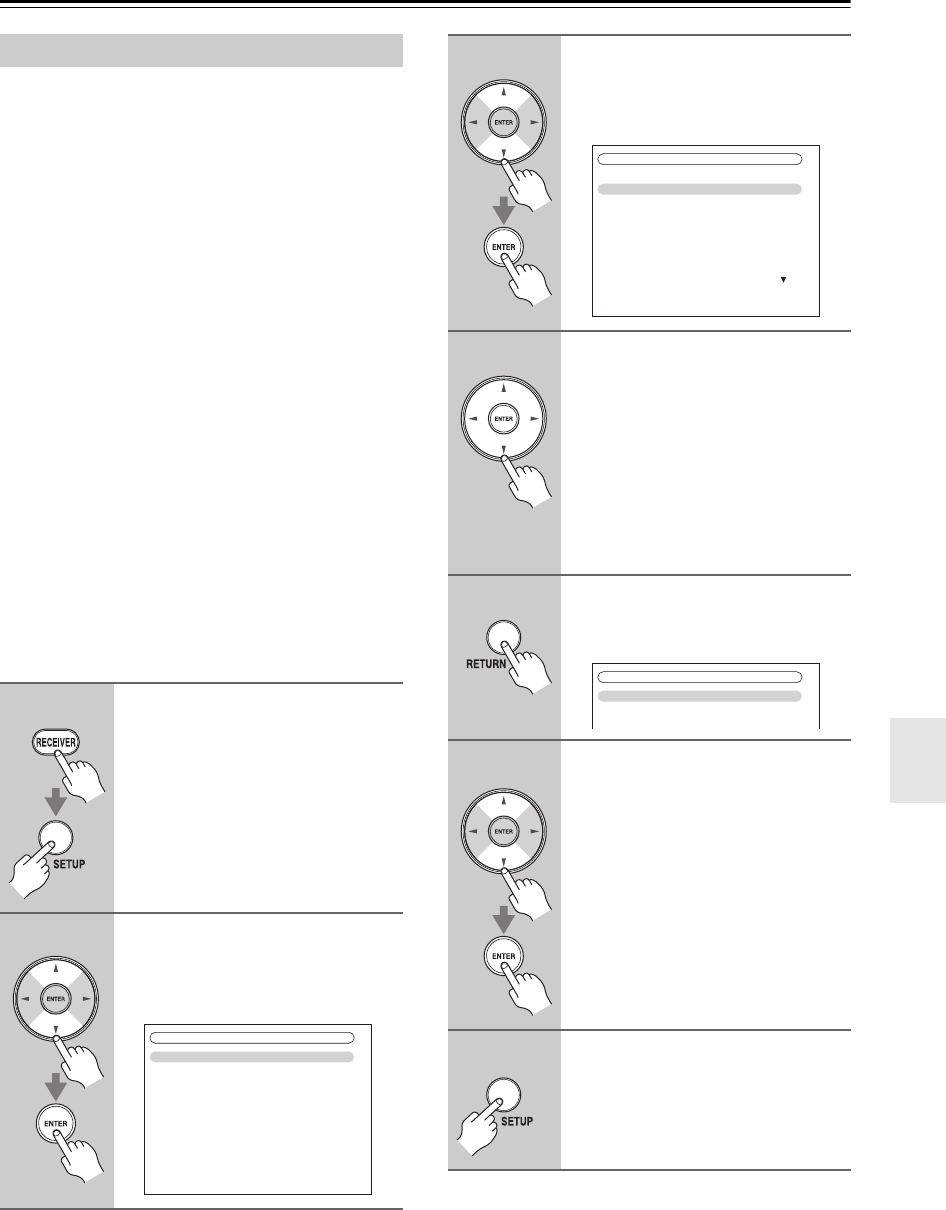
1
Press the [RECEIVER] button,
followed by the [SETUP] button.
The main menu appears onscreen.
If the main menu doesn’t appear, make
sure the appropriate external input is
selected on your TV.
2
Use the Up and Down [ ]/[ ]
buttons to select “7. Hardware
Setup”, and then press [ENTER].
The “Hardware Setup” menu appears.
7. Hardware Setup
1. Remote ID
2. Multi Zone
3. Tuner
4. HDMI
5. Network
6. Firmware Update
3
Use the Up and Down [ ]/[ ]
buttons to select “5. Network”,
and then press [ENTER].
The “Network” screen appears.
4
Use the Up and Down [ ]/[ ]
buttons to select the setting, and
use the Left and Right [ ]/[ ]
buttons to set them.
To enter an IP address, select the set-
ting, and then press [ENTER]. The
arrow [ ]/[ ]/[ ]/[ ] buttons can
then be used to enter numbers. Press
[ENTER] again to set the number.
The settings are explained below.
5
When you’ve finished, press the
[RETURN] button.
The save confirmation screen appears.
6
Use the Up and Down [ ]/[ ]
buttons to select “Save”, and
then press [ENTER].
When modifying network settings,
after modifying it is necessary to exe-
cute “Save”.
7
When you’ve finished, press the
[SETUP] button.
The setup menu closes.
7-5. Network
MAC Address
DHCP
IP Address
Subnet Mask
Gateway
DNS Server
Proxy URL
Proxy Port
xx : xx : xx − yy : yy : yy
Enable
aaa.bbb.ccc.ddd
aaa.bbb.ccc.ddd
aaa.bbb.ccc.ddd
aaa.bbb.ccc.ddd
http://www.proxy.xxx.com
8080
Save
Cancel
7-5. Network


