48
First Time Setup—Continued
Notes:
• See page 28 for charts showing how the “Monitor
Out” and “Resolution” settings affect the video signal
flow through the AV controller.
• This procedure can also be performed on the AV
controller by using its [SETUP] button, arrow buttons,
and [ENTER] button.
5
Use the Up and Down [ ]/[ ] but-
tons to select “Resolution”, and
use the Left and Right [ ]/[ ]
buttons to select:
Through:
Select this to pass video through the
AV controller at the same resolution
and with no conversion.
Auto :
Select this to have the AV controller
automatically convert video at reso-
lutions not supported by your TV.
480p (480p/576p):
Select this for 480p or 576p output
and video conversion as necessary.
720p:
Select this for 720p output and
video conversion as necessary.
1080i:
Select this for 1080i output and
video conversion as necessary.
1080p :
Select this for 1080p output and
video conversion as necessary.
1080p/24 :
Select this for 1080p output at 24
frames per second and video con-
version as necessary.
Source:
Output will be according to the res-
olution level which was set in the
“Picture Adjust” setting (see
page 99).
Tips:
• The “Resolution” setting can also be
set using the [VIDEO] button on the
remote controller.
• The “Resolution” setting is set
respectively of main, sub, and
analog.
Notes:
• Settings marked with an asterisk ( )
are not available when the “Monitor
Out” setting is set to “Analog”.
• If the “Monitor Out” setting is set to
“Both”, this setting is fixed at
“Auto”.
• Depending on the incoming video
signal, video playback may not be
smooth or the vertical resolution may
be lowered. In this case select other
than “1080p/24”.
*
*
*
*
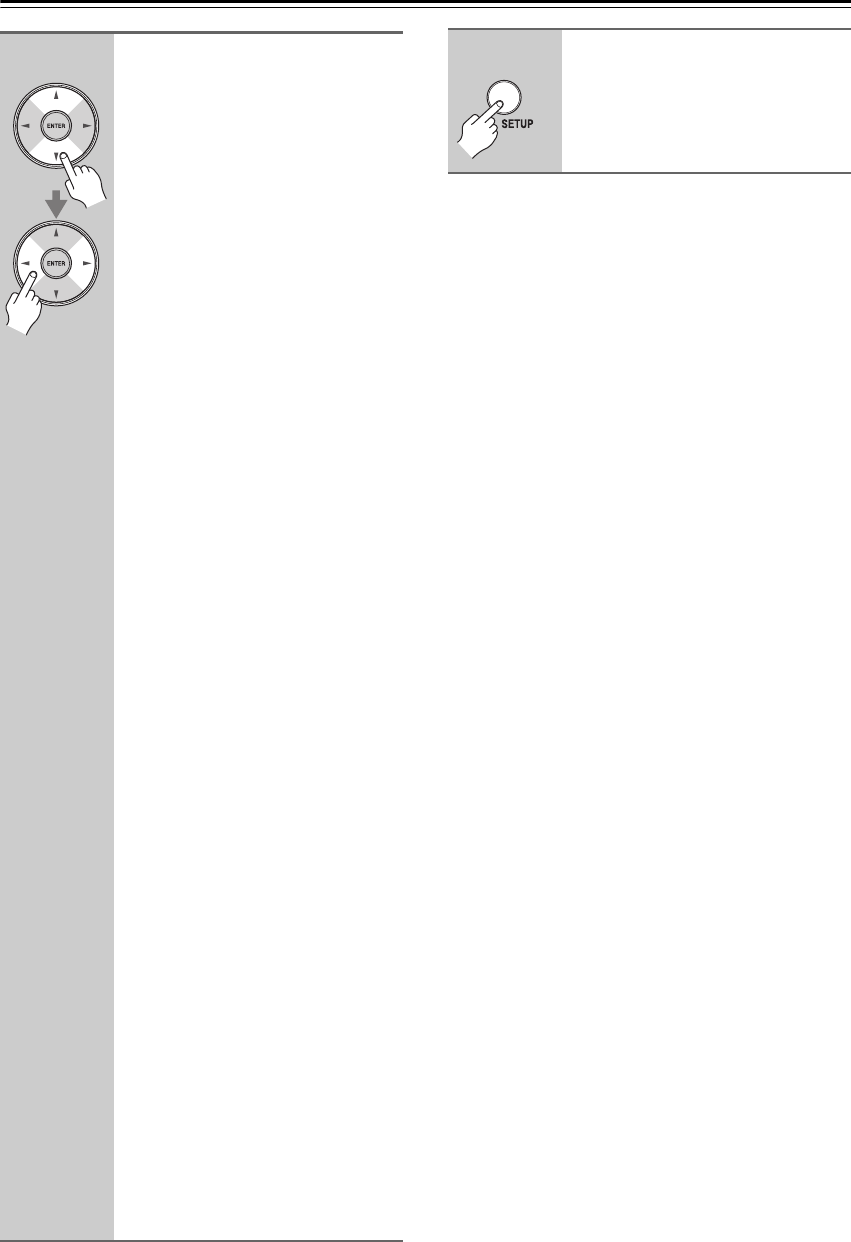
6
Press the [SETUP] button.
The setup menu closes.


