54
First Time Setup—Continued
For the onscreen setup menus to display properly, you
must specify the TV system used in your area.
Note:
This procedure can also be performed on the AV control-
ler by using its [SETUP] button, arrow buttons, and
[ENTER] button.
For FM/AM tuning to work properly, you must specify
the FM/AM frequency step used in your area. Note that
when this setting is changed, all radio presets are
deleted.
TV Format Setup (European and
Asian models)
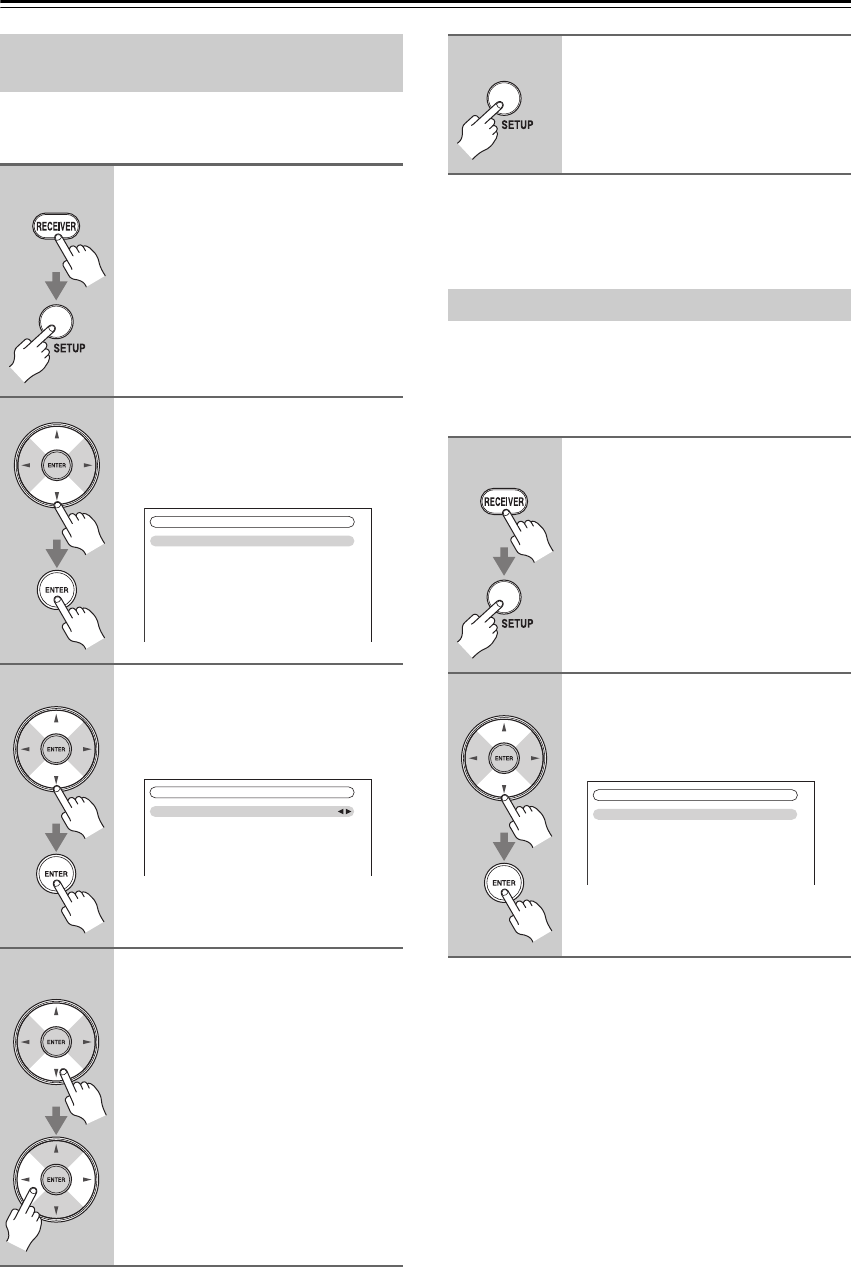
1
Press the [RECEIVER] button fol-
lowed by the [SETUP] button.
The main menu appears onscreen.
If the main menu doesn’t appear, make
sure the appropriate external input is
selected on your TV.
2
Use the Up and Down [ ]/[ ] but-
tons to select “6. Miscella-
neous”, and then press [ENTER].
The “Miscellaneous” menu appears.
3
Use the Up and Down [ ]/[ ] but-
tons to select “2. OSD Setup”,
and then press [ENTER].
The “OSD Setup” menu appears.
4
Use the Up and Down [ ]/[ ] but-
tons to select “TV Format”, and
then use the Left and Right
[ ]/[ ] buttons to select:
Auto: Select this to automatically
detect the TV system from the
video input signals.
NTSC: Select if the TV system in
your area is NTSC.
PAL: Select if the TV system in
your area is PAL.
1. Volume Setup
2. OSD Setup
3. 12V Trigger A Setup
4. 12V Trigger B Setup
5. 12V Trigger C Setup
6. Miscellaneous
6–2. OSD Setup
Immediate Display
Display Position
TV Format
Language
On
Bottom
Auto
English
5
When you’ve finished, press the
[SETUP] button.
The setup menu closes.
FM/AM Frequency Step Setup
1
Press the [RECEIVER] button,
followed by the [SETUP] button.
The main menu appears onscreen.
If the main menu doesn’t appear, make
sure the appropriate external input is
selected on your TV.
2
Use the Up and Down [ ]/[ ] but-
tons to select “7. Hardware
Setup”, and then press [ENTER].
The “Hardware Setup” menu appears.
7. Hardware Setup
1. Remote ID
2. Multi Zone
3. Tuner
4. HDMI
5. Network
6. Firmware Update


