


Page 14 GPS Chart Plotters
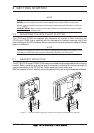
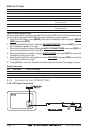
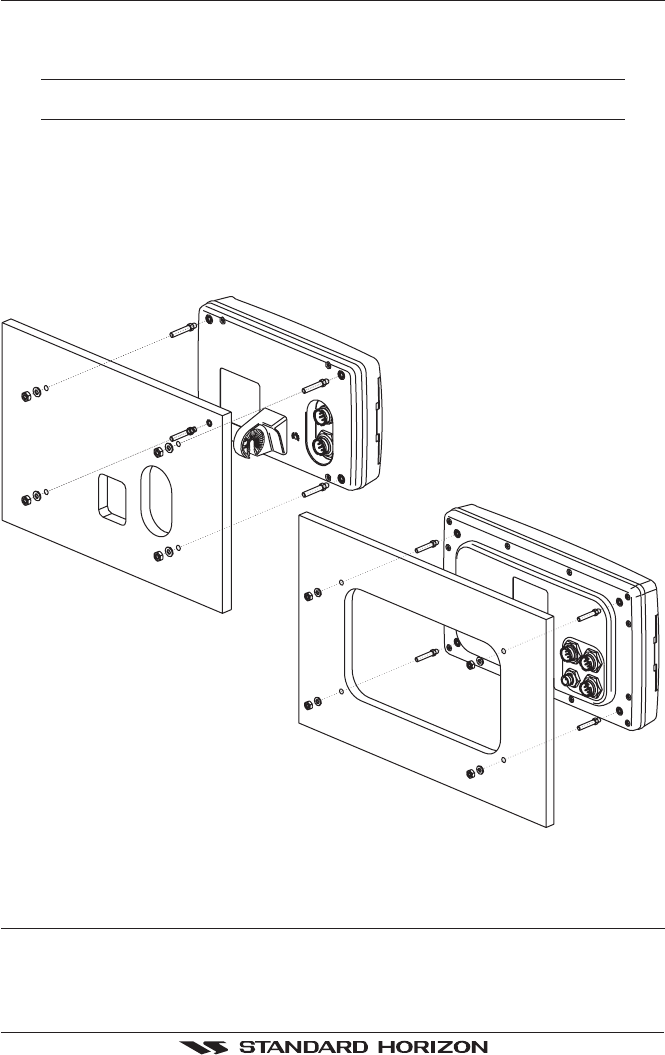
2.2 CP180 AND CP300 FLUSH MOUNTING
The CP180 and CP300 are supplied with a flush mount template for the cutout hole and
screw holes required to install the GPS Chart Plotter.
NOTE
Before drilling holes make sure there is enough room to mount the GPS Chart Plotter and there
are no obstructions.
1. After a location is found, peel the template label from the backing and apply the label
to the mounting area.
2. Drill a hole in one area of the cutout area that will allow the blade of a jig saw to be
inserted. Insert and cut out the area on the panel using the jig saw.
3. Next drill the four holes required to insert the GPS Chart Plotter with the mounting studs.
4. Install the mounting studs on the GPS Chart Plotter and insert into the mounting hole.
5. Attach the GPS Chart Plotter to the mounting location by attaching the supplied
hardware to the mounting studs.
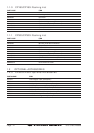
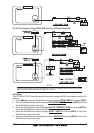
Figure 2.2 - Example of Flush installation (CP180 on the left side and CP300 on the right side)
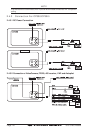
2.3 MOUNTING THE CP180 OR THE CP300 EXTERNAL GPS
ANTENNA
The CP180 and CP300 are supplied with a external GPS WAAS antenna with 30 feet of
routing cable. This antenna is designed to be mounted on a base, installed on an extension
or even flush mounted.