


CP500 Page 23
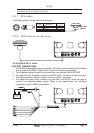
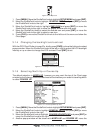
moved to the next position. Pressing the ShuttlePoint knob up/down changes the value;
pressing the ShuttlePoint knob left/right moves the cursor to the previous/next location.
3.1 GETTING STARTED
The Getting Started section will take you through the frequently used operations and assist
you to customize the look of the GPS Chart Plotter.
3.1.0 Power On, Off and ShuttlePoint knob operation
1. Press and hold [PWR] until the display shows the start-up page. To turn off, press and
hold [PWR] until the display turns off.
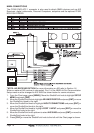
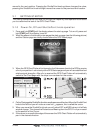
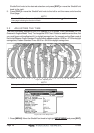
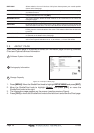
2. When the power is first turned on two pages the start-up page (see the following picture)
and the Caution page are briefly shown before the GPS Status page.
Figure 3.1.0 - Start-Up page
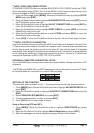
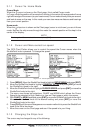
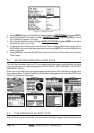
3. When the GPS Chart Plotter is first turned on it will take some time for the GPS to acquire
a fix of your position. Look closely at the GPS Status page and you will see satellites and
relative signal strengths. After a fix is received the GPS Chart Plotter will automatically
switch to the Chart page with the ships icon centered on the screen.
Figure 3.1.0a - GPS Status and Chart pages
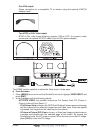
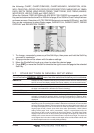
4. On the Chart page the ShuttlePoint knob is used to pan around the chart. Move the ShuttlePoint
knob to the left and you will notice a cross hair
appears, this is called the cursor.
5. When you move the ShuttlePoint knob you will notice DST and BRG values in the Data
window change. This shows the Distance and Bearing from the GPS Fix of your vessel
to the position of the Cursor.
6. If the cursor is moved to the edge of the screen the GPS Chart Plotter will automatically
pan in the desired direction.