


Page 38 CP500
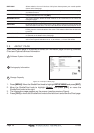
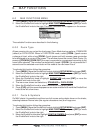
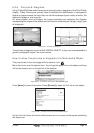
4. The menu now shows two selections, NORMAL or LARGE.
5. Move the ShuttlePoint knob to select the selection and press [ENT].
6. Press [CLR] until the menu disappears or an easier method is to move the ShuttlePoint
knob to the left a few times.
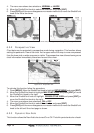
Figure 6.0.1 - Example of Normal size (on the left side) and Large size (on the right side) settings
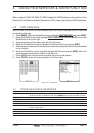
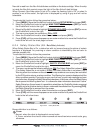
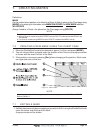
6.0.2 Perspective View
Chart data may be projected in perspective mode during navigation. This function allows
setting the panoramic View of the chart. As the upper side of the map is more compressed
than the lower side, a wider map area is visible. The perspective view allows showing more
chart information immediately ahead and around the cursor.
Figure 6.0.2 - Perspective View
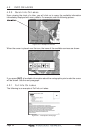
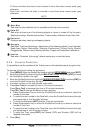
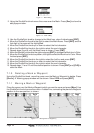
To activate this function follow the procedure:
1. Press [MENU]. Move the ShuttlePoint knob to highlight
SETUP MENU and press [ENT].
2. Move the ShuttlePoint knob to highlight
MAX FUNCTIONS and press [ENT] or move
the ShuttlePoint knob to the right.
3. Move the ShuttlePoint knob to highlight
PERSPECTIVE VIEW and press [ENT] or
move the ShuttlePoint knob to the right.
4. The menu now shows two selections,
ON or OFF.
5. Move the ShuttlePoint knob to select the selection and press [ENT].
6. Press [CLR] until the menu disappears or an easier method is to move the ShuttlePoint
knob to the left until the chart page is shown.
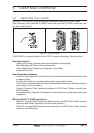
6.0.3 Dynamic Nav-Aids
This function allows the Nav-Aids to be turned On or Off. The blink period and color of each