Defining QC Setups . . . continued
Averaging - Is used to enter the number of readings (1 - 5) that the
instrument will require to obtain a measurement.
☛
If "Auto Setup" is turned "ON" in Operation Options (Sec. 7.1), individual setup averages will not be
allowed. The Setup will use the global averaging number that is selected in the Auto Setup option
(see Sec. 7.1).
Setup Entry Procedure
The following is a step-by-step procedure for defining the setups.
☛
"PASS/FAIL", "555 SHADE TAG", or "555 &
PASS/FAIL" function must be selected in order to
access QC Setup function.
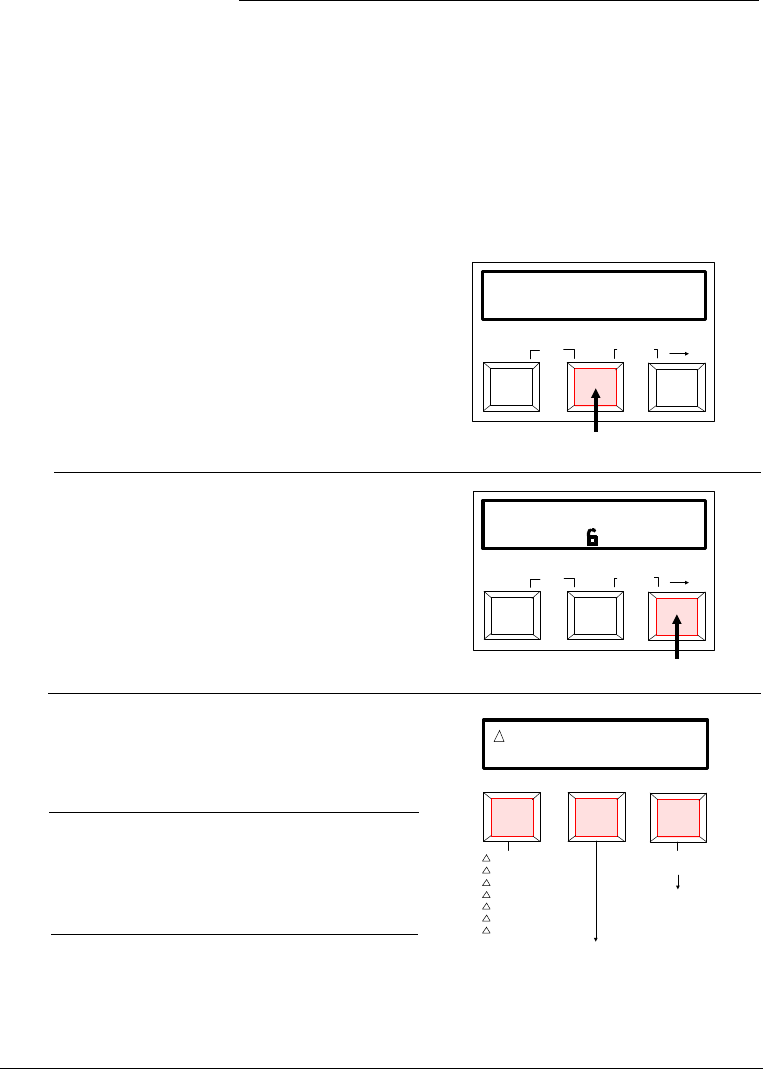
1) Repeatedly press [SETUP] to select
the setup # requiring definition.
☛
There is approx. 3 seconds allowed between
depressions of the "SETUP" key before the
display returns to normal operation.
2) Press [REF] (define) key to define
selected setup.
☛
Pressing [FUNCTION] will load the selected setup
# data into the unit. See Section 3.2 for more detail.
If the lock icon is closed, setup #’s 2-30 can not be
changed.
3) Press [FUNCTION] (space) key to
page through available color spaces.
4) Press [REF] (illum) key to page
through available illum/obs
combinations.
5) Press [SETUP] (next) key to save
selections and advance to Pass/Fail
Limits.
3-6
➩
SETUP # 1
FUNCTION SETUP REF
CAL
STORE
(-)
(+)
( )
load
define
PRESS REPEATEDLY
SETUP # 2
FUNCTION SETUP REF
CAL
STORE
(-)
(+)
( )
load
define
PRESS
L*a*b*
FUNCTION SETUP REF
space illumnext
C 2
A 2
A 10
F12 10
L*a*b*
L*C*H*
XYZ
Lab (Hunter)
WHT
YEL
ECMC
CONTINUED


