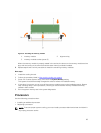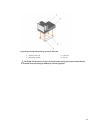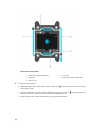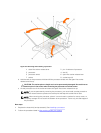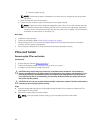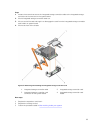
3. thermal-grease syringe
NOTE: The thermal-grease is intended for one-time use only. Dispose of the syringe after
you use it.
c. Place the heat sink onto the processor.
d. Tighten the four screws to secure the heat sink to the system board.
NOTE: Tighten the screws diagonally opposite to each other. Do not over-tighten the heat
sink retention screws when installing the heat sink. To prevent over-tightening, tighten the
retention screw until resistance is felt, and stop once the screw is seated. The screw tension
should be no more than 6 in-lb (6.9 kg-cm).
Next steps
1. Install the cooling shroud.
2. Follow the procedure listed in After working inside your system.
3. While booting, press <F2> to enter the System Setup and check that the processor information
matches the new system configuration.
4. Run the system diagnostics to verify that the new processor operates correctly.
PCIe card holder
Removing the PCIe card holder
Prerequisites
1. Ensure that you read the Safety instructions.
2. Follow the procedure listed in Before working inside your system.
3. If installed, remove the full-length PCIe card.
CAUTION: Many repairs may only be done by a certified service technician. You should only
perform troubleshooting and simple repairs as authorized in your product documentation, or as
directed by the online or telephone service and support team. Damage due to servicing that is
not authorized by Dell is not covered by your warranty. Read and follow the safety instructions
that came with the product.
CAUTION: Do not use your system without the PCIe card holder installed. The PCIe card holder is
necessary to ensure proper system cooling.
Steps
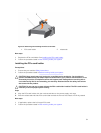
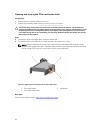
1. Press the release tab and slide the card holder toward the back of the chassis to release the PCIe
card holder from the chassis.
2. Lift the PCIe card holder out of the chassis.
NOTE: To ensure proper system cooling, you must replace the PCIe card holder.
90


