Installing and Configuring the PassageWay
Service Provider
2-16
7. Choose the Next button.
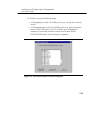
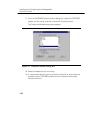
The Select Destination Directory dialog box appears. This dialog box
displays the name of the directory where the PassageWay Service
Provider software will be installed by default.
8. If the default directory is unacceptable, choose the Browse button
and specify an alternative directory. Otherwise, proceed to Step 9.
9. Choose the Next button.
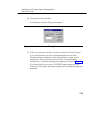
If you are using Windows 95 or Windows NT 4.0 or later, the Select
App Folder dialog box appears. This dialog box displays the name of
the application folder to which the PassageWay Service Provider
icons will be added. Proceed to Step 10.
If you are using Windows 3.1 or later, the Select ProgMan Group
dialog box appears. This dialog box displays the name of the
Program Manager group to which the PassageWay Service Provider
icons will be added. Proceed to Step 10.
10. If the default application folder (for Windows 95 and Windows NT 4.0
or later) or program group (for Windows 3.1 or later) is unacceptable,
enter the name of the new folder or group to be created or select an
existing folder or group. Otherwise, proceed to Step 11.
11. Choose the Next button.
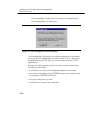
The Ready to Install dialog box appears.
12. Choose the Next button.
The installation program copies files from the source diskette or CD-
ROM to the destination directory. The installation program displays a
message box to inform you of its status as it installs files.
If you are installing from diskette, insert the requested diskette into
the PC when prompted, and choose the OK button.


