Conveying System Mechanical Components Chapter 3: Installation 61 of 138
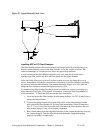
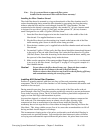
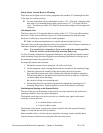
3. Rotate the dial until the material flows at a steady rate, then throttle it back a bit when
surging or flooding occurs. System vacuum should be between 8” Hg (271 millibars)
to 12” Hg (339 millibars) for best rates.
4. Lock the dial in place with the set screw when you have determined the best setting
for a particular material. Make note of the setting and vacuum level for future
reference.
Adjusting Fast Take-off (FCO) Compartments
When adjusting fast clean-out take-off compartments, make adjustments in small increments
(especially in systems with long runs) to allow air flow to equalize throughout the system.
FCO-1.5M
In some applications, material flow characteristics may require a more defined air-to-material
ratio. You can do this easily by covering one or more of the aeration holes located at the top
of the inlet tube in FCO-1.5M fast clean-out take-off compartment models.
FCO-1.5MD
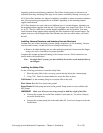
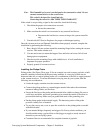
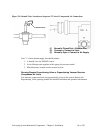
The FCO-1.5MD model fast take-off compartment has adjustable inner tubes fitted to the
fixed outer tube. These adjustable inner tubes are locked down by a hold-down screw on the
outer tube. Loosen this screw to adjust the inner tube.
When the adjustable inner tube is completely inside the material compartment and the
indicator knob is in a vertical position, no material can be conveyed in the system. Adjust the
tube by pulling it away and keeping the indicator knob vertical.
The maximum amount of material can convey when the reference hole on the adjustable
inner tube is outside the edge of the outer tube. Vary the amount of material conveyed by
rotating the inner adjustable tube.
To clean out material in the FCO-1.5MD model fast take-off compartment, unscrew the plug
at the bottom.
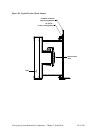
Installing the Powder Check Adapter (Box Style; EVTO; FEVTO only)
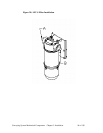
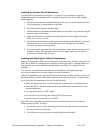
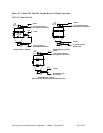
The powder check adapter is usually factory-installed. When installing the powder check
adapter, make sure you install it on the tube stub as shown below. Remove the filter on the
take-off compartment and install the adapter using the four screws provided, then replace the
filter. No other adjustments are required.


