© 2011 Schneider Electric. All Rights Reserved.
63230-500-225A2 PowerLogic
TM
Series 800 Power Meter
3/2011 Chapter 3—Operation
13
Power Meter Setup
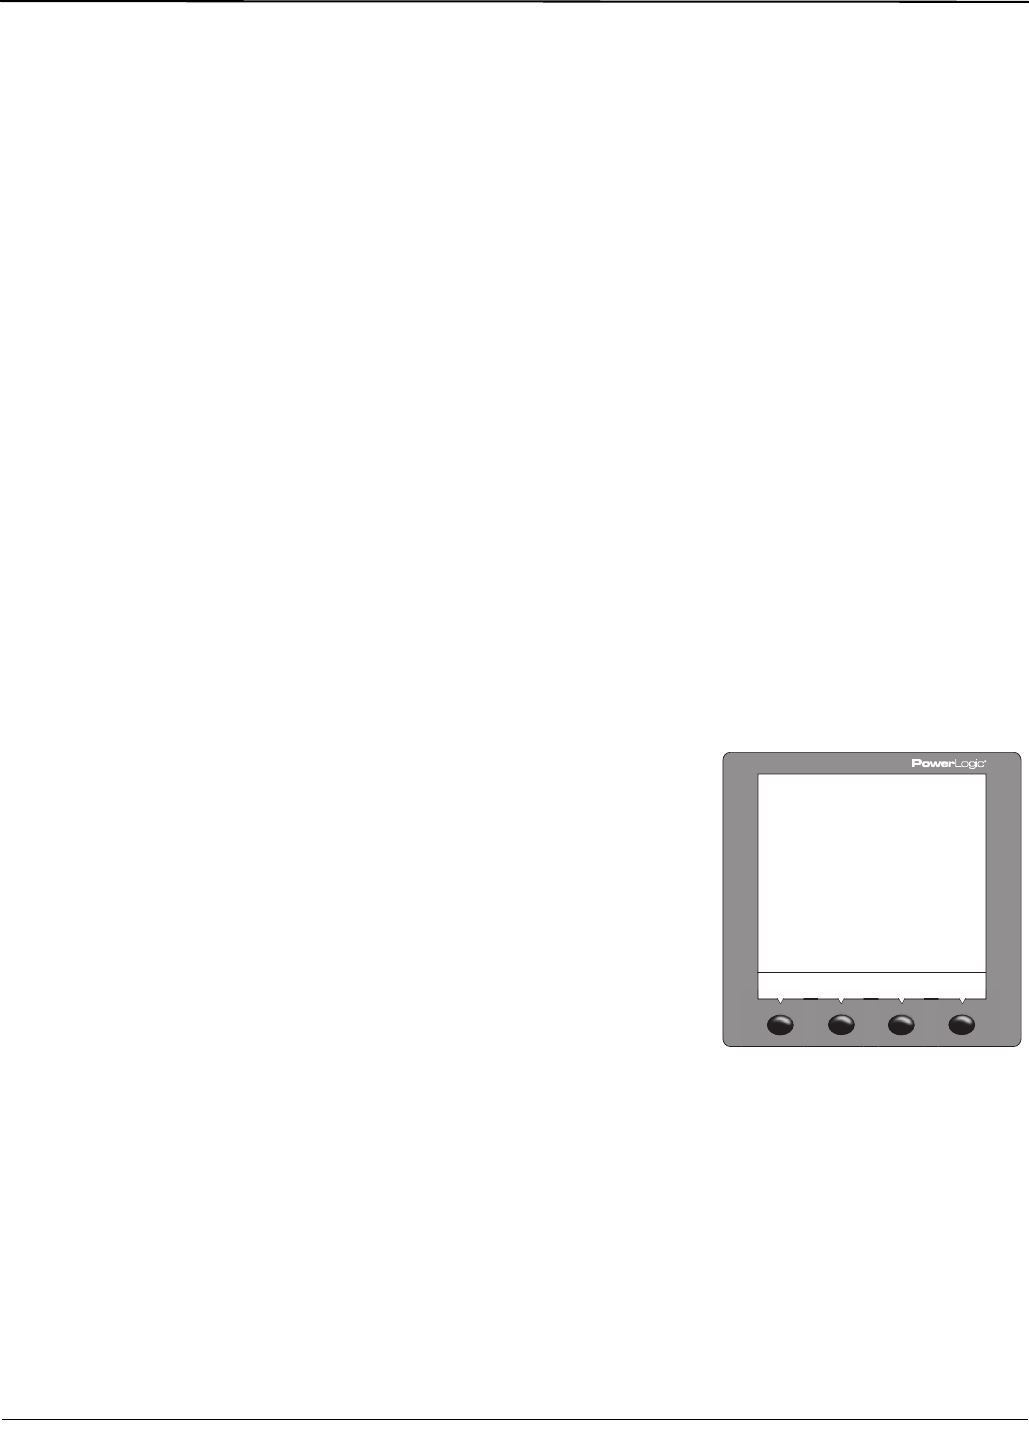
Power meter setup is typically performed by using the meter’s front panel display. To
configure a power meter without a display, you will need a means of communication
between the power meter and your computer. Additionally, you will need to install
PowerLogic Meter Configuration Software or PowerLogic ION Setup Software on your
computer. These can be downloaded from the Schneider’s www.Schneider-Electric.com
website.
Power meter setup is performed through the meter’s maintenance (MAINT) option. Refer to
Figure 3–2 on page 12. Setup features may be programmed individually or in any order. To
access the Setup features, follow these steps:
SETUP MODE Access
1. Press ###: to scroll through the Level 1 menu until you see MAINT.
2. Press MAINT.
3. Press SETUP.
4. Enter your password, then press OK. The SETUP MODE screen will be displayed.
NOTE: The default password is 0000.
5. Press
###: to scroll through the setup features and select the one to be programmed.
After programming a feature, you may continue through the remaining features by returning
to the SETUP MODE screen and pressing
###: to scroll to additional features.
Once you have selected the correct options for each setup parameter, press
1; until the
SAVE CHANGES? prompt appears, then press YES. The meter will reset, briefly display
the meter info screen, then automatically return to the main screen.
Use the menu provided in Figure 3–2 on page 12 to locate the setup features described in
the following topics:
DATE Setup
1. Perform steps 1 through 5 of the SETUP MODE
Access procedure on page 11.
2. Press
###: until DATE is visible.
3. Press DATE.
4. Enter the MONTH number.
5. Press OK.
6. Enter the DAY number.
7. Press OK.
8. Enter the YEAR number.
9. Press OK.
10. Select how the date is displayed: M/D/Y,
Y/M/D, or D/M/Y).
11. Press OK to return to the SETUP MODE
screen.
12. Press
1; to return to the main screen.
13. To verify the new settings, press MAINT >
DIAG > CLOCK.
NOTE: The clock in the PM810 is volatile. Each time the meter resets, the PM810 returns
to the default clock date/time of 12:00 AM 01-01-1980. See “Date and Time Settings” on
page 69 for more information. All other PM800 Series meters have a non-volatile clock
which maintains the current date and time when the meter is reset.
$!4%3%450
/+
$!9
9%!2
-$9
-/.4(
