


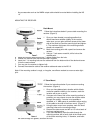
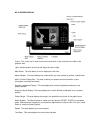
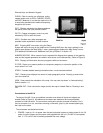

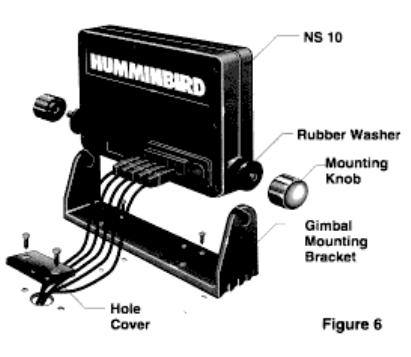
INSTALLING THE CONTROL HEAD
Gimbal Bracket Mount
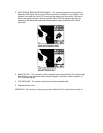
Follow instructions below for mounting the NS 10 with the gimbal bracket. (Refer to
Figure 6)
1. Set the gimbal bracket on the mounting surface.
2. Mark the position of the 4 mounting holes for mounting screws.
3. At least 3" behind the bracket, mark and drill a hole 5/8" to 3/4" in diameter through which to
route the cables.
4. Position the hole cover over the 5/8" hole. Mark and drill the two 1/8" mounting screw holes.
5. Move the bracket aside and drill 4, 1/8" holes at the marked points.
6. Pull the power cable, the receiver cable, and any accessory cables through the 5/8" hole.
7. Mount the bracket to the boat using 4-1" wood screws.
8. Install the hole cover over the 5/8" hole routing the cables through the slots, but do not fully
tighten the mounting screws until you determine how much cable to leave exposed.
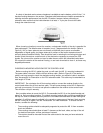
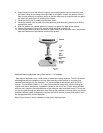
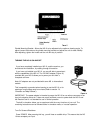
9. Insert the cable connectors into the corresponding numbered connector port on the NS 10. The
connectors are keyed to insure correct orientation. (Refer to Figure 9)
10. Install the NS 10 on the gimbal bracket using the knobs supplied with the rubber washers on
the inside of the gimbal bracket.
11. Ensure that sufficient slack is available in the cables to allow tilting the unit, then fully tighten
the hole cover screws, which serves as a strain relief for the cables.
Note: The NS 10 should be connected to the power independent of the ignition switch, because
the NS 10 will have to be restarted if power is disconnected at the source. Use an auxiliary
battery, if available. This will prevent the battery voltage to the NS 10 from becoming too low
while starting the boat engine.