


IMPORTANT: Do not shorten the 40' receiver cable or connect the receiver directly to the control
head without the 40' receiver cable. This will cause damage to the NS 10 electronics and void
your warranty. Do not cut and splice the cables from the receiver to the control head. This will
also void your warranty.
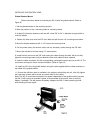
If your boat does not have a fuse panel, you can wire the power cable directly to the
battery with an in-line fuse holder (not included) in the positive (+) wire. Never connect the NS 10
to an unprotected power source. Connect the black wire to the ground strip or negative (-)
terminal, and the red wire to a properly fused positive (+) terminal. The fuse (not included) should
be a 1 amp slow blow fuse available at any marine or automotive distributor.
Note: The NS 10 should be connected to power independent of the ignition switch, because the
NS 10 will have to be restarted if power is disconnected at the source. Use an auxiliary battery, if
available. This will prevent the battery voltage to the NS 10 from becoming too low while starting
the boat engine.
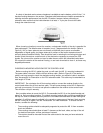
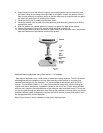
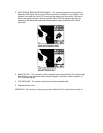
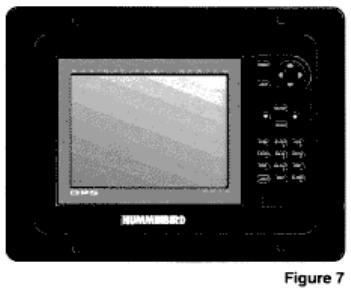
Optional Flush Mount
Figure 7 shows a flush mounted NS 10 control head. If you would like to flush mount your NS 10
additional hardware is available. (Refer to section V11. Accessories)
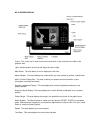
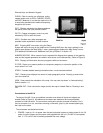
BASIC FUNCTIONS: GETTING STARTED
This section contains the information needed to begin navigating with your NS 10. After
familiarizing yourself with the “Screen Display” and reading through “Turning the NS 10 ON”, the
basic functions will be introduced. These involve the use of both discrete keys and the Select
System> In addition to this section you should view the instructional video to help you
immediately begin navigation once the system has been installed on your boat.
If you have not already installed your NS 10 you may experiment with the operation of the NS 10
by using the built in simulator (Refer to section 1V. “Simulator and Map Preview).
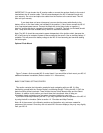
Note: All of the screens in the following sections are illustrations only and were created for
purposes of this manual. Since they are not actual NS 10 screen displays, they may vary slightly
from your NS 10.