


4-16 Upgrading Your System
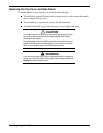
Note:
Observe static precautions. Use an antistatic wrist strap.
Hold DIMMs only by their edges.
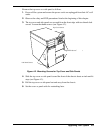
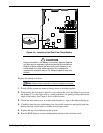
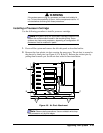
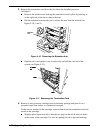
3. Open the ejectors on both sides of the memory board (see Figure 4-8). Holding the
memory board by its edges, carefully pull it out until the edge connectors are free.
Place the memory board on an antistatic surface.
Figure 4-8. Memory Board Ejectors
4. Holding the DIMM module only by the edges, remove it from its antistatic package.
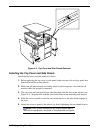
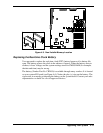
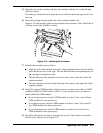
5. DIMMs are keyed so they can only be inserted one way. Position the DIMM over
the socket on the board (see Figure 4-7, A and B). The notches in the bottom edge
of the DIMM mate with the raised bumps in the DIMM socket.
6. Press down evenly on the DIMM until it seats correctly. The white levers on the
sockets are not "tools" to aid in the insertion, only to keep the DIMMs in place and
to aid in extraction. The levers should click in place once the DIMM is fully
inserted.
7. Repeat the above steps to install any remaining DIMMs.
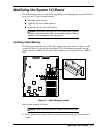
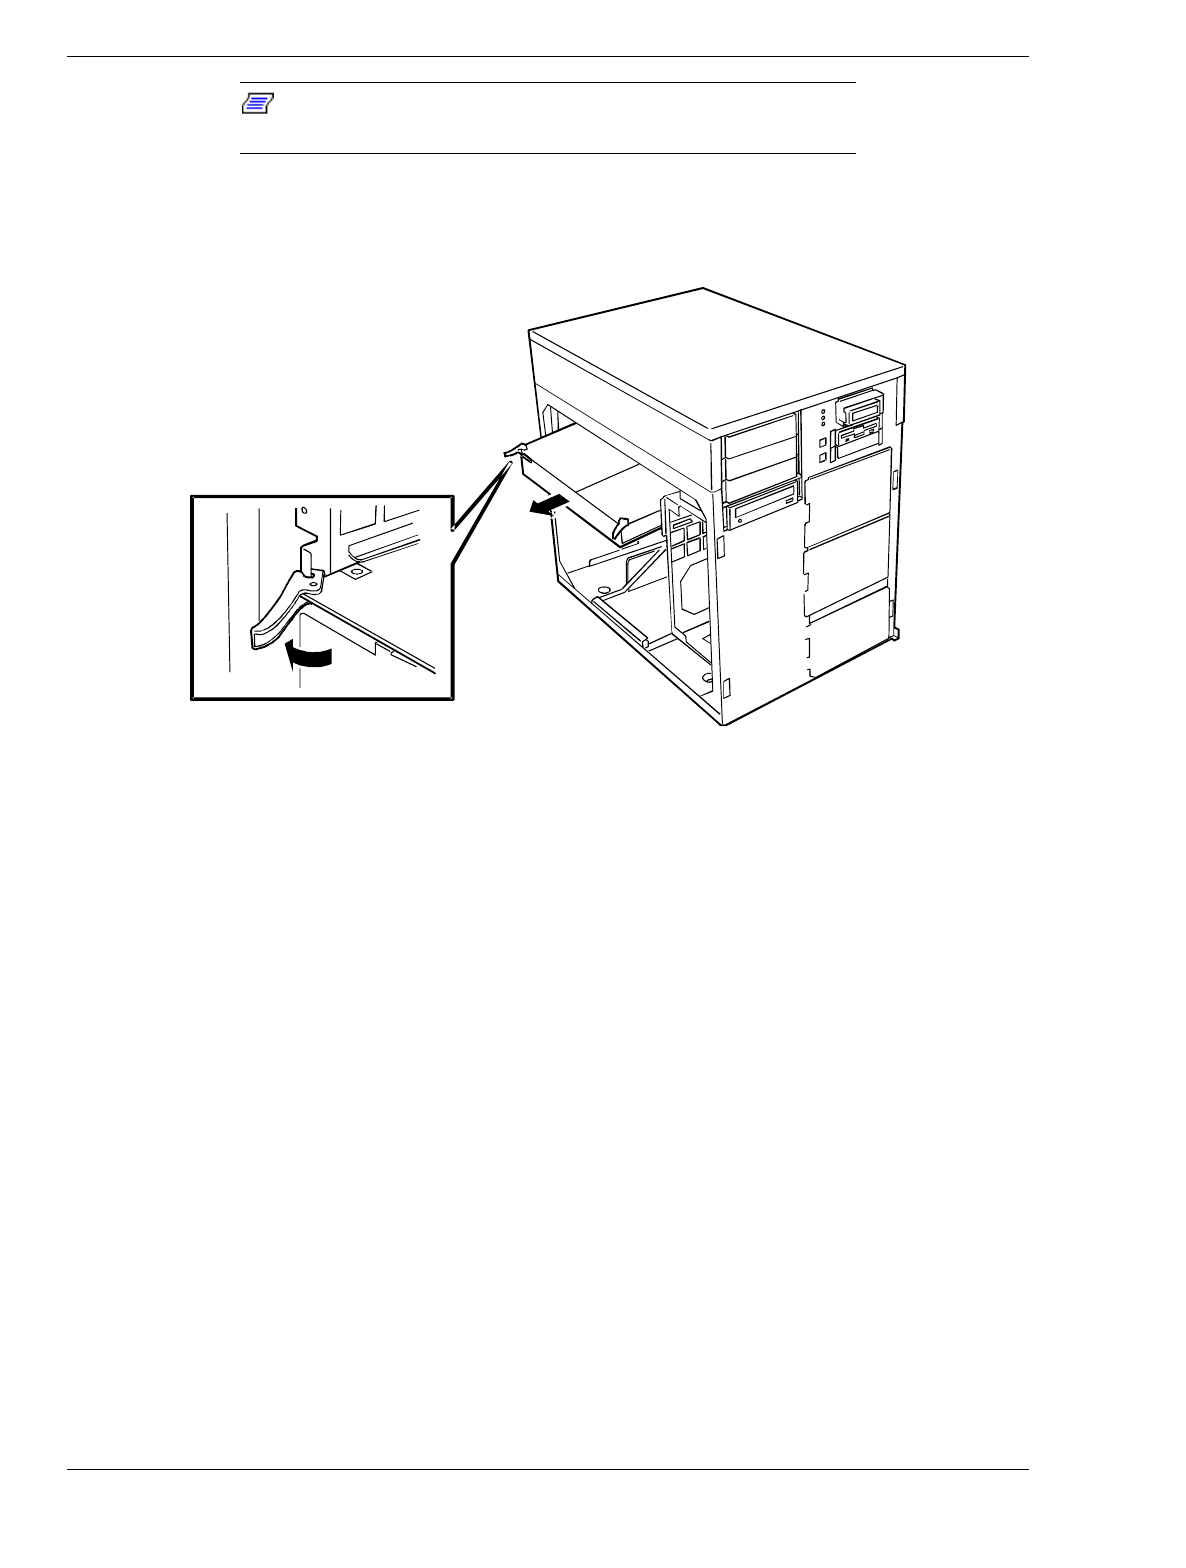
8. Hold the memory board by its edges and start to insert it into the slot guides. On the
CPU baseboard, locate the memory board connector. Do not press in on the board
yet! Ease board into the slot guides until it is just touching the connector on the
CPU baseboard.
9. Be sure the ejector levers are extended so they can engage the chassis frame. Press
the board carefully but firmly into the CPU baseboard connector to seat the board.
Close the ejectors on both sides of the memory board. Be sure the ejector is firmly
hooked in the chassis frame before closing the ejector.