


4-26 Upgrading Your System
Installing an Option Board
Install an option board as follows.
1. Power off the system and remove the top cover as described earlier in this chapter.
Note:
Observe static precautions. Use an antistatic wrist strap.
2. Remove the option board from its protective wrapper, holding the board only by the
edges. Do not touch the board components or the gold connectors.
3. Record the option board serial number in the equipment log.
4. Set any board jumpers or switches as described in the documentation that comes
with the option board.
Note:
Refer to the documentation accompanying the option
board for information on whether the board is to be installed in a PCI
or ISA expansion slot.
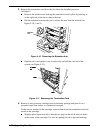
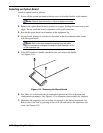
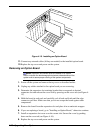
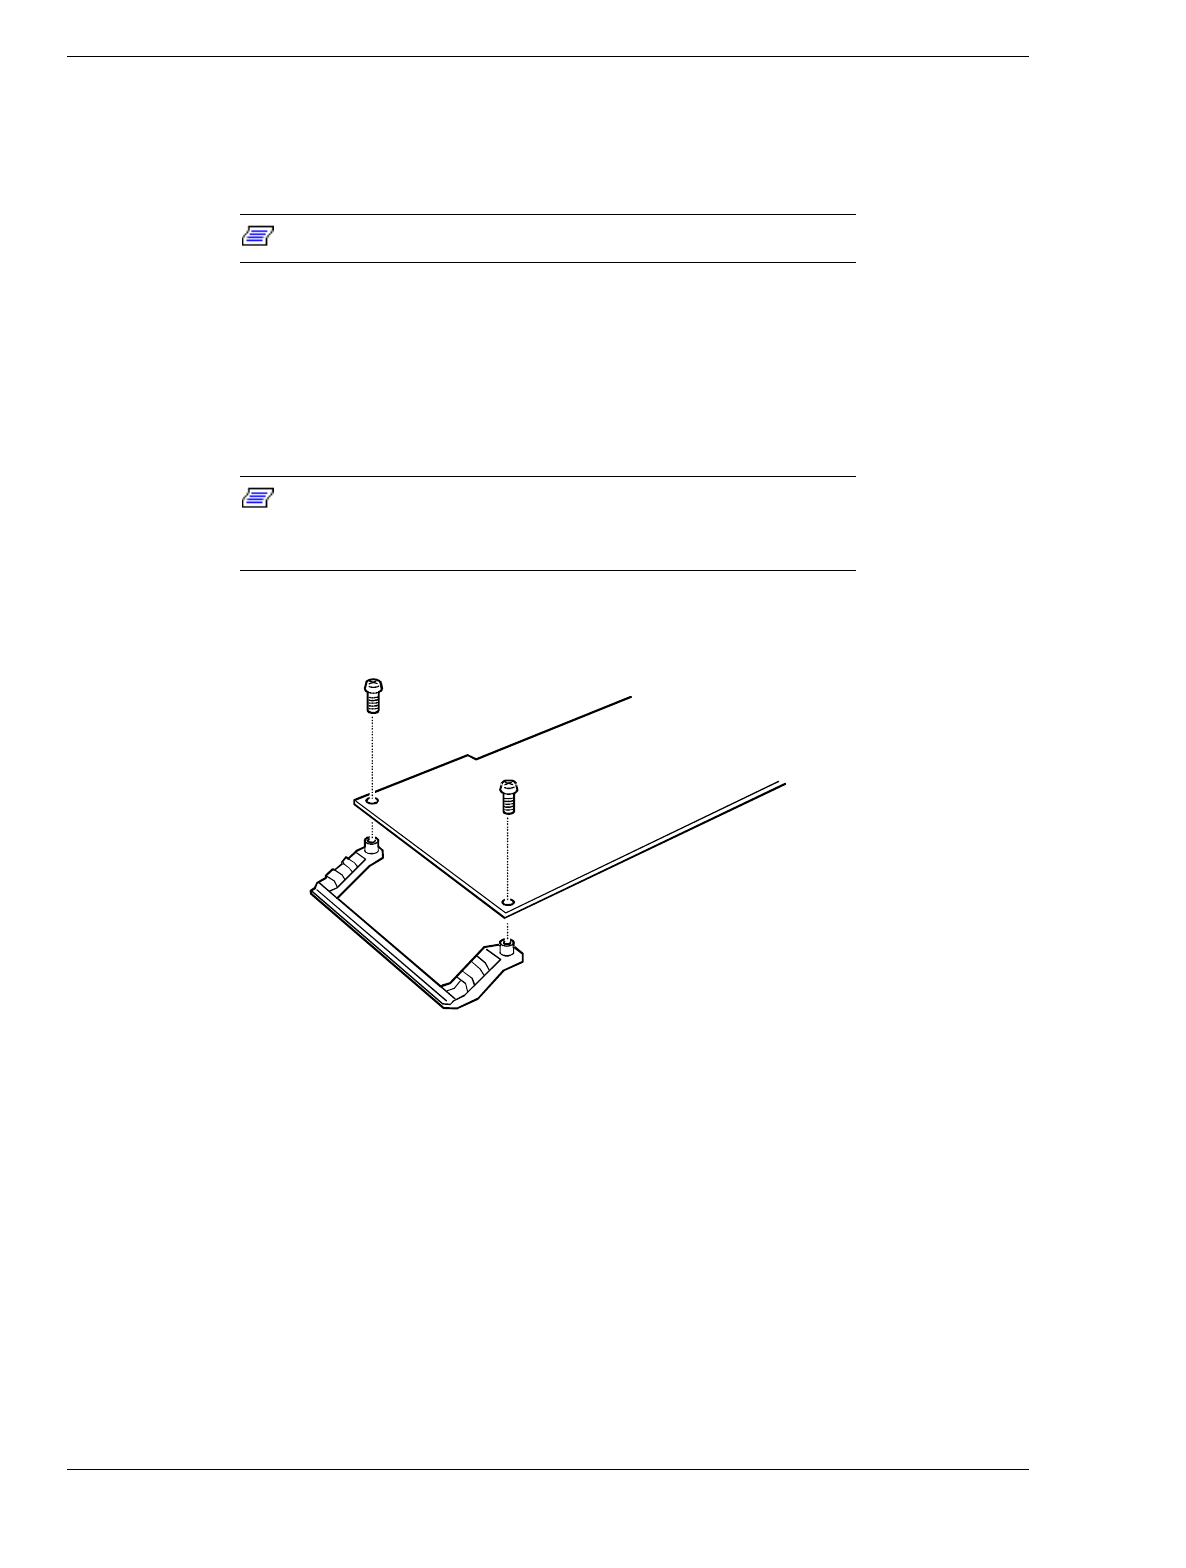
5. If the PCI board has a handle attached to one end, remove the handle
(see Figure 4-14).
Figure 4-14. Removing the Board Handle
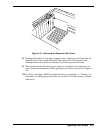
6. See Table 4-1 to determine the recommended option board slot assignment and
configuration parameters. See Figure 4-13 to determine system board slot locations.
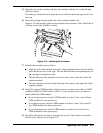
7. Determine the expansion slot cover that corresponds to the desired expansion slot.
Release the cover lock by pressing on the cover tab and remove the expansion slot
cover (see Figure 4-15).