


Page 25CPV550
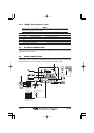
2.13 VIDEO INPUT
By accessing this menu it is possible to see images on the CPV550 display from an external
video signal source, if connected to the CPV550.
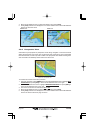
It allows the “picture-in-picture” functionality, so a Video Input image can be shown on a
window and placed over the Chart, Navigation, Highway, Celestial and NMEA pages image
at full screen.
NOTE
If the Video Input signals are not detected (E.g. the video camera is not connected to the Video
Input connector), the VIDEO INPUT menu item will be grayed out.
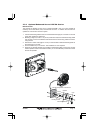
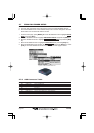
2.13.0 Video Camera Input
The CPV550 has two connections for video camera. Any NTSC or PAL camera will operate
correctly. To connect use the video output of the camera and connect to the optional
ACVC10 cable.
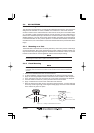
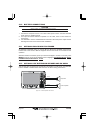
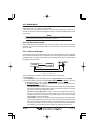
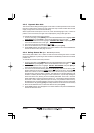
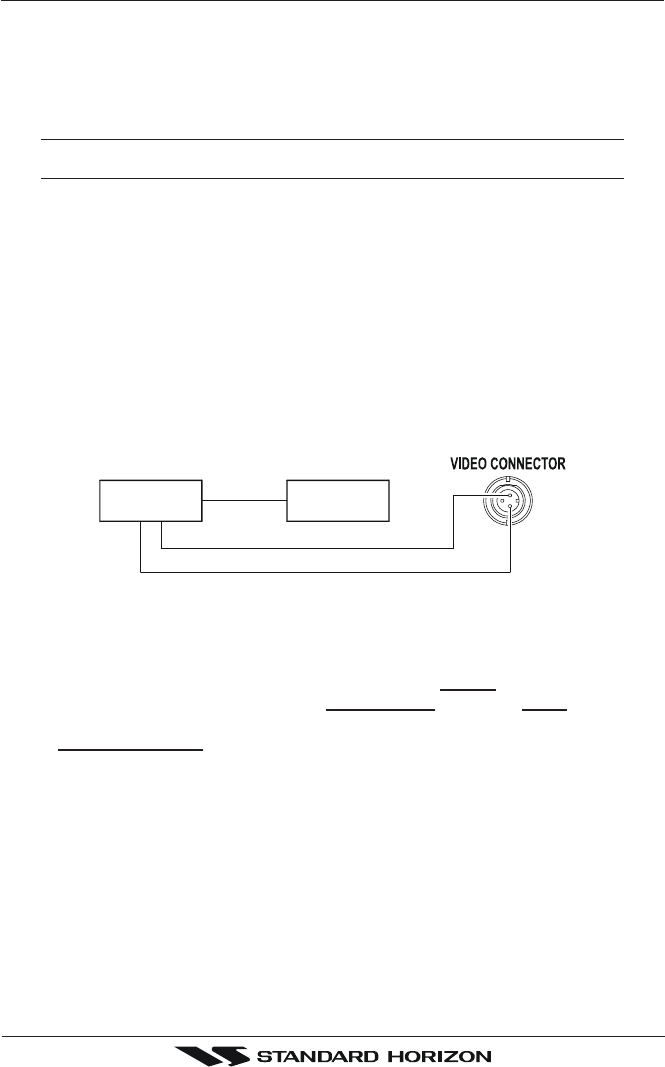
2.13.1 VCR or DVD Input
A VCR or DVD may be connected to either Video port. The CPV550 does not have speakers
so the audio from the VCR or DVD would have to be routed to a stereo system. STANDARD
HORIZON offers an optional cable called ACVC10 that allows any VCR or DVD to simply
be plugged into the CPV550.
VCR/DVD
Audio Out
GND
SIGNAL
Video Signal Out
Video Signal GND
STEREO
SYSTEM
Figure 2.13.1 - VCR/DVD Input
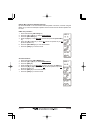
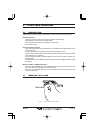
The CVP550 has the capability to select the Video Input in three ways.
I. From the menu
1. Press [MENU]. Move the ShuttlePoint knob to highlight
SETUP and press [ENT].
2. Move the ShuttlePoint knob to highlight
VIDEO INPUT and press [ENT] or move the
ShuttlePoint knob to the right. A menu appears with the following options:
a.
ACTIVATE VIDEO, the possible choices are Full Screen View, PiP (Picture in
Picture) View and Auto Switch (*).
If Full Screen View is chosen, the CPV550 will show a warning message with the
instructions to adjust the image from the Video Input. If the user agrees to proceed,
the image from the video input will be shown.
If Picture in Picture (PiP) View is chosen, a Video Input image can be shown on
a window and placed over the selected page at full screen. By moving the
ShuttlePoint knob, the PiP image is moved. When the focus is on the PiP image,
press [CLR] to close the PiP image.
If Auto Switch is chosen, all the menus will be closed and the video input will be
shown switching between the Video Input Full View (if connected) and the selected
page. See next section for details of setting up the switching times. If the user agrees
to proceed, the image from the video input and the CPV550 page will be shown
intermittently. The intermittence time is selected by Switching Timeout item.