


Page 52 CPV550
and press [ENT].
6 SYM: move the ShuttlePoint knob to highlight the desired symbol and press [ENT].
NAME: the first digit in the name is highlighted. Move the ShuttlePoint knob up or down
to select the first character then move the ShuttlePoint knob to the right to select the next
character. Repeat these steps until the Mark name is shown. Press [ENT].
LAT/LON: the first digit in the Latitude filed is highlighted. Move the ShuttlePoint knob
up or down to select the first character then move the ShuttlePoint knob to the right to
select the next character. Repeat these steps until Latitude is correct. Press [ENT] and
repeat these steps until Longitude is correct too. Press [ENT].
MODE: move the ShuttlePoint knob to highlight the desired mode to display the Mark
and press [ENT].
7. Press [CLR] twice to shown the new Mark on the chart.
8.4 GOTO
The GPS Chart Plotter allows you to quickly start navigating to the Cursor, Route or Mark.
GOTO CURSOR
1. Move the ShuttlePoint knob to the exact position you want to navigate to.
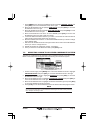
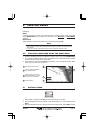
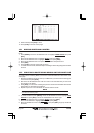
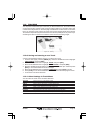
2. Press [GOTO] and a GOTO popup window will be shown
Figure 8.4 - GO TO menu
3. Move the ShuttlePoint knob to highlight CURSOR and press [ENT].
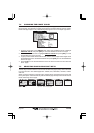
4. The GPS Chart Plotter is now navigating from your current position to the location
selected at step 1.
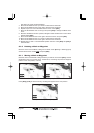
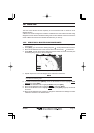
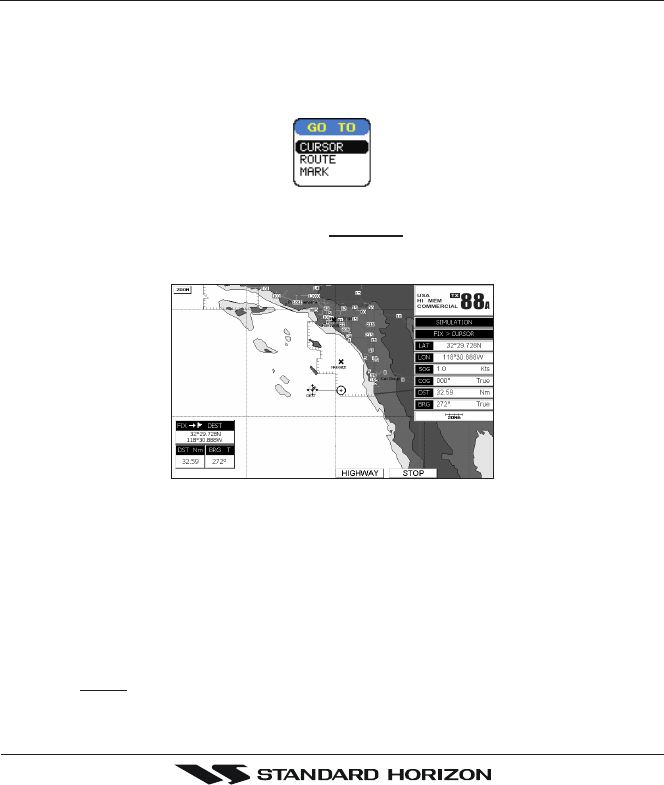
Figure 8.4a - Navigating to Cursor Example
5. Now the GPS Chart Plotter shows a navigation line between the vessels location and
the destination point. A popup window shows the Distance (DST) and Bearing (BRG)
from the vessels location to the destination point.
6. The GPS Chart Plotter is in Cursor mode, to switch to Home mode press [CLR] to
display the vessel on the screen.
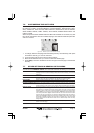
7. Two Soft Keys are also shown that allow you to quickly switch to the HIGHWAY page
or to STOP navigation.
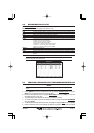
8. To stop navigation you can also press [GOTO] and the WARNING page is shown.
Select
STOP and press [ENT].