


Page 59CPV550
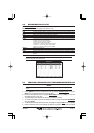
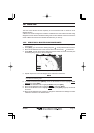
11.0 TRACKING
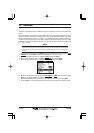
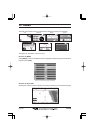
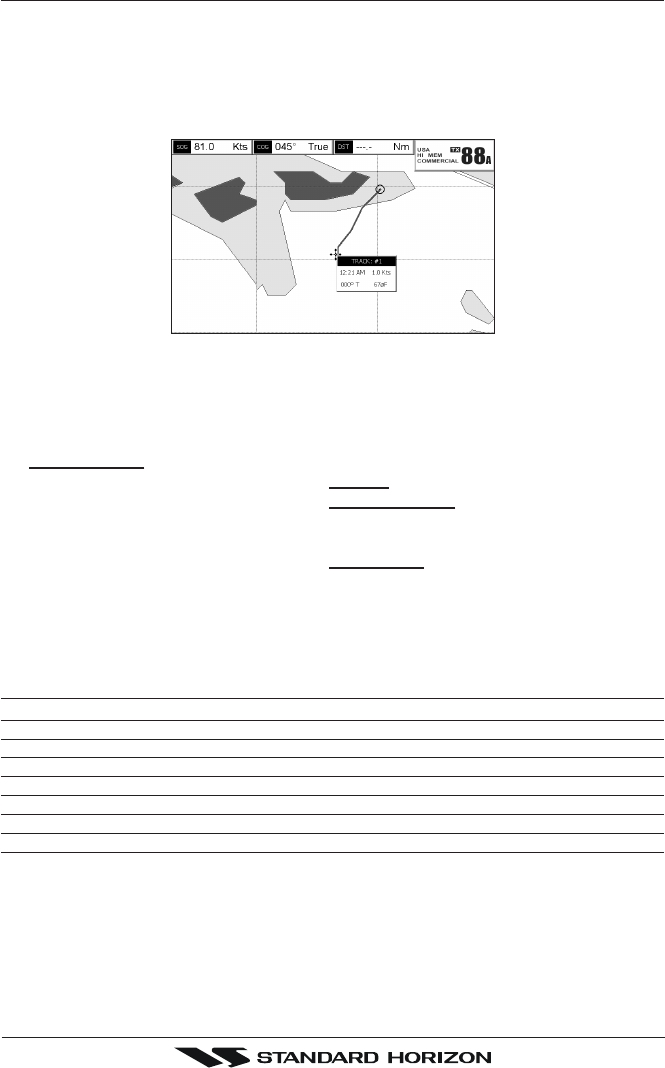
You may have to take a few trips to see how you like the Distance or Time Interval setup
on the previous step. However when using the tracking feature you will notice every time
a Track Point is layed down on the Chart page a small filled in circle is shown on the Track
line. If you move the cursor over the top of the circle a popup window will be shown with the
Time, Water Temperature, Speed and Course Over Ground (COG) this is very useful if you
are fishing and want to review the conditions where the fish were being caught.
Figure 11.0 - Tracking
11.0.0 Saving and starting a new Track
A Track is automatically saved to memory. To start a new Track:
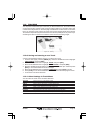
1. From the chart page, press the [MENU] key. Move the ShuttlePoint knob to highlight
USER POINTS and press [ENT].
2. Move the ShuttlePoint knob to highlight
TRACK and press [ENT].
3. Move the ShuttlePoint knob to highlight
ACTIVE TRACK and press [ENT].
4. Move the ShuttlePoint knob up/down to select the next available open Track and press
[ENT] or move the ShuttlePoint knob to the right.
5. Move the ShuttlePoint knob to highlight
TRACKING and press [ENT] to set On.
6. Press [CLR] or move the ShuttlePoint knob to the left until the Chart page is shown.
7. A new Track now will be laid down.
11.0.1 Other Settings in Track Menu
You will notice the Track menu has other selections
TRACKING Allows turning on or off the tracking function
ACTIVE TRACK This selection allows you to save a Track to one of the 5 Tracks available
VISIBLE Shows or hides a Track shown in ACTIVE TRACK menu
LINE COLOR Selects the color of the Track line
DELETE Deletes a Track selected in the ACTIVE TRACK menu
STEP UNIT Allowable selection are Distance or Time
DISTANCE Setup the Distance interval the Track point is placed on the Chart page
TIME Setup the TIME interval the Track point is placed on the Chart page