System Manager/Zone Coordinator User’s Manual32
428516-YUM-B-0908
4. Press the Change Values button to enable editing of the parameters. The screen
updates by displaying buttons that indicate the values you can change.
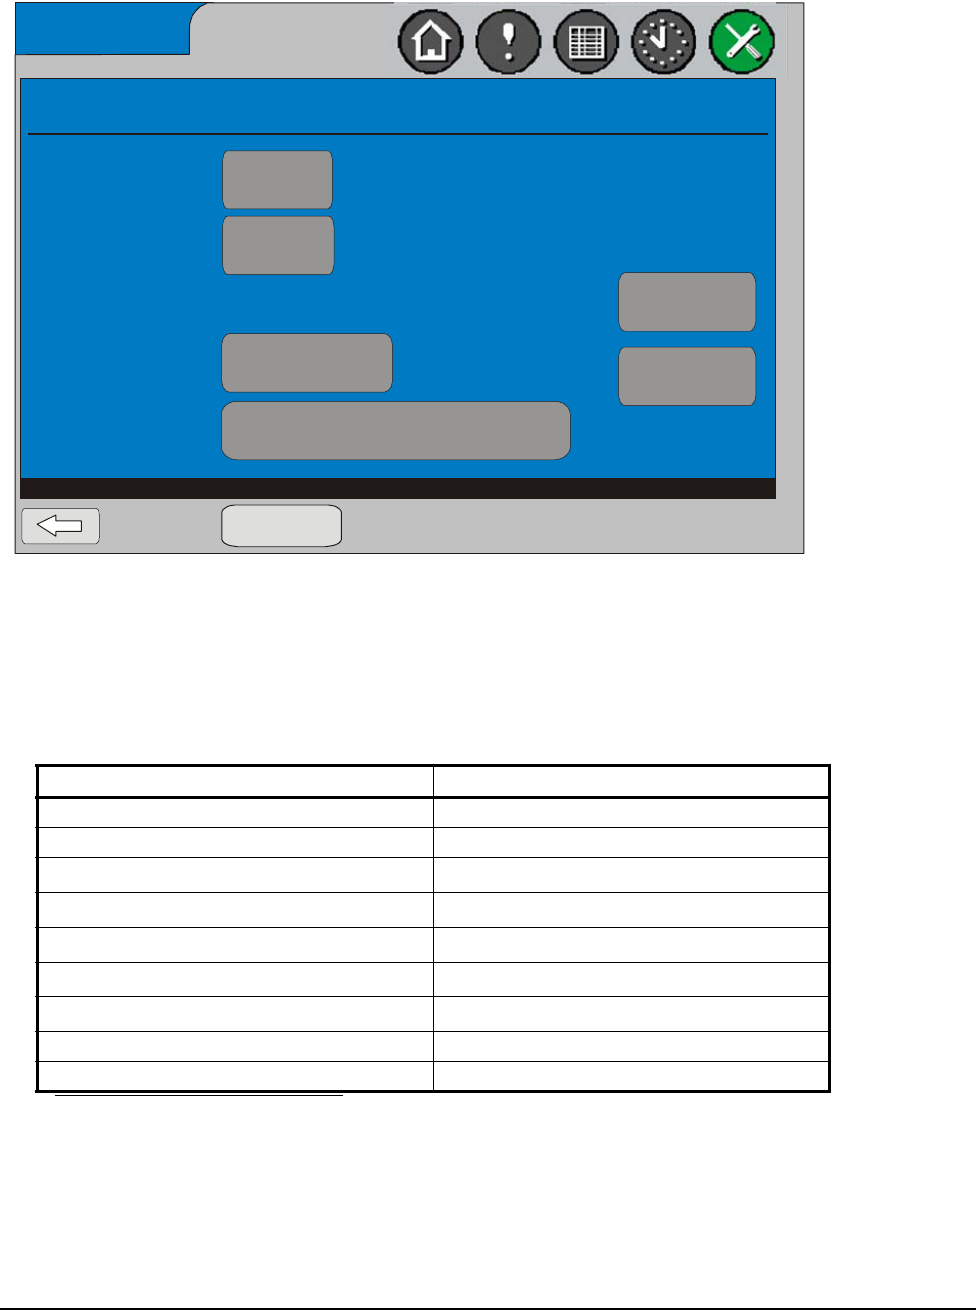
5. Press the button for the Ethernet parameter you want to change. The button
label describes the current setting. When you press the button, the appropriate
screen appears, allowing you to change the value. Table 11 lists these
parameters and their ranges or possible selections.
6. Make the Ethernet parameter changes and press Apply Changes. The Ethernet
Setup screen returns, reflecting the changes you made.
Table 11: Ethernet Parameters
Parameter Parameter Range/Selections
DHCP Enabled True or False
Obtain DNS Address Automatically True or False
Computer Name
Enter computer name up to 15 characters
1
1. A full keyboard screen appears allowing you to enter a name. Press OK to save the name. The
Ethernet Setup screen returns, indicating the name you entered.
Domain Name
Enter domain name up to 24 characters
1
IP Address
2
2. This parameter is editable only when DHCP Enabled is set to False.
Enter IP address, 0 to 255 per segment
IP Mask
2
Enter IP address, 0 to 255 per segment
IP Router Address
2
Enter IP address, 0 to 255 per segment
1st DNS Server IP Address Enter server IP address, 0 to 255 per segment
2nd DNS Server IP Address Enter server IP address, 0 to 255 per segment
Figure 17: Ethernet Setup Screen
Ethernet Setup
DHCP Enabled:
Obtain DNS Address
Automatically:
Ethernet MAC
Address:
Computer Name:
Domain Name:
FIG:EthrntScrn
True
SICSDefault
False
Select values to modify then Apply Changes.
Apply Changes
IP Address:
IP Mask:
IP Router Address:
1st DNS Server IP
Address:
2nd DNS Server IP
Address:
0-10-8d-0-e6-15
192.254.6.83
255.255.252.0
192.254.6.2
10.10.13.2
10.10.15.5
