


25
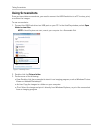
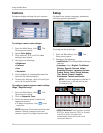
TAKING SCREENSHOTS
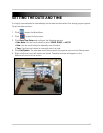
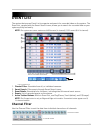
If your system has 8 or 16 channels, you can take screenshots (screen captures) of the main
display of your system. You can take a screenshot at any time: during live viewing, search, and
playback, or in any system menu. Screenshots are useful if you need to provide a still image of
your security footage to the authorities.
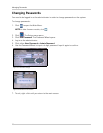
NOTE: A USB flash drive must be connected and formatted to the system in order to take
screenshots.
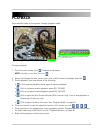
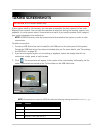
To take a screenshot:
1. Connect a USB flash drive (not included) to the USB port on the front panel of the system.
Format the USB flash drive if you have not already done so. For more details,
see “Formatting
the USB Drive” on page 38.
2. If you want to capture a point in live viewing or playback, select the display view for the
screenshot: single, quad, or split-screen.
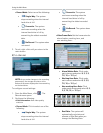
3. Click . The screenshot will appear in the centre of the main display, followed by the file
name. Screenshots are saved to the
Picture folder
on the USB flash drive.
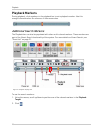
NOTE: Screenshots are saved as JPEG files with the following naming convention: KMMDD00x.jpg
Filename Definition
K System file marker (all screen caps begin with
K
)
MM Month
DD Day
x Numeral (i.e. 001, 002, 003, etc.)
ATTENTION:
8/16-channel models
only
.
Figure 7.3 Screenshot being taken on the system