


40
Using the Main Menu
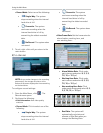
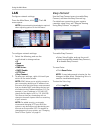
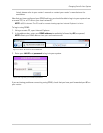
LAN
Configure network settings.
From the Main Menu, click . The LAN
menu opens.
NOTE: Some networking knowledge is required
when adjusting options in the LAN menu.
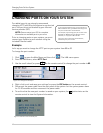
To configure network settings:
1. Select the following, and use the
scroll-wheel to change values:
• IP
• Mask
• Gateway
• DNS Server
• DHCP Enable
• HTTP Port
• Easy Connect
2. To save your settings, right-click until you
return to the main screen.
NOTE: DCHP allows you to quickly connect to
your network by obtaining an IP address from
the router. After the initial setup, we recommend
that you disable DHCP and change the last set
of numbers in the IP address between 2~99. For
example, if your IP address is 192.168.0.107,
change the last digits to 90 (i.e. 192.168.0.90).
This ensures that port forwarding will not
change in the event of power failure or resetting
of your network.
NOTE: For added security, we strongly
recommend changing HTTP port 80 on the
system to
any desired port
not blocked by your
Internet service provider (ISP). For details on
changing ports on your system,
see “Changing
Ports On Your System” on page 42.
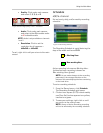
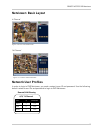
Easy Connect
Use the Easy Connect menu to enable Easy
Connect, and view the Easy Connect log.
For details on connecting to your system
remotely using Yoics,
see “Remote Viewing
Using Easy Connect” on page 61.
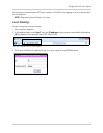
To enable Easy Connect:
• Select Yoics Enable, and use the scroll
wheel to select O to enable Easy Connect;
X to disable Easy Connect.
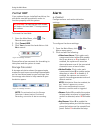
To reset Yoics:
• Click Reset Yoics.
NOTE: It may take several minutes for the
changes to take effect. Restarting Yoics is
used for troubleshooting only.
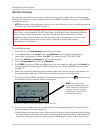
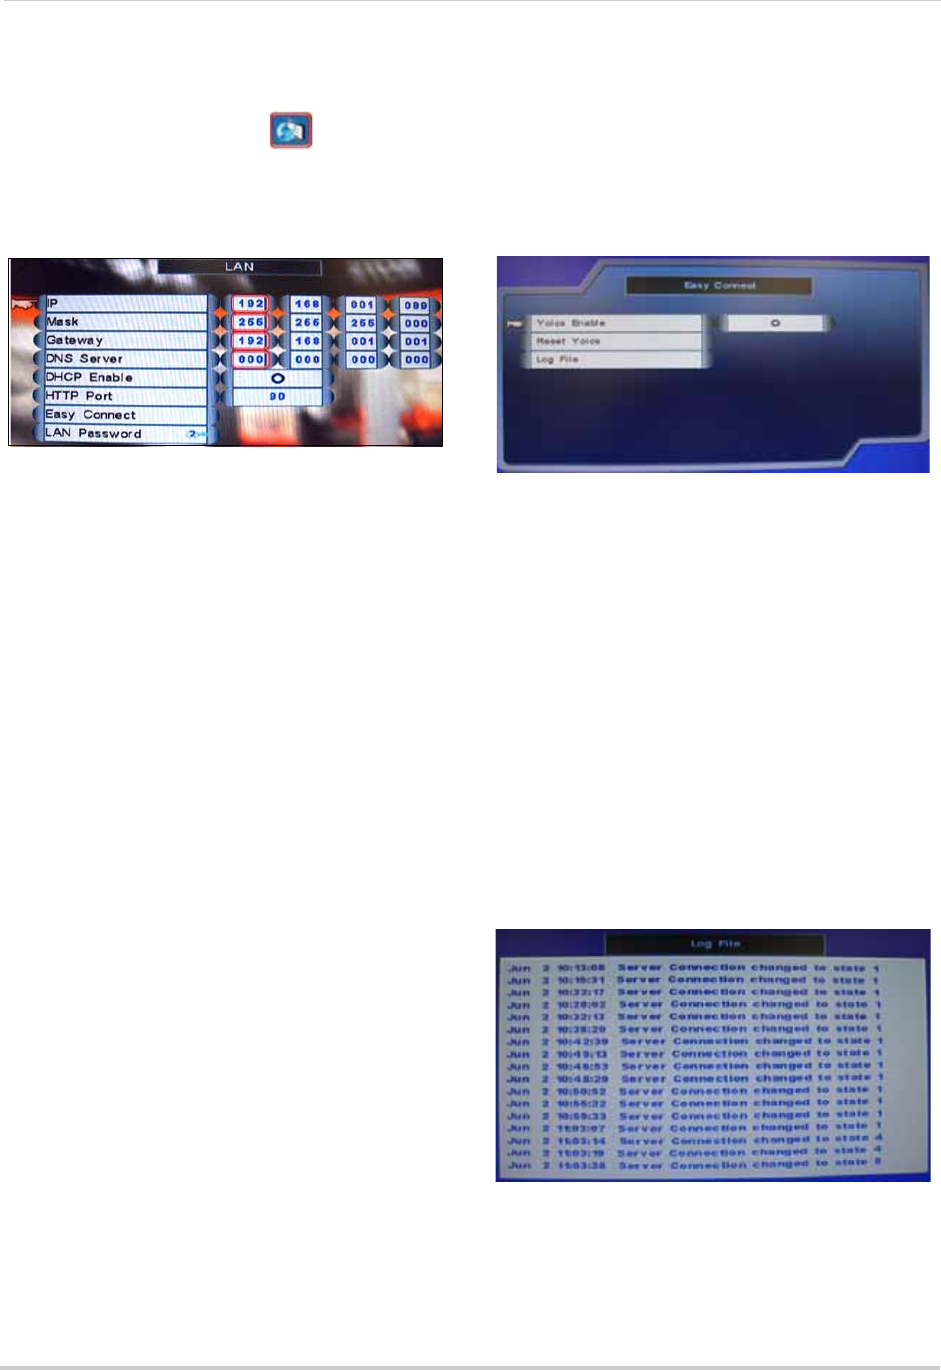
To view the Yoics Log:
• Click Log File.
Figure 15.0 LAN menu
Figure 15.1 : Easy Connect menu.
Figure 15.2 : Log File window.