


DEFINITY Enterprise Communications Server Release 6
Installation and Test for Compact Modular Cabinets
555-230-128
Issue 3
May 1998
Install and Cable the Cabinets
Page 1-66Install and Wire Telephones and Other Equipment
1
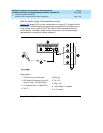
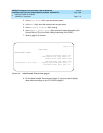
Install Attendant Console — Optional
1. Position the attendant console in the desired location and connect the
modular cord to the information outlet.
2. Install labels per the Attendant Console form and Display Module form
assignments.
3. Install a Digital Line circuit pack in the assigned carrier slot (if required).
4. Administer the Attendant Console forms in
DEFINITY Enterprise
Communications Server Release 6 Administration and Feature
Description
.
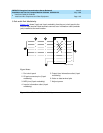
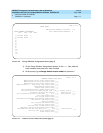
Hard-Wire Bridging
!
CAUTION:
Bridging or paralleling these endpoints can cause electrical damage to the
consoles or cause the circuit pack to remove power from the consoles.
Analog type hard-wire bridging is not allowed for 4-wire (only) DCP endpoints.
This is because hard-wire bridging provides no way of combining the digital
output of 2 bridged DCP sets. Also, a bridged endpoint causes the added load
to degrade the DCP signal.
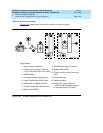
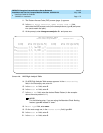
Dual Wiring of 2-Wire and 4-Wire Endpoints
Do not simultaneously wire a 2-wire and 4-wire endpoint to the same equipment
location in an MDF, even though they connect to different colored wire pairs. The
system uses separate circuit packs to interface 2- and 4-wire endpoints, and
none are capable of interfacing both.
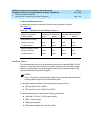
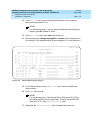
Install 26B1 Selector Console — Optional
1. Connect the supplied 3-foot (0.9 m) D8AC cable to the modular jack on
the bottom of the 26B1 Selector Console.
2. Route the cable to the attendant console and connect to the DXS/BLF
jack.
3. Attach labels according to the Attendant Console form.
4. Administer the console using
DEFINITY Enterprise Communications
Server Release 6 Administration and Feature Description
.