Making Copies
21
Using
This section describes how to copy text and
illustrations drawn on the screen.
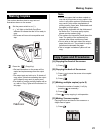
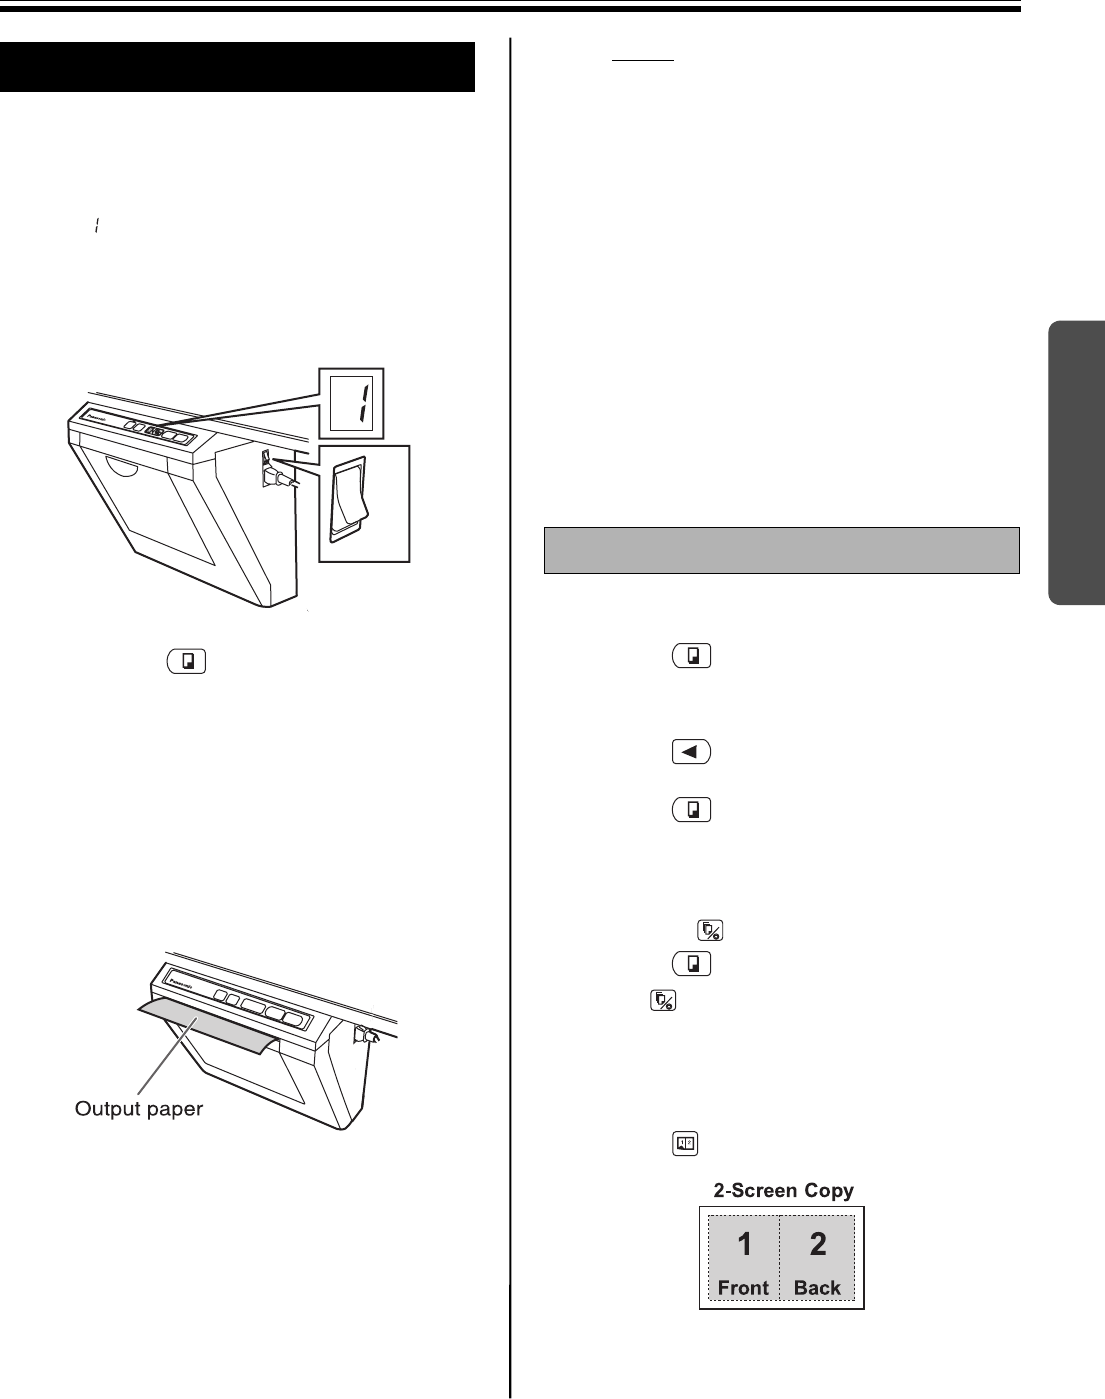
1
Set the power switch to on ( I ).
•“ ” will light on the Multi-Copy/Error
Indicator to indicate that the unit is ready to
copy.
•
The screen will move to home position and
stop.
2
Press the (Copy Key).
•
Text and illustrations on the screen will be
copied and copies emerge from the output
port.
•The output port can hold up to 10 sheets of
copy paper. (Note that exceeding the output
port’s capacity may result in paper jams.)
•For details on making multiple copies and so
on, refer to “Copy Types and Procedures” on
this page.
Note
•Do not use paper that has been copied on
one side by this printer as copy paper in this
unit or in any other copiers or printers as this
may result in dirty rollers, degradation of
printing quality, paper jams, and streaks and
smudges on output paper.
•Copy quality increases with the thickness of
the drawn line. To ensure quality copies,
please use the markers (big).
•The markers for interactive (small) draw thin
lines. The quality of the copies may be
reduced when these markers are used.
•Do not write on the back side of the output
paper from this unit. The printed ink may be
transferred underneath the paper.
•Text or images in shades of yellow will not
copy.
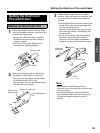
[A] Copying the front of the screen
1) Press .
[B] Copying the back of the screen
1) Press to move the screen to be copied
to the front.
2) Press .
[C] Making multiple copies (up to 9)
1) Select the number of copies (1 to 9) by
pressing as necessary.
2) Press .
• Press to stop copying in mid-operation.
[D] Making 2-screen copies
Copying the front and back of the screen on a
single sheet of paper
1) Press .
Making Copies
ON
OFF
Copy Types and Procedures


