89
Installation
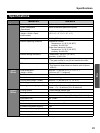
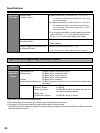
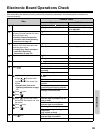
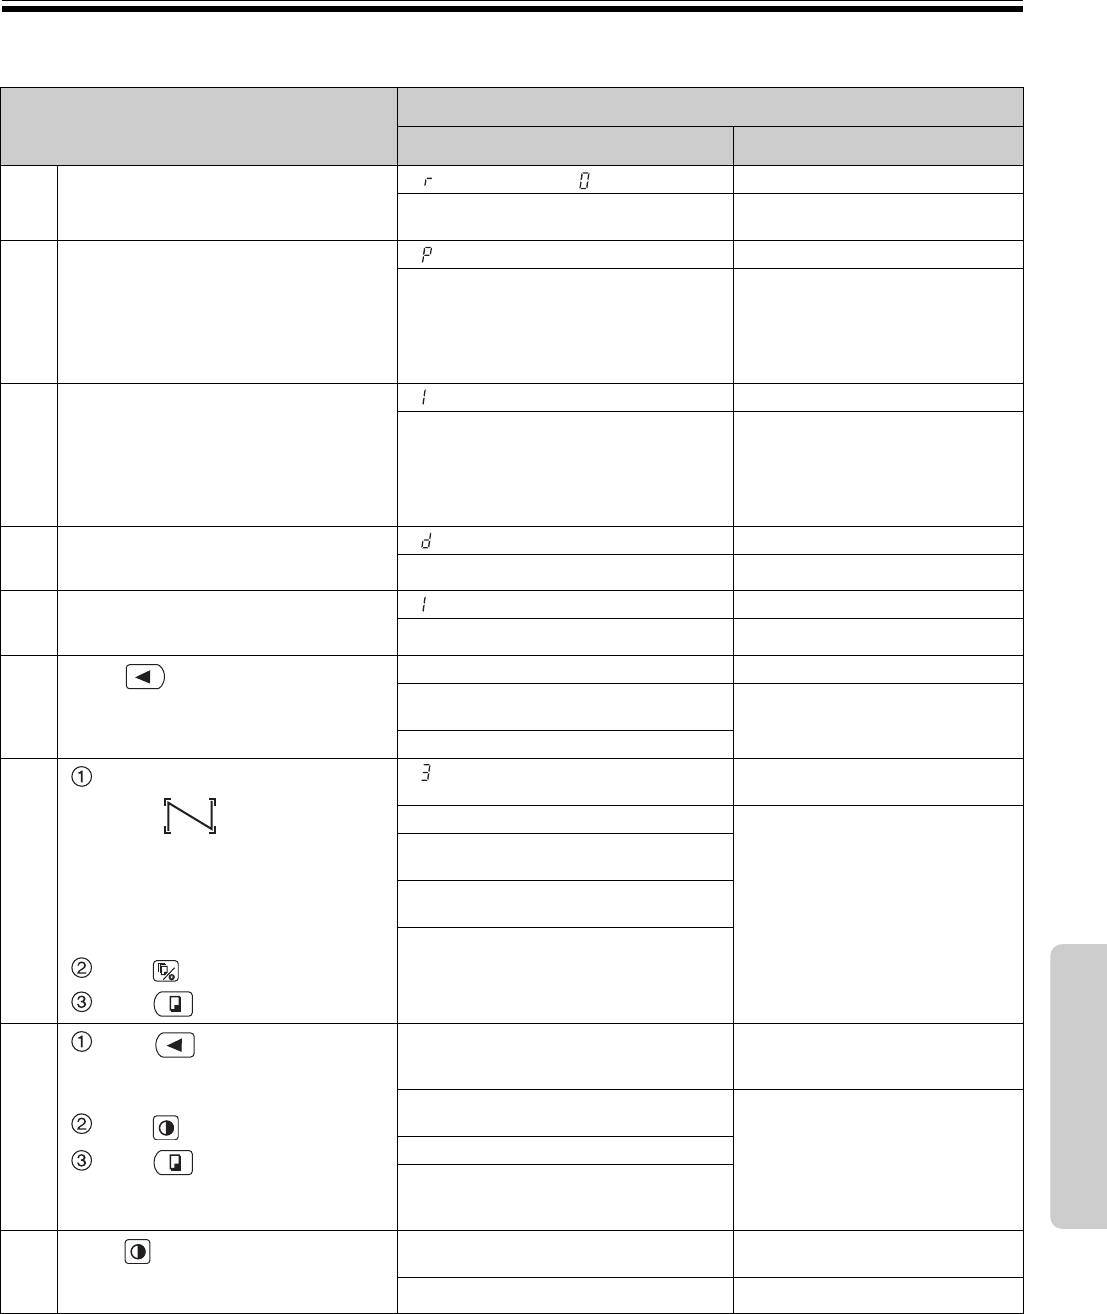
Electronic Board Operations Check
After assembling the electronic board, perform the procedures presented in the following table to make sure it
functions properly.
Step
Points to Check
Symptom Solutions
1
Turn on the power switch. “ ” flashes after “ ” lights up. (Normal operation)
(If not) Check power cord. (See step
4 on page 88.)
2
Open the printer door and attach the
accessory thermal transfer film, then
close the printer door.
•
Installing Thermal Transfer Film
procedure (refer to the Operating
Instructions on page 18)
“ ” flashes. (Normal operation)
(If not) Check thermal transfer film.
3
Open the paper cover and insert
ordinary A4 (Letter) test paper, then
close the paper cover.
• Loading Copy Paper procedure
(refer to the Operating
Instructions on page 19)
“ ” lights up. (Normal operation)
(If not) Check copy paper.
4
Open the printer door. “ ” flashes. (Normal operation)
(If not)
*
1
5
Close the printer door. “ ” lights up. (Normal operation)
(If not)
*
1
6
Press .
Screen is fed. (Normal operation)
The screen film surface is not fed
smoothly.
*
1
There are strange noises.
7
Use the accessory marker to draw
a large filling the entire
copyable area of the screen film
surface.
•
Copyable area (refer to the
Operating Instructions on page
11)
Press twice.
Press .
“ ” lights up and three copies are
made.
(Normal operation)
Three copies are not made.
*
1
The entire readable area is not
printed.
There are strange noises or paper
jams during the copying process.
Multiple sheets of paper are fed
through at the same time.
8
Press to move the screen
film surface. Write letters, etc. with
the marker.
Press once.
Press .
The Contrast/Remaining Film
indicator light is turned on and one
copy is made.
(Normal operation)
The Contrast/Remaining Film
indicator light is not turned on.
*
1
The image is not copied properly.
There are strange markings on the
copy sheet
(e.g., stripes or lines).
9
Press once.
The Contrast/Remaining Film
indicator light is turned off.
(Normal operation)
(If not)
*
1


