PowerLogic™ PM5300 series user guide Chapter 4—Front panel display and meter setup
© 2014 Schneider Electric All Rights Reserved 41
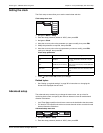
Setting the clock
The Clock setup screens allow you to set the meter’s date and time.
1. Navigate to Maint > Setup.
2. Enter the setup password (default is “0000”), then press OK.
3. Navigate to Clock.
4. Move the cursor to point to the parameter you want to modify, then press Edit.
5. Modify the parameter as required, then press OK.
6. Move the cursor to point to the next parameter you want to modify, press Edit,
make your changes, then press OK.
7. Press to exit. Press Yes to save your changes.
Related topics
• See “Setting up regional settings” on page 39 for instructions on changing the
format of the displayed date and time.
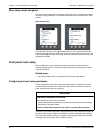
Advanced setup
The advanced setup screens let you change the meter name, set up a timer for
monitoring load current, and specify the minimum demand current for total demand
distortion calculations.
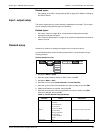
• Load Timer Setpt: specifies the minimum current at the load before the timer starts.
• Pk I dmd for TDD: specifies the minimum current demand value to consider for total
demand distortion calculations.
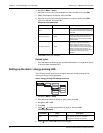
1. Navigate to Maint > Setup.
2. Enter the setup password (default is “0000”), then press OK.
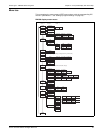
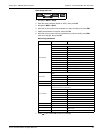
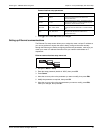
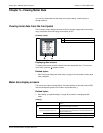
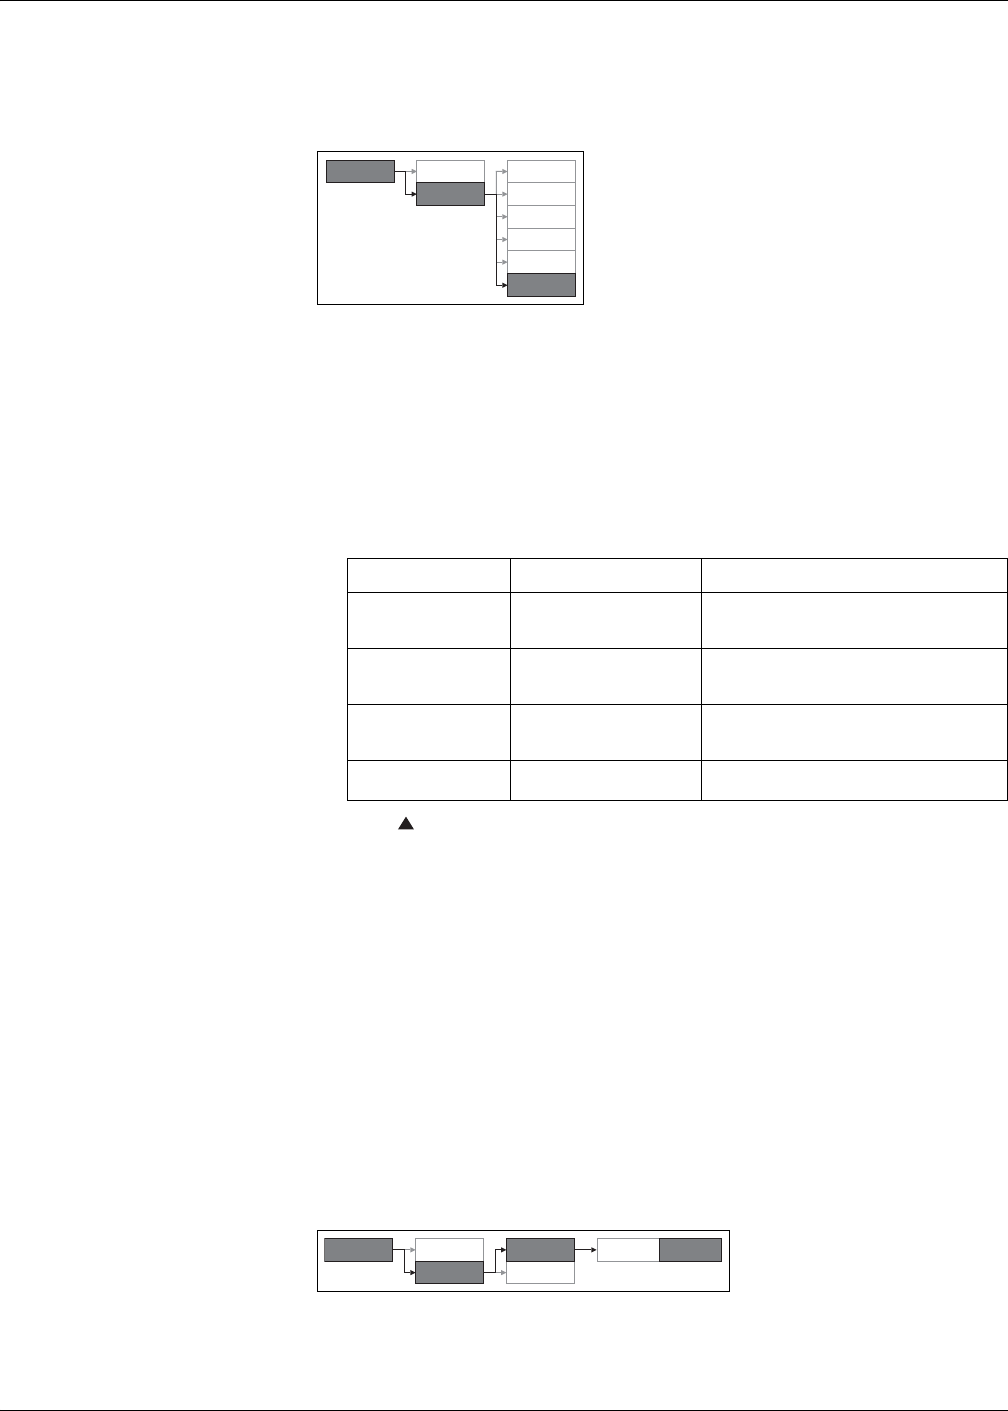
Clock setup menu tree
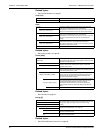
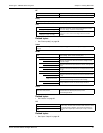
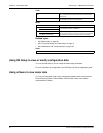
Clock setup parameters
Parameter Format Description
Date MM/DD/YY
Set the current date using the format displayed
on screen, where MM = month, DD = day and
YY = year.
Time HH:MM:SS (24 hour format),
Use the 24-hour format to set the current time
(GMT or local) in hours (HH), minutes (MM) and
seconds (SS).
Meter Time GMT, Local
Select GMT if you set the current time to
Greenwich Mean Time zone. Otherwise, select
Local.
GMT Offset (h) -
Set the GMT Offset between ± 00.0 and ± 12.0
hrs.
Maint
Reset
Setup
Meter
Comm
Alarm
I/O
HMI
Clock
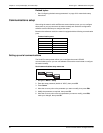
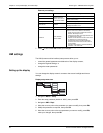
Advanced setup menu tree
Basic
Maint
Reset
Setup
Comm
Meter Advan


