PowerLogic™ PM5300 series user guide Chapter 6—Input / Output
© 2014 Schneider Electric All Rights Reserved 51
Configuring status inputs using the front panel
You can use the front panel to configure the status inputs.
1. Navigate to Maint > Setup.
2. Enter the setup password (default is “0”), then press OK.
3. Navigate to I/O > S In.
4. Move the cursor to point to the status input you want to set up, then press Edit.
5. Move the cursor to point to the parameter you want to modify, then press Edit.
NOTE: If Edit is not displayed, it means the parameter is either read-only or can
only be modified through software.
6. Modify the parameter as required, then press OK.
7. Move the cursor to point to the next parameter you want to modify, press Edit,
make your changes, then press OK.
8. Press to exit. Press Yes to save your changes.
Related topics
See “Technical Specifications” on page 15 for electrical characteristics and limits for the
status inputs.
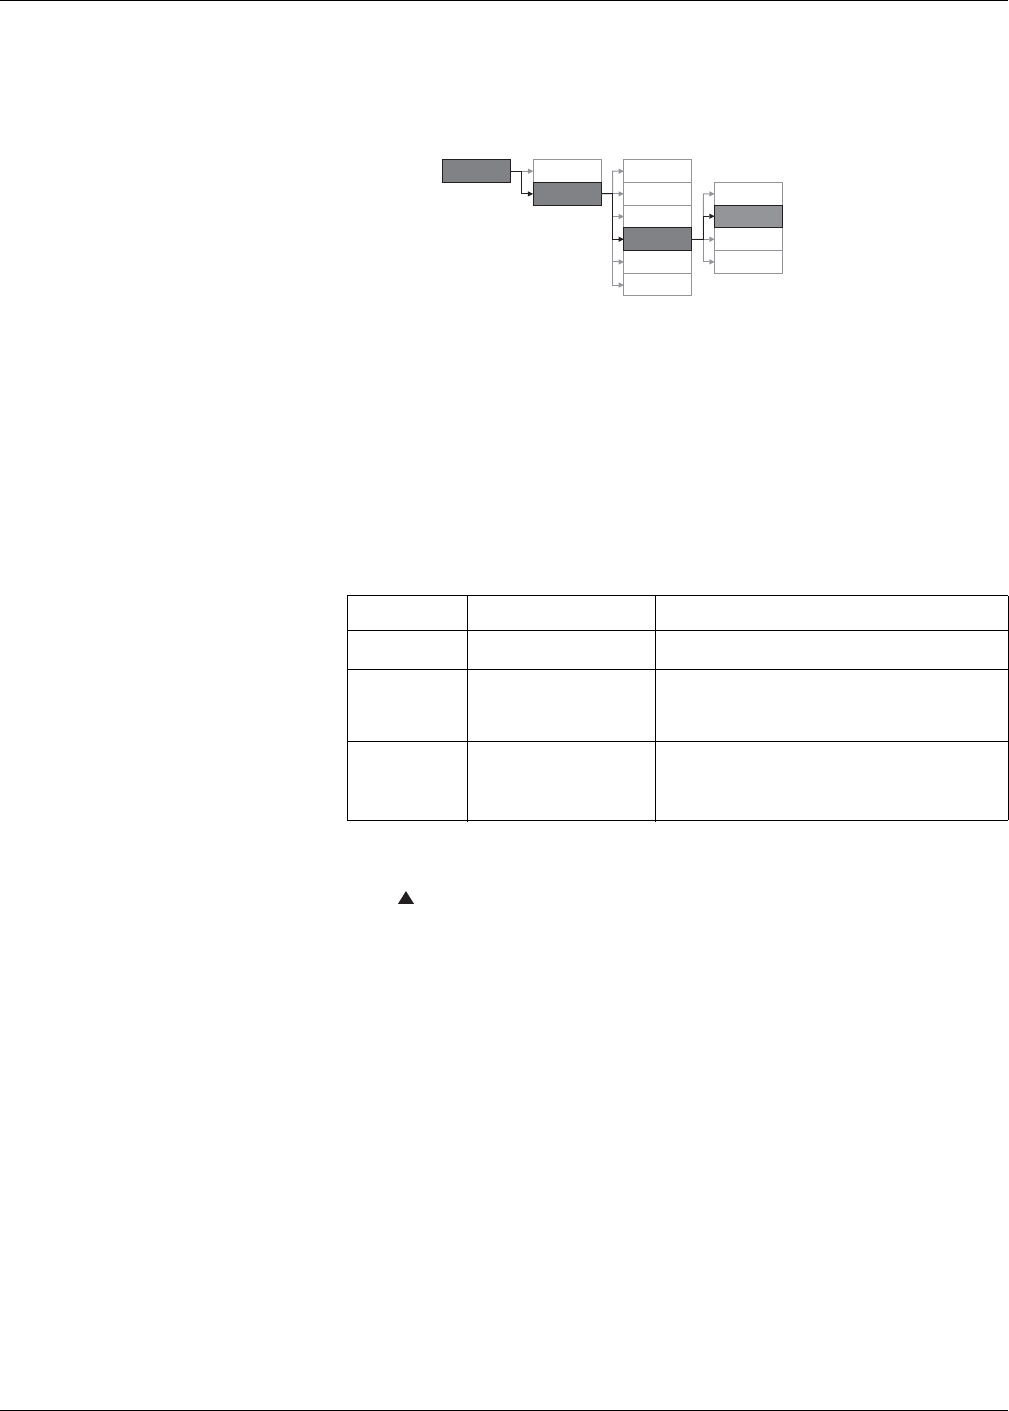
Status input setup menu tree
Status input setup parameters available through the front panel
Parameter Values Description
Label —
This can be modified only through software. Use this
field to assign names to the status inputs (S1 and S2).
Debounce Time
(ms)
0 to 1000
Debounce is the time delay that compensates for
mechanical contact bounce. Use this field to set how
long (in milliseconds) the external signal must remain in
a certain state to be considered a valid state change.
Control Mode Normal
This field displays how the status input functions.
Normal: the status input is not associated with another
meter function. The meter counts and records the
number of incoming pulses normally.
Maint
Reset
Setup
Meter
Comm
Alarm
HMI
Clock
LED
Relay
I/O
DOut
SIn
