


CPF180i and CPF300i Page 53
the ShuttlePoint knob to the right.
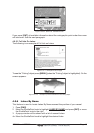
4. The menu now shows two selections,
ON or OFF.
5. Move the ShuttlePoint knob to select the selection and press [ENT].
6. Press [CLR] until the menu disappears or an easier method is to move the ShuttlePoint
knob to the left until the chart page is shown.
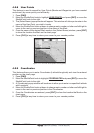
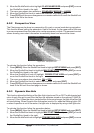
6.0.4 Safety Status Bar (DSI - Data Safety Indicator)
When the Safety Status Bar is enabled, refer to next page, a status bar with six boxes show
the status of certain functions. Any warning or alarm condition is identified by the red color
to indicate possible risk.
WAAS 3D
1
2
3
4
5
6
4
2
1
6
3
5
Normal:
U. Zoom:
O. Zoom:
Chart Lock:
when the chart is displayed at normal
scale.
red when the chart is under-zoomed out
more than twice normal scale, gray otherwise.
red when the chart is over-zoomed in
more than twice normal scale, gray otherwise.
red when the chart is zoomed in
more than twice normal scale, gray otherwise.
Red when a more detailed chart is available under
the cursor position.
Red when at least one of the following objects or
layers is turned off (by the user) Depths/soundings;
Wrecks/obstructions; Tracks/routes; Attention Areas; Nav-Aids.
Displays red when clearing overlapping objects.
Red when "Guardian Technology" detects one of the following objects: Land, Intertidal, Depth
Area, Rocks, Obstructions, Shoreline Constructions, Fishing Facility, Wrecks, Dragged area,
Diffusion area, Mooring facilities, Pingos and Production installations.
Red when "Guardian Technology" detects cautionary or restricted area.
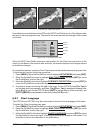
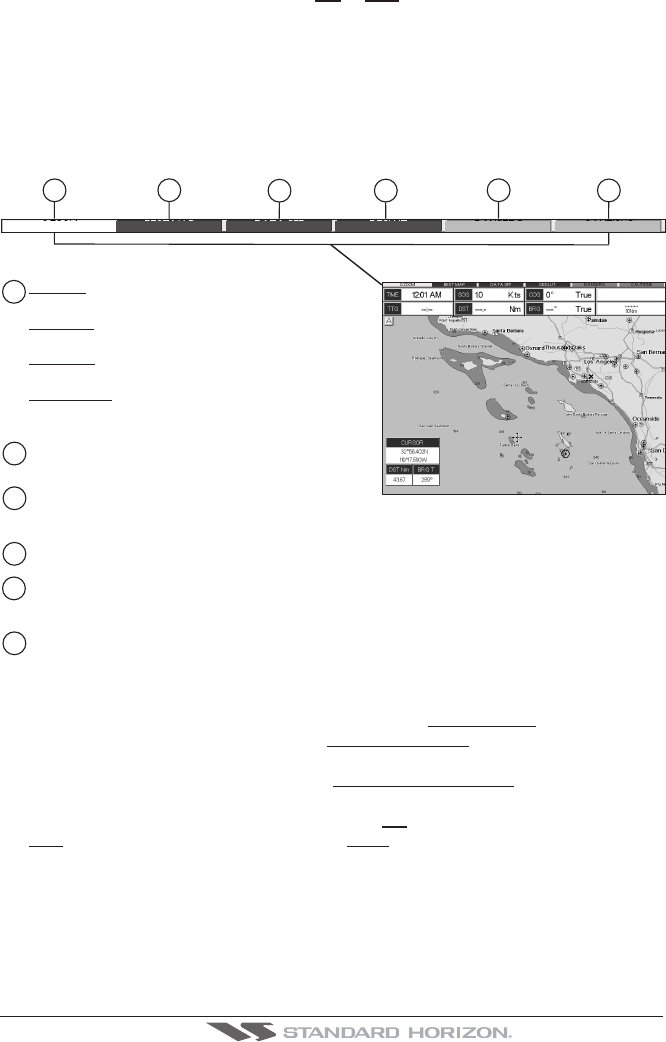
Safety Status Bar
O.ZOOM DANGERS CAUTIONSBEST MAP DATA OFF DECLUT.
Figure 6.0.4 - Safety Status Bar
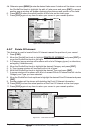
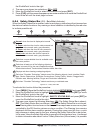
To activate this function follow the procedure:
1. Press [MENU]. Move the ShuttlePoint knob to highlight
SETUP MENU and press [ENT].
2. Move the ShuttlePoint knob to highlight
MAX FUNCTIONS and press [ENT] or move
the ShuttlePoint knob to the right.
3. Move the ShuttlePoint knob to highlight
SAFETY STATUS BAR and press [ENT] or
move the ShuttlePoint knob to the right.
4. The menu now shows the following selections:
ON (The Safety Status Bar is shown),
OFF (The Safety Status Bar is not shown), ICON (The Safety Status Bar is not shown,
but a Warning alarm Icon is shown on the corner of the map screen as soon as any item
controlled by the DSI function returns an alarm condition. The Warning Icon remains
displayed until the alarm condition persists. Placing the cursor over this Icon, a quick
help message is shown next to the Icon, allowing the Safety Status Bar to be shown.
In this case - when the Safety Status Bar is opened via Warning alarm Icon - it is allowed
to obtain information about each “active” Safety Status box (the red ones): it is possible