7. INITIAL SETTINGS
7-7
4. Rotate the Course control knob to select the drive unit then push the knob.
If you select [Safe-Helm 12V (or 24V)], the message shown below appears. Push
the knob to close the message.
5. Confirm that the message shown below appears then push the key.
6. Press the key until the indicator is completely filled.
7. Remove the appropriate rudder cap of the cylinder to bleed air, then reattach the
cap.
8. Press the key until the indicator is completely filled.
9. Remove the appropriate rudder cap of the cylinder to bleed air, then reattach the
cap.
10. Repeat step 6 - 9 to bleed air completely.
11. Press the key to finish the air bleeding.
Rudder limit setup
Set the rudder center position, then set the maximum rudder limits or “hard-over“
points for the rudder system.
NAVpilot automatically sets the port/starboard direction of the rudder angle in this
step. It does not matter which way the rudder reference unit arm or linear sensor rod
is installed as this correction will be done electronically. Therefore, it is recommended
that you make both port and starboard rudder values the same.
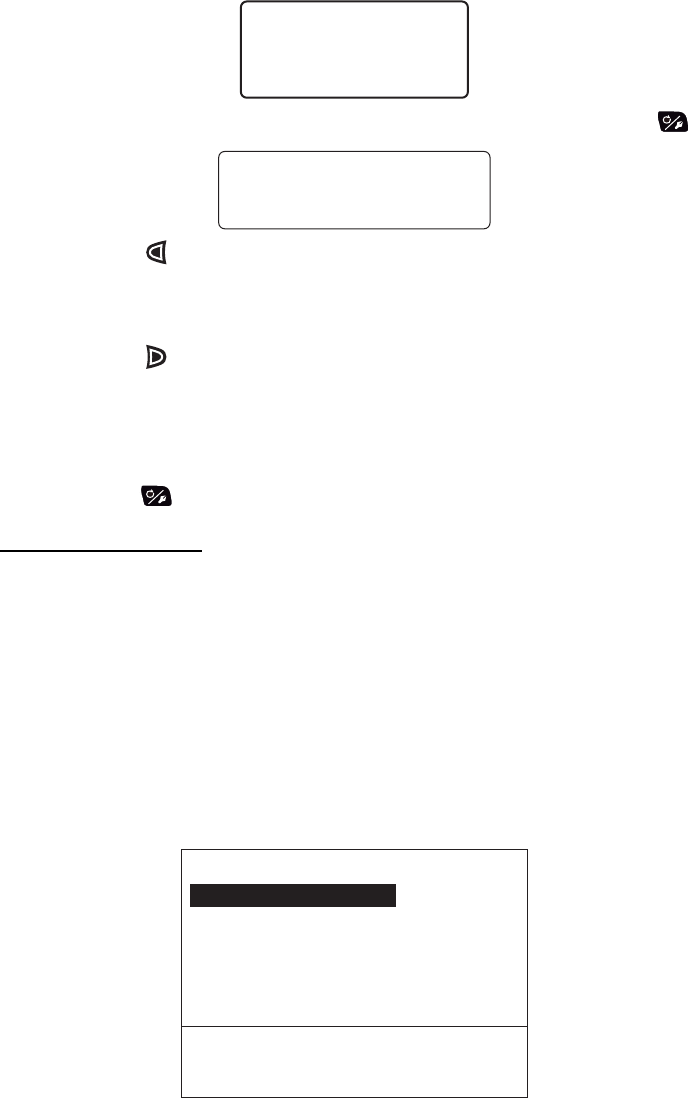
1. Select [Rudder Limit Setup] from the [Dockside Setup] menu then push the
Course control knob.
A helm Sensor is
Installed. Safe Helm and
Power Assist are available.
Push ENTER to continue.
Push arrow keys to enable
pumpset
Push MENU key when done
Rudder Limit Setup
Rudder Center Setup
PORT Limit Setup: ??°
STBD Limit Setup: ??°
Center rudder then
Press ENTER knob.


