Using Faders
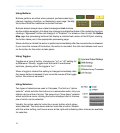
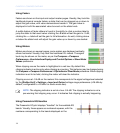
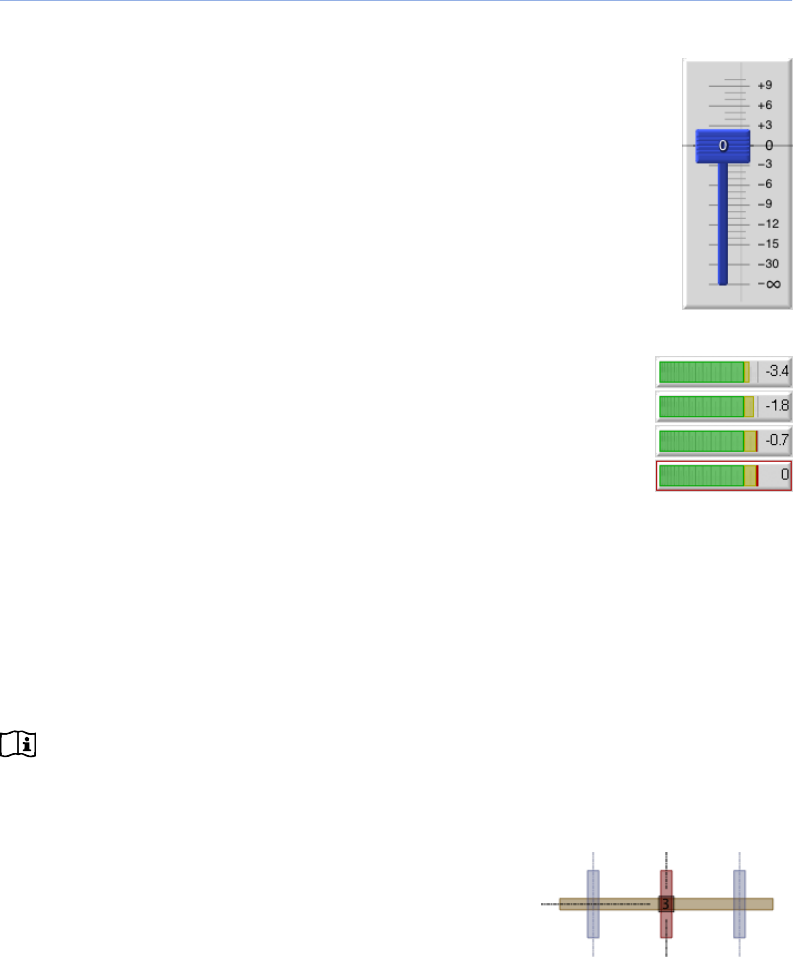
Faders are shown on the input and output master pages. Visually, they look like
traditional physical console faders: a slider that can be dragged up or down to
adjust the gain value, with value demarcations beside it. The gain value is
displayed in both the associated value box and on the slider knob.
A subtle feature of fader sliders is found in the ability to click a number label to
jump the slider to that exact value: clicking the -3 label will set the gain to -3 dB;
clicking the −∞ label will set the gain to full attenuation. As well, clicking above
or below the slider knob will adjust the gain value up or down by one decibel.
Using Meters
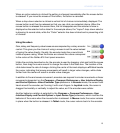
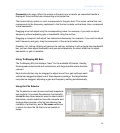
Meters are shown on several pages; some meters are displayed vertically,
others horizontal. Visually, they look like traditional VU meters. The signal
level may be shown on the meter, as per the Compass > Compass
Preferences > User Interface Display and Control Options > Show Meter
Values preference.
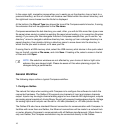
When clipping occurs the meter is highlighted in a red box. By default this
clipping indicator is active only when clipping is occurring. This behavior may be changed using
the Compass > Compass Preferences > Clip Indicator Clear Mode preference. When clipping
indication is set to be held, clicking the meter will clear the indicator.
Clipping occurs at -0.5 dB on the meters: this corresponds to the signal voltage level selected
by the [Galileo Unit] > Settings > Input and Output voltage range preferences (+26 dBu by
default, configurable to +20 dBu for studio mode use).
NOTE: The clipping indicator is set at a true -0.5 dB. The clipping indicator is not a
pre-warning that clipping may occur: it indicates that clipping is actually happening.
Using Parametric EQ Handles
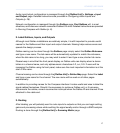
The Parametric EQ plot displays “handles” for the available EQ
bands. Visually, these appear as numbered squares, with the
numbers corresponding to the bands displayed on the
14
CHAPTER 2: COMPASS OVERVIEW


