Chapter 6 Managing the File System
Working With Disks
StorNext User’s Guide 111
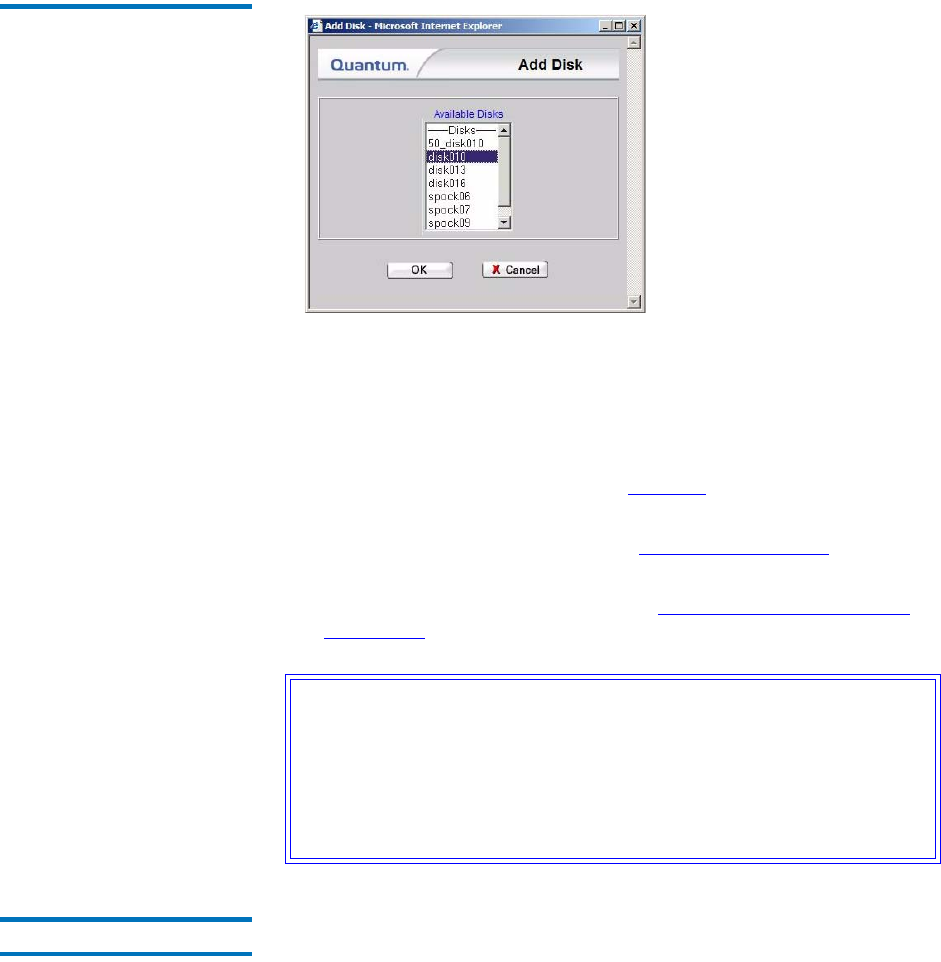
Figure 68 Add Disk Screen
5 Select from the Available Disks list the disk you want to add to the
file system. You can select multiple disks by pressing the CTRL key
and clicking the disk name. Click OK to continue. The Add Disk
Status screen appears.
6 After the status screen indicates that the disks have been added, click
Close. The Manage Disks screen (figure 67
on page 110) appears,
and the disks list includes the disks you just added.
7 Start the file system as described in Making a File System
on
page 106.
8 Mount the file system as described in Mounting or Unmounting a
File System on page 108.
Deleting Disks 6
Use this procedure to delete a disk from a selected file system.
Caution: When you add a new disk or stripe group to your SAN,
often an OS-dependent operation must be run to make the
added device recognizable by a host. Some of these
utilities can disrupt access to existing disks, causing access
hangs or failures. To avoid this, stop all file system
operations on the affected host before rescanning for the
new device.


