Chapter 9 Managing Media
Using the SNSM Media Functions
StorNext User’s Guide 238
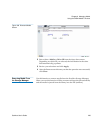
3 Specify at the Endtime field an ending time for the cleaning process,
using the format YYYY:MM:DD:hh:mm:ss. For example, enter
2007:12:06:10:08:00 for an endtime of 10:08 on December 6, 2007.
4 Click Apply to start the cleaning process.
5 When the Status screen informs you that the operation was
completed successfully, click OK.
Cancelling the Eject
Media Process 9
Use this function to cancel the eject process for selected media. The media
remains in the assigned slots.
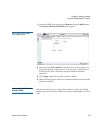
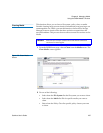
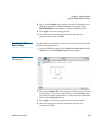
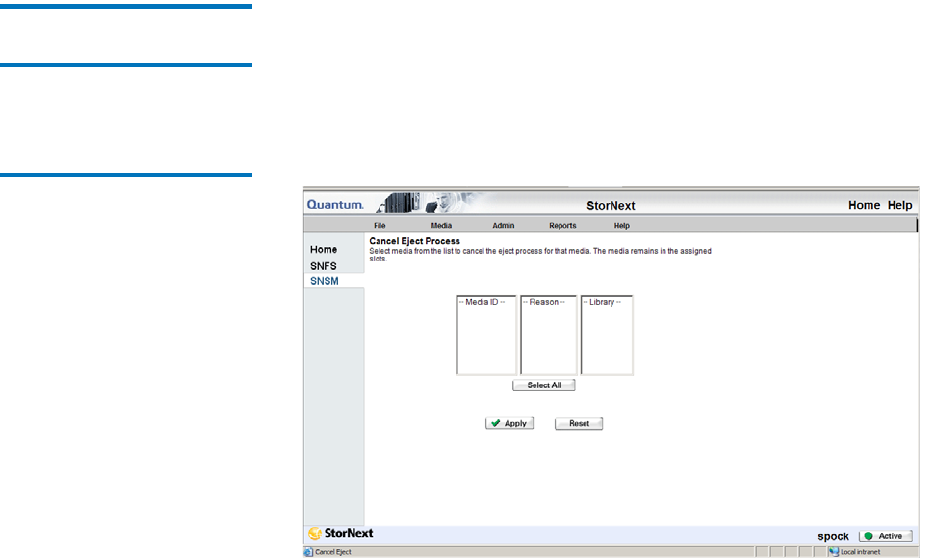
1 From the SNSM home page, choose Library > Library State from the
Admin menu. The Cancel Eject Process screen appears.
Figure 177 Cancel Eject
Process Screen
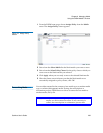
2 Select from the Media ID list the media for which you want to cancel
the eject process. If necessary, select a library from the Library list to
view and select media in that library. To select all media in the Media
ID list, click the Select All button.
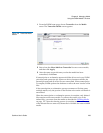
3 Click Apply to cancel the eject process for the selected media.
4 When the Status screen informs you that the operation was
successful, click OK.


