Chapter 4 Common StorNext Tasks
Controlling User Access
StorNext User’s Guide 52
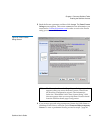
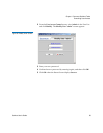
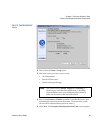
2 In the Enter User Name field, type the name the new user will enter
at the User ID field when he or she logs on to StorNext.
3 In the Enter Password field, type the password the new user will
enter when logging on to StorNext.
4 In the Re-enter Password field, retype the password you entered at
the previous field.
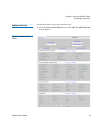
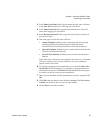
5 Select the type of access the user will have:
• Admin Defaults: Enables access to the entire StorNext system
including SNFS Advanced Functions, SNSM Advanced
Functions, StorNext Home Functions, and StorNext Reports
• Operator Defaults: Enables access to most of the StorNext Home
Functions and StorNext Reports
• General User Defaults: Enables access to most of the StorNext
Reports
Each of the above selections auto-populates the screen to correspond
with your selection, but you can customize access by clicking on
specific items for the user.
6 To simplify assigning access permissions, you can click Select All or
Deselect All for each category. For example, to grant permission to
most StorNext reports, click Select All and then deselect the reports
for which you do not want to grant permission.
7 When you are satisfied with the permissions you have assigned, click
OK.
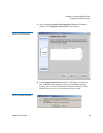
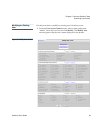
8 Click OK when the Status screen displays Success. The User Access
Control screen shows the new user you just added.
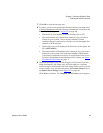
9 Click Cancel to close the window.


