Chapter 4 Common StorNext Tasks
Scheduling StorNext Events
StorNext User’s Guide 65
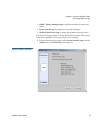
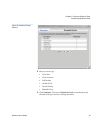
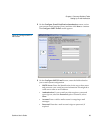
3 Click Configure. The second Schedule Events screen displays the
selected event type and any existing schedules (figure 37
).
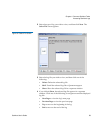
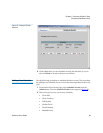
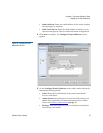
4 Select the schedule you want to change, and then click Modify. The
third Schedule Events screen appears (figure 38
).
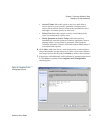
5 In the Name field, view or change the name for the new schedule.
6 Select either Days of the Week or Days of the Month.
•If you selected Days of the Week, view or change the days on
which you want the event to run. To select multiple days, hold
down the CTRL key when you select subsequent days.
•If you selected Days of the Month, view or change the calendar
dates on which you want the event to run. To select multiple
dates, hold down the CTRL key when you select subsequent
dates.
7 At the Run Time field, view or change the time of day you want the
event to begin.
8 At the Start Window field, view or change the window in which you
want the StorNext Scheduler to start the event. The Scheduler
attempts to begin the event within the specified Start Window time
(e.g, 30 minutes). If the event cannot begin at that time, the Scheduler
tries again during the next cycle.
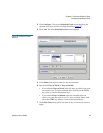
9 Do one of the following:
•Click Apply to save your changes and modify the new schedule.
When the Status screen displays Success, click Close.
•Click Cancel to exit the screen without saving your changes. The
Schedule Events window closes.
•Click Back to return to the previous screen. (When you click Back
you lose any changes you made on the Modify screen.)
Deleting an Existing
Schedule 4
The procedure for deleting an existing schedule for an event is the same
regardless of the event type. For every event type except Partial Backup
you must have at least one schedule, so you will not be allowed to delete
a solitary schedule.
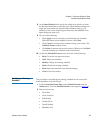
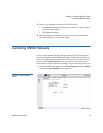
1 From the StorNext Home Page, select Schedule Events from the
Admin menu. The first Schedule Events screen appears (figure 36
).


