Chapter 11 Data Migration Management
Modifying a Policy Class
StorNext User’s Guide 267
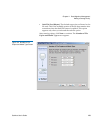
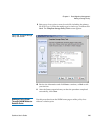
4 Select from the list a directory to which to add the relationship
directory. A second Directory Browser window appears, showing
the directory you selected in the Current Directory field.
5 Click OK. The Add Relationship screen appears, showing the new
directory.
6 Click Apply.
7 After the Status screen informs you that the operation completed
successfully, click Close.
Modifying a Policy Class
Use the following procedure to modify a policy class.
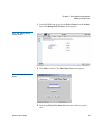
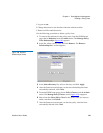
1 From the SNSM home page, choose Policy Classes from the Admin
menu. The Manage Policy Classes screen (figure 193
) appears.
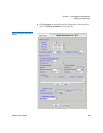
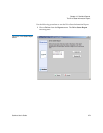
2 Select from the Select Policy Class list the policy class you want to
modify, and then click Modify. The Modify Parameters screen
(figure 195
) appears.
3 On the Modify Parameters screen, modify values as desired and then
click OK.
4 After the status screen informs you that the policy class has been
successfully modified, click Close.
Deleting a Policy Class
Before you can delete a policy class, you must first delete everything
associated with that policy class, including media and directories. Also,
you must clean the media and return it to a system-blank state.
To remove all files in directories associated with the policy class, follow
these steps:


