


5-8 CHAPTER 5: NETWORK MODIFICATION TASKS
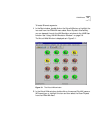
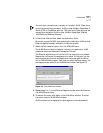
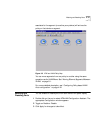
When you toggle on a VLAN name, the lines underneath the ports
become the alias color of the VLAN, thus making it easier to identify the
ports associated with the VLAN.
Figure 5-4 SuperStack II Switch 2700 Front Panel Display
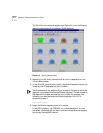
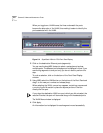
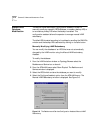
2 Click on the destination Ethernet ports (segments).
You can use the drag/MB1 feature to select a rectangle and enclose
multiple ports. The selected port’s background is displayed in blue. If you
are moving segments to one port only you do not need to perform this
step.
To undo a selection, click on the bottom of the Front Panel Display
window.
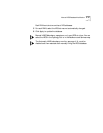
3 Using MB2, select the VLAN button on the bottom of the Front Panel and
drag it to the new port number and release (drop).
When selecting the VLAN, a move icon appears, containing a square and
a running figure. Be certain to place the square portion of the icon
directly over the port.
If you drop the destination VLAN on a port which you did not select, the
result will be that the port will be moved along with the selected ports.
The VLAN Move window is displayed.
4 Click Apply.
An information box is displayed for each segment moved successfully.