PowerLogic™ PM5500 series user manual Chapter 10—Alarms
HRB1684301-01 95
Alarm setup using the meter display
If your meter is equipped with a display:
1. Navigate to the alarms setup menu screens and select the alarm you want to set up.
See “Front panel display and meter setup” on page 33 for basic instructions on
using the front panel buttons to navigate the meter screens.
2. Configure the setup parameters as explained in the different alarm setup sections.
3. When prompted, click Yes to save the changes to the meter.
NOTE: You must use ION Setup to create logic and custom (Cust1s) alarms. After the
alarm is created, you can use ION Setup or the meter display to modify the alarm
parameters.
NOTE: If you used ION Setup to program decimal values on a standard (1-Sec) alarm,
do not use the meter display to make subsequent changes to any alarm parameters
(inculding enable/disable), as doing so will cause removal of all decimals previously
programmed through ION Setup.
Alarm setup using ION Setup
To set up all alarm types using ION Setup, open the Alarming setup screen to view the
different alarm types. See the ION Setup online help for details.
Setting up unary alarms
Select the unary alarm you want to configure then use the following controls to set up
the alarm (ION Setup controls are shown in parentheses).
Setting up digital alarms
Select the digital alarm you want to configure then use the following controls to set up
the alarm (ION Setup controls are shown in parentheses).
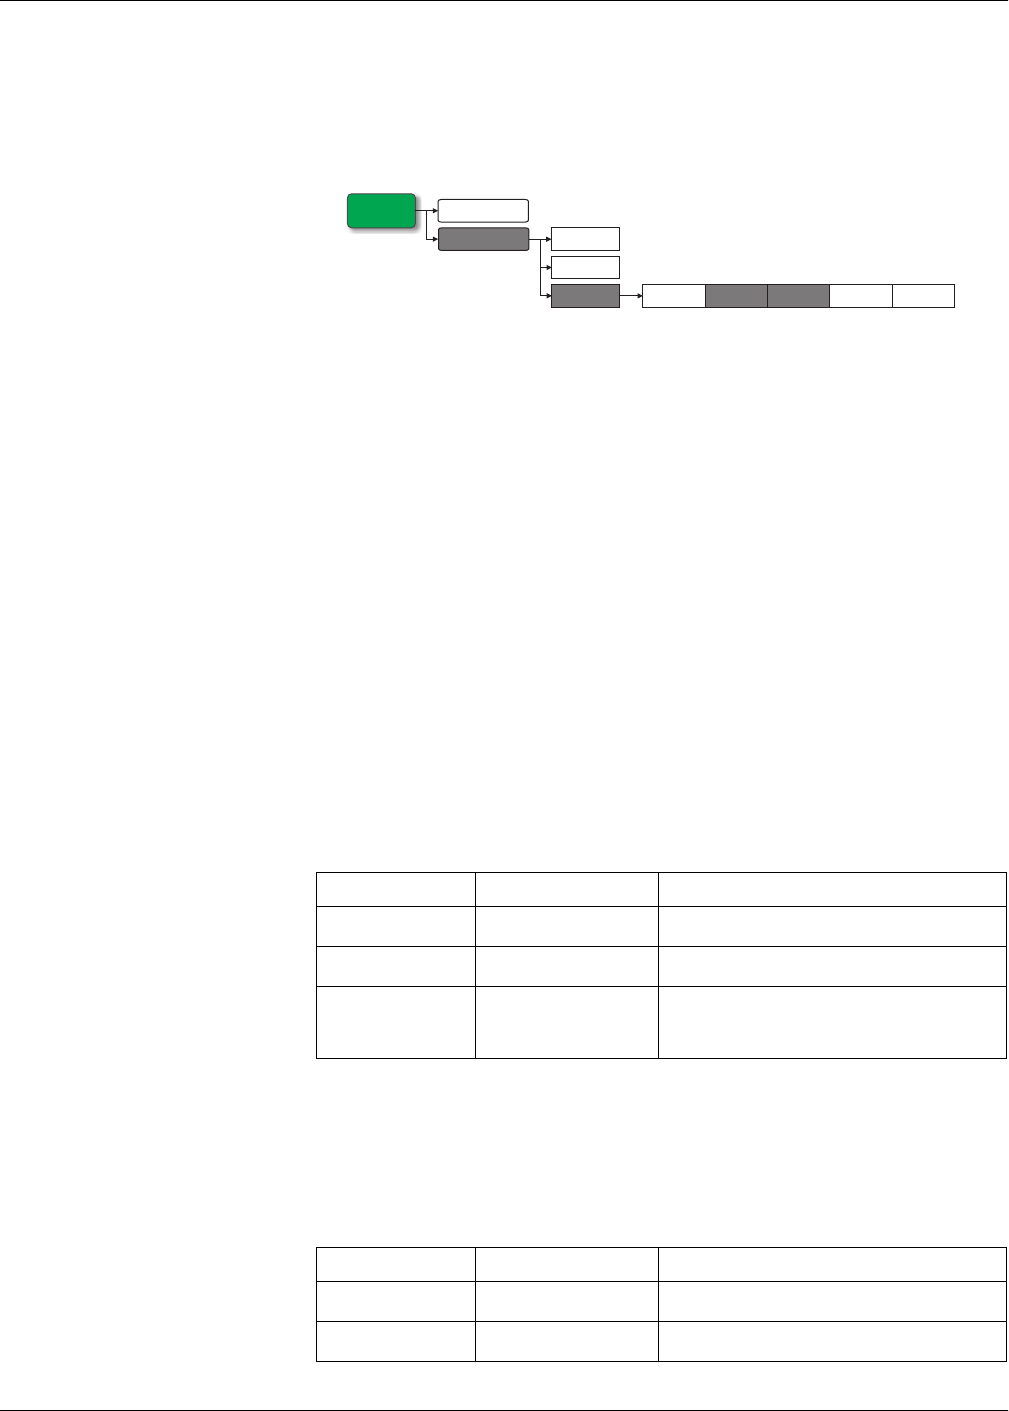
Maint
Reset
Setup
1-Sec Unary
Dig
Logic
Cust1s
Comm
Alarm
Meter
Unary alarm setup parameters
Setting Option or range Description
Enable
Yes (checked) or No
(cleared)
This enables or disables the alarm.
Priority High, Medium, Low, None
This sets the alarm priority and notification options.
See “Alarm priorities” on page 94.
Select Dig Output
(Outputs)
None,
Digital Output D1,
Digital Output D2,
Digital Output D1 & D2
Select the digital output(s) you want to control when the
alarm is triggered.
Digital alarm setup parameters
Setting Option or range Description
Enable
Yes (checked) or No
(cleared)
This enables or disables the alarm.
Priority High, Medium, Low, None
This sets the alarm priority and notification options.
See “Alarm priorities” on page 94.
