Operation
40 3A2098H
Operation
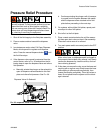
Pressure control may degrade at low output pressures.
It is not recommended to dispense at outlet pressures
less than 500 psi (3.4 MPa, 34 bar).
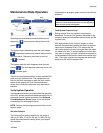
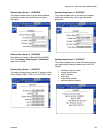
Startup
Initial Startup
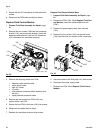
1. Ensure the PCF control center is installed and all of
the proper connections to and from the control cen-
ter have been made. Ensure fittings are tight.
2. Read and understand the Operation (page 40) and
Advanced Display Module (ADM) (page 17) sec-
tions of this manual.
3. Continue startup with step 2 in Standard Startup.
Standard Startup
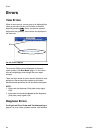
1. Carefully inspect the entire system for signs of leak-
age or wear. Replace or repair any worn or leaking
components before operating the system.
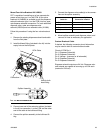
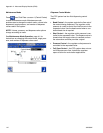
2. Press the Stop button (BC). See F
IG
. 8 on page 17.
3. Turn on air.
4. Turn on electrical power to the system.
5. Turn on the main power to supply power to the PCF.
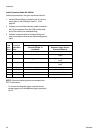
6. Check Interface Signals: If this is a new installa-
tion, power on each system input and verify that
each input is being received.
7. Turn on the material supply system.
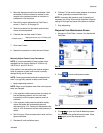
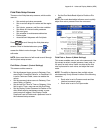
Load Material
Before using the system material must be loaded into
the supply system.
1. If this is a new installation, follow the Initial Startup
procedure. Otherwise, follow the Standard Startup
procedure. See page 40.
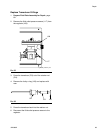
2. Turn on the fluid supply pressure to the fluid plate
assembly.
3. Place the valve(s) over a waste container.
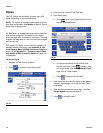
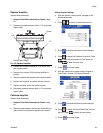
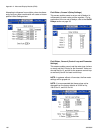
4. Enter the maintenance screen. See Dispense
From Maintenance Screen, page 43.
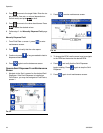
5. Select a control mode. See Dispense From Main-
tenance Screen, page 43.
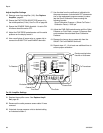
6. If the system status indicator LED (BB) is orange,
press to turn the system on.
7. Press and hold . Dispense fluid until clean,
air-free fluid flows from the valve.
8. Press to exit maintenance screen.