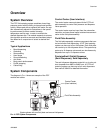
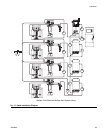
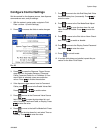
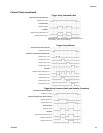
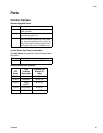
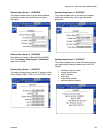
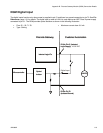
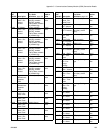
USB Data
3A2098H 61
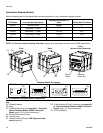
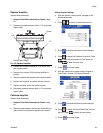
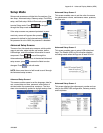
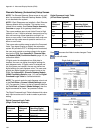
Download Procedure
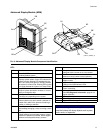
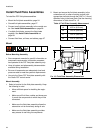
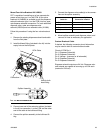
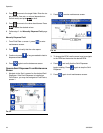
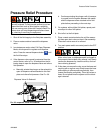
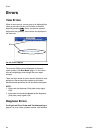
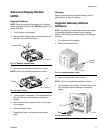
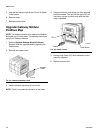
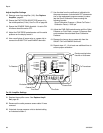
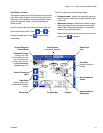
1. Insert USB flash drive into USB port (BL). See F
IG
.
39 on page 59.
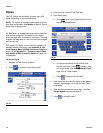
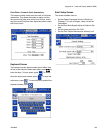
2. The menu bar and USB indicator lights indicate that
the USB is downloading files. Wait for USB activity
to complete. A pop-up will be present until the trans-
fer is complete if it is not acknowledged.
3. Remove USB flash drive from USB port (BL).
4. Insert USB flash drive into USB port of computer.
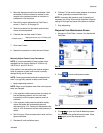
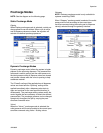
5. The USB flash drive window automatically opens. If
it does not, open USB flash drive from within Win-
dows
®
Explorer.
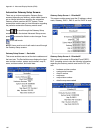
6. Open Graco folder.
7. Open system folder. If downloading data from more
than one system, there will be more than one folder.
Each folder is labeled with the corresponding serial
number of the ADM (The serial number is on the
back of the ADM.)
8. Open DOWNLOAD folder.
9. Open LOG FILES folder labeled with the highest
number. The highest number indicates the most
recent data download.
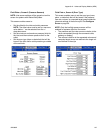
10. Open log file. Log files open in Microsoft
®
Excel
®
by
default as long as the program is installed. How-
ever, they can also be opened in any text editor or
Microsoft
®
Word.
NOTE: All USB logs are saved in Unicode (UTF-16) for-
mat. If opening the log file in Microsoft Word, select Uni-
code encoding.
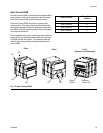
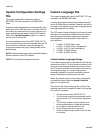
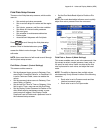
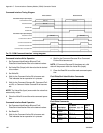
Upload Procedure
Use this procedure to install a system configuration file
and/or a custom language file.
1. If necessary, follow the Download Procedure,
page 61, to automatically generate the proper folder
structure on the USB flash drive.
2. Insert USB flash drive into USB port of computer.
3. The USB flash drive window automatically opens. If
it does not, open USB flash drive from within Win-
dows Explorer.
4. Open Graco folder.
5. Open system folder. If working with more than one
system, there will be more than one folder within the
Graco folder. Each folder is labeled with the corre-
sponding serial number of the ADM. (The serial
number is on the back of the module.)
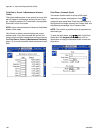
6. If installing the system configuration settings file,
place SETTINGS.TXT file into UPLOAD folder.
7. If installing the custom language file, place
DISPTEXT.TXT file into UPLOAD folder.
8. Remove USB flash drive from computer.
9. Install USB flash drive into PCF system USB port.
10. The menu bar and USB indicator lights indicate that
the USB is downloading files. Wait for USB activity
to complete.
11. Remove USB flash drive from USB port.
NOTE: If the custom language file was installed, users
can now select the new language from the Language
drop-down menu in the Advanced Setup Screen 1.