e-STUDIO3511/4511 ADJUSTMENT 3 - 40 November 2003 © TOSHIBA TEC
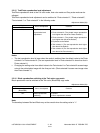
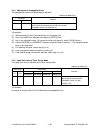
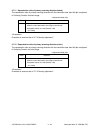
Code
848
858
853
<Procedure>
(1) While pressing [0] and [5] simultaneously, turn the power ON.
(2) Key in the codes and press the [START] button.
(3) Key in the adjustment values. Acceptable values : 0 to 255. (To correct the value once keyed in,
press [CLEAR] button.)
(4) Press the [ENTER] or [INTERRUPT] button to store the value in memory. → The equipment goes
back to the ready state.
(5) Let the equipment restart and perform scanning job.
(6) If the desired image has not been attained, repeat step (1) to (5).
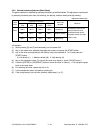
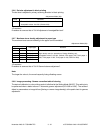
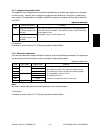
3.7.4 Background adjustment (Color Mode)
The adjustment level of background center value is adjusted. The control value of background
adjustment button is automatically adjusted to the same level as the adjusted center value.
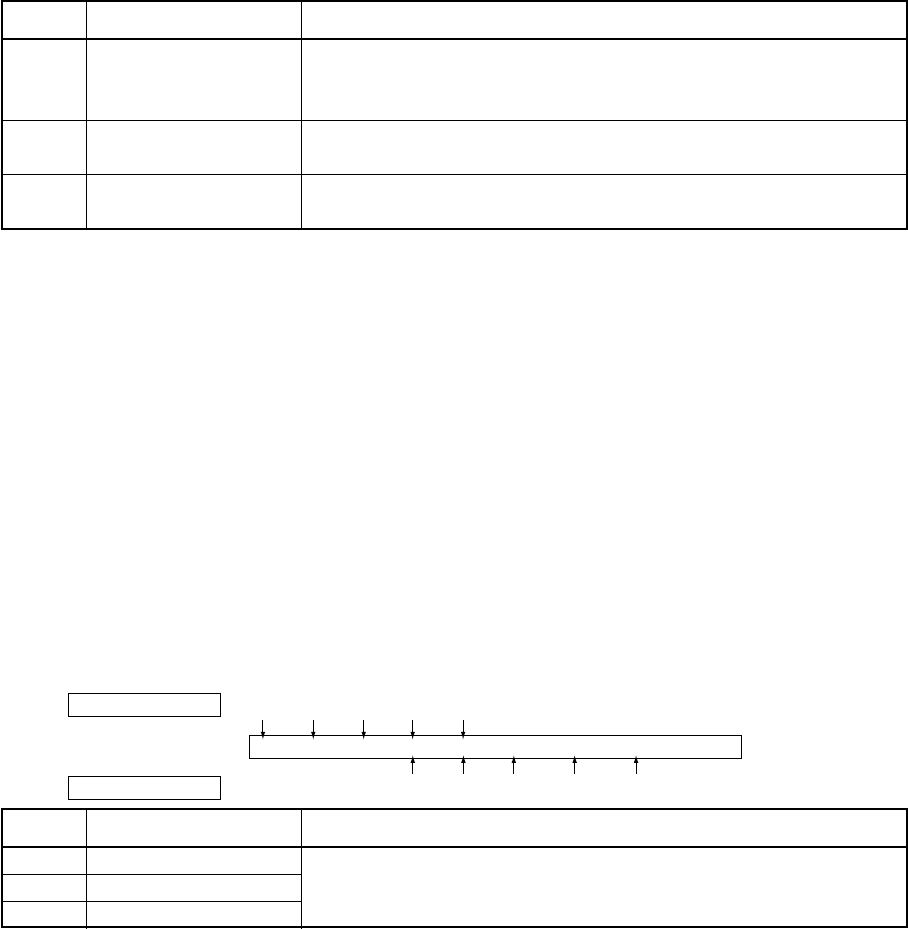
For example, when the control value of background adjustment key ranges from 0 to 6, the
background center value (-2 to +2) is used to be the range from 6 to 14 accordingly.
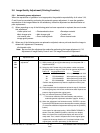
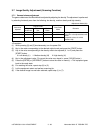
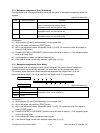
3.7.3 Background adjustment (Gray Scale Mode)
The adjustment level of background center value and the control of background adjustment button are
adjusted.
Item to be adjusted
Center value
Dark step value
Light step value
Remarks
The larger the value is, the background becomes darker. The smaller the
value is, the background becomes lighter.
Acceptable values: 0 to 255 (Default: 128)
The larger the value is, the image of the “dark” steps becomes darker.
Acceptable values: 0 to 255 (Default: 20)
The larger the value is, the image of the “light” steps becomes lighter.
Acceptable values: 0 to 255 (Default: 35)
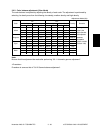
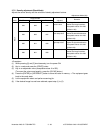
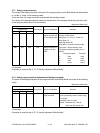
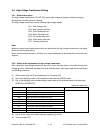
Code
1070
1071
1072
Original mode
Tex t
Printed Image
Photo
Remarks
The larger the value is, the background becomes lighter.
Acceptable values: 0 to 50 (Default: 0)
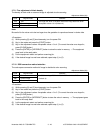
<Procedure>
(1) While pressing [0] and [5] simultaneously, turn the power ON.
(2) Key in the codes and press the [START] button.
(3) Key in the adjustment values. Acceptable values : 0 to 50. (To correct the value once keyed in,
press [CLEAR] button.)
(4) Press the [ENTER] or [INTERRUPT] button to store the value in memory. → The equipment goes
back to the ready state.
(5) Let the equipment restart and perform scanning job.
(6) If the desired image has not been attained, repeat step (1) to (5).
Before adjustment
After adjustment
0 1 2 3 4 5 6 7 8 9 10 11 12 13 14 15 16 17
+2 +1 0 -1 -2
+2 +1 0 -1 -2
<Adjustment Mode (05)>
<Adjustment Mode (05)>


