


Hierarchical Design
Multicap 9 User Guide 6-7
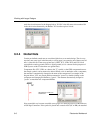
net is renamed to be a top-level net, and joins any other nets at the top-level with the same
name. For example, having a net named "power" in a sub-circuit referenced by X1 from the
top-level circuit would normally re-write the name of the net to "X1.power". This makes this
net unique to any other net named "power" at the top-level or in any other nested circuit in the
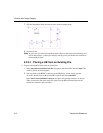
design (even other use instances of the same sub-circuit). However, placing a "T" component
re-named to be "power" and then attaching a wire to it would result in the net being simply
called "power". This creates a virtual wiring situation between all such nets named "power".
Hence, this is a mechanism by which nets may be declared to be of the top-most net
namespace, even when buried deeply into nested circuits.
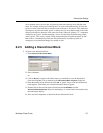
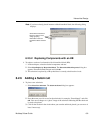
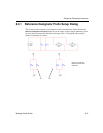
6.2.5 Adding a Hierarchical Block
To place a new hierarchical block:
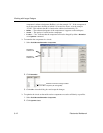
1. Select
Place/New Hierarchical Block.
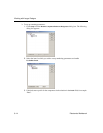
2. Enter a filename.
Or
3. Click on
Browse, navigate to the folder where you would like to save the hierarchical
block and click
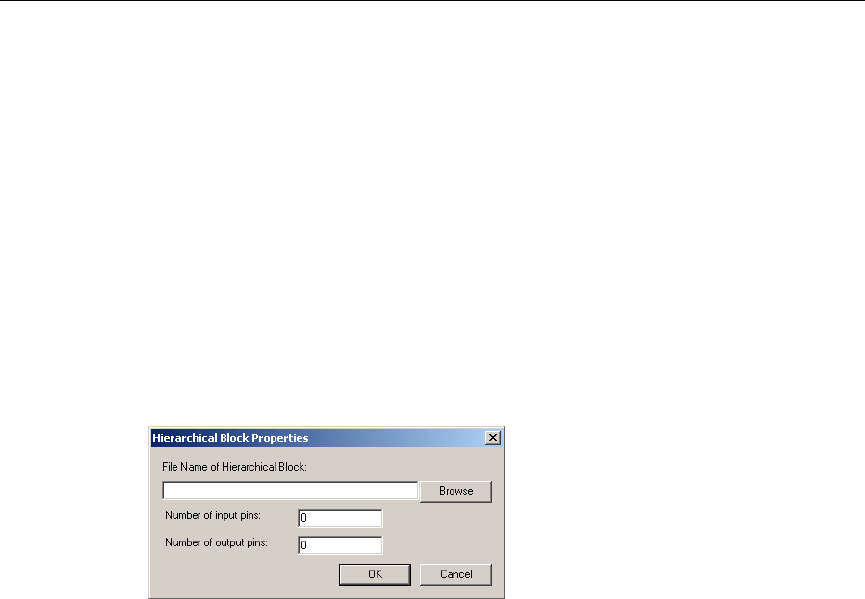
Save. You are returned to the Hierarchical Block Properties dialog box.
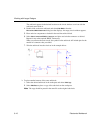
4. Enter the number of pins desired and click
OK. A “ghost” image of the new hierarchical
block appears. Click where you want the hierarchical block to appear.
5. Double-click on the new hierarchical block and select
Edit HB/SC from the
Hierarchical Block/Subcircuit dialog box that displays. A circuit window that contains only
the entered pins displays.
6. Place and wire components as desired in the new hierarchical block.