


Set up before departure · 55
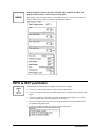
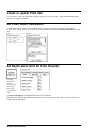
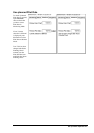
Check and prepare Route to be monitored
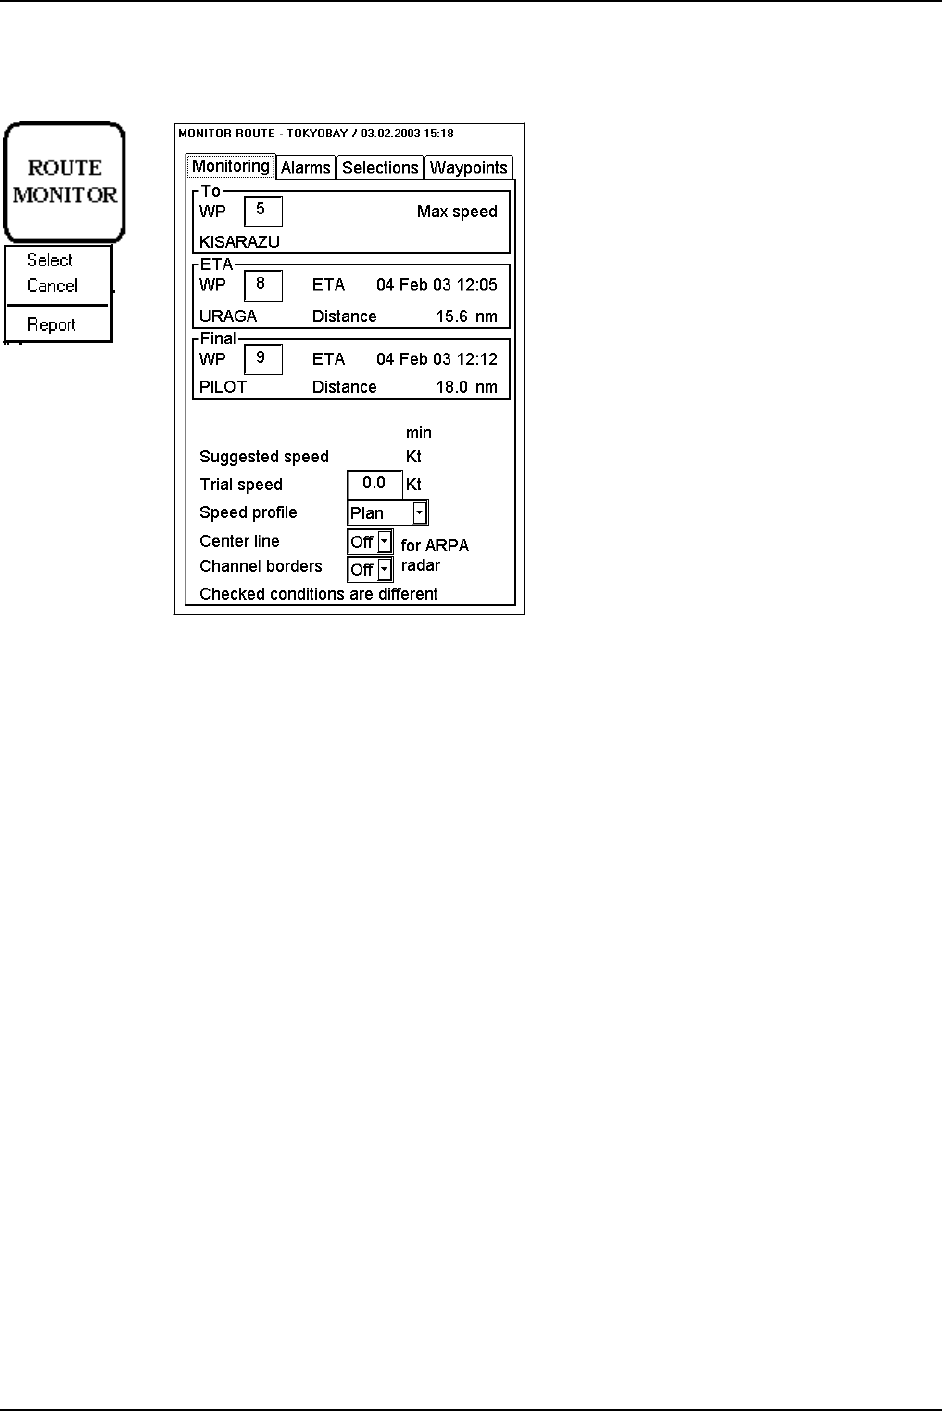
Select a route for the next voyage; double click Route monitor push button and select recalculated route. For more
information selection of route, see Chapter "How to select route to be monitored".
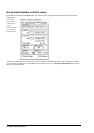
If text "Checked conditions are different" appears to window, it indicates that conditions
selected during Route Planning were different than conditions selected to be used during Route
Monitoring, for more information to use Checked conditions, see chapters "Use Checked
conditions of the Route Plan" on page 56 and "Use planned User Chart" on page 56.
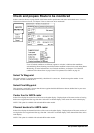
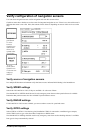
Select To Waypoint
The system selects To waypoint automatically, check that it is correct one. Note that waypoint number 1 is not
accepted. Use above menu to do it.
Select Final Waypoint
This selection is used ONLY in case that the last waypoint should be different to that one defined last in your route.
If needed use above menu to do it.
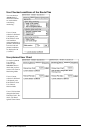
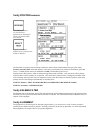
Center line for ARPA radar
Select ON to display the center line of the route on the radar display. Displayed part of the route consists of one leg
before next waypoint and four legs after that. Select OFF to disable display of the center line on the radar display.
NOTE! This option is available with selected ARPA radar models.
Channel borders for ARPA radar
Select ON to display the channel limit lines of the route on the radar display. Displayed part of the route consists of
one leg before next waypoint and four legs after that. Select OFF to disable display of the channel limit lines on the
radar display.
NOTE! This option is available with selected ARPA radar models.