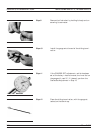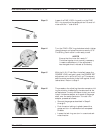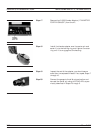
The verification of the kit components is straight forward. The
components are first measured with the 37xxxE, then they are
compared with the data recorded on the USB drive. If the measured
data compares favorably with the recorded data (taking tolerances into
consideration), then the system is known to be operating properly and
providing accurate data.
There is one caution that you need to observe when using Verification
Kits. Because the verification components have been characterized,
you must handle them carefully so that you do not change their known
characteristics. Consequently, you should not have them available for
daily use. Rather, you should only use them for the accuracy verifica
-
tion checks taken every 6-to-12 months (or at any other time the sys
-
tem’s integrity is in doubt).
This completes the discussion on calibration. Refer to paragraph 7-3
for a procedure showing how to calibrate the sliding load.
DISCUSSION MEASUREMENT CALIBRATION
7-12 37xxxE OM


